Thank’s , now i have some clue to investigate further…
I have a confirmation: the cup delivered is not the good one… ![]() , i’ll have the good one next day while i 'll connect the box with the OverDrive …!
, i’ll have the good one next day while i 'll connect the box with the OverDrive …!
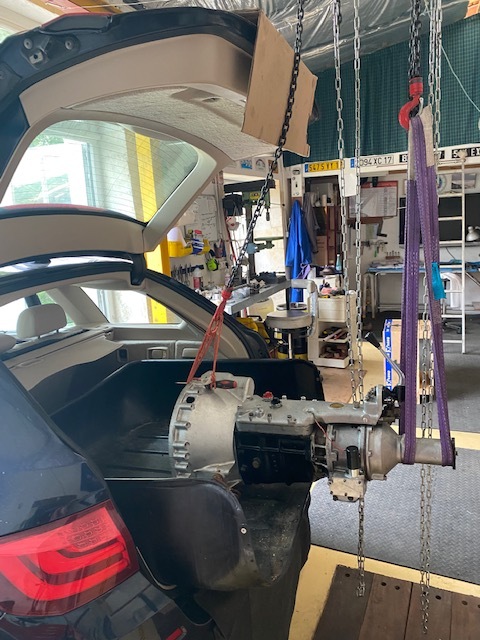
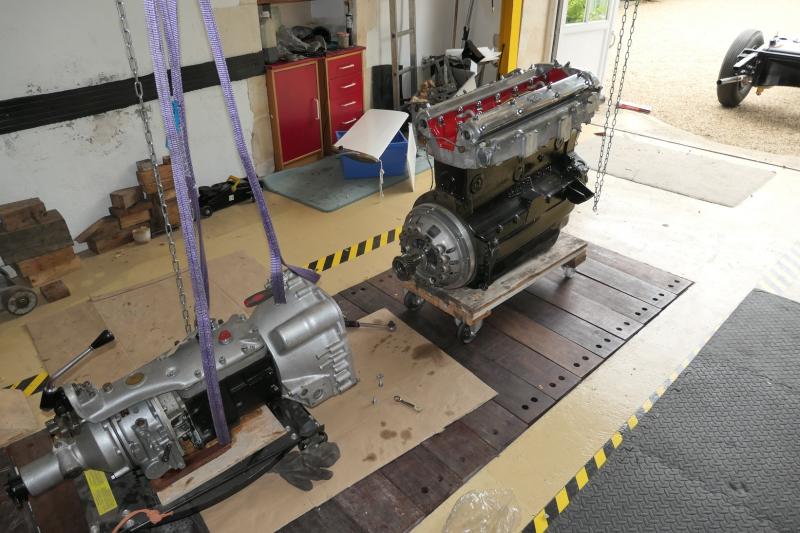
I am ready : box and OD loaded in the boot / trunk…
2 Likes
Well … the front suspension is almost refurbished and on the chassis, the steering is on the bench and wanted to “show” what useful “tool” i made to help putting the rubber protection on the steering shaft:
A piece of wood , sharped at one end and with a chamfrein at the other end .
Some grease around , and a big push but careful …
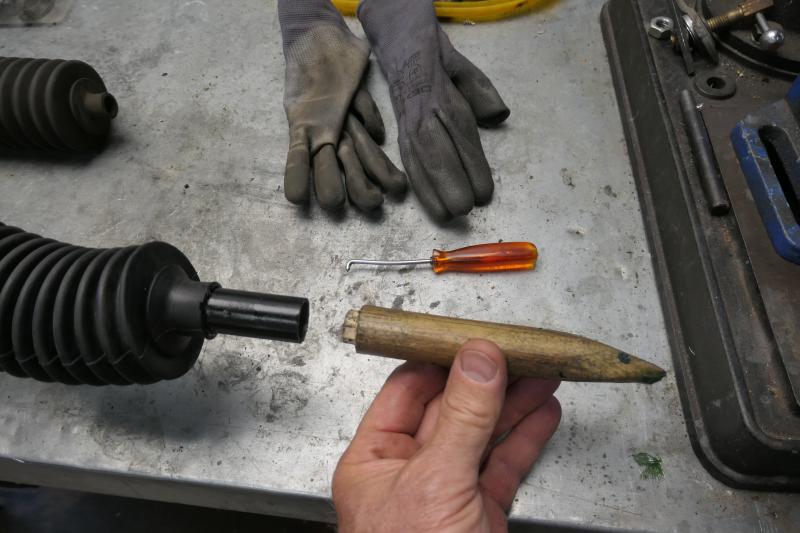

And for some rubber gaiter, a angle screwdriver can be also helpful:

1 Like
I worked also on the box … I wanted an Overdrive because my box is a close ratio and a “5” speed seems to be correct . I didn’t want a “new” 5 speed box to keep the originality of the parts.
I founded with the help of the forum ( thank’s Jonv2) the right OD with the vertical solenoïd .
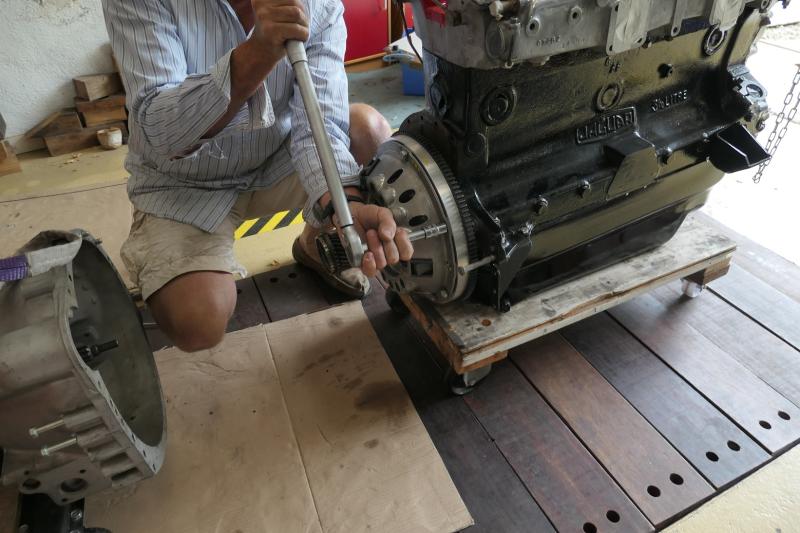
I spent a great day with my mechanic where i was rhe apprentice around the bench ![]() Dismantling the box to fit the correct main shaft , after a close examination of the pinion and synchro .
Dismantling the box to fit the correct main shaft , after a close examination of the pinion and synchro .
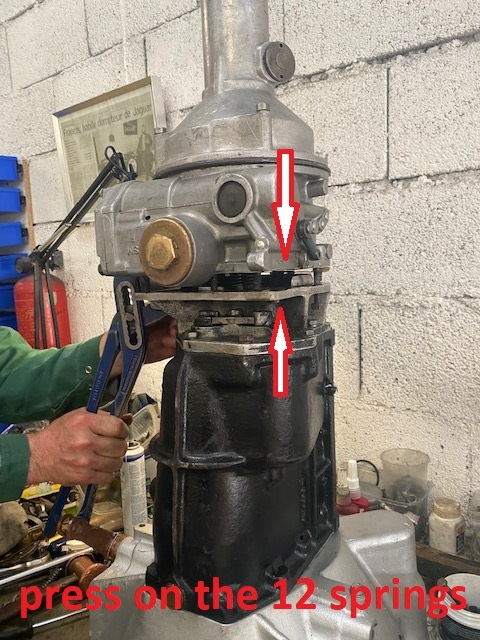
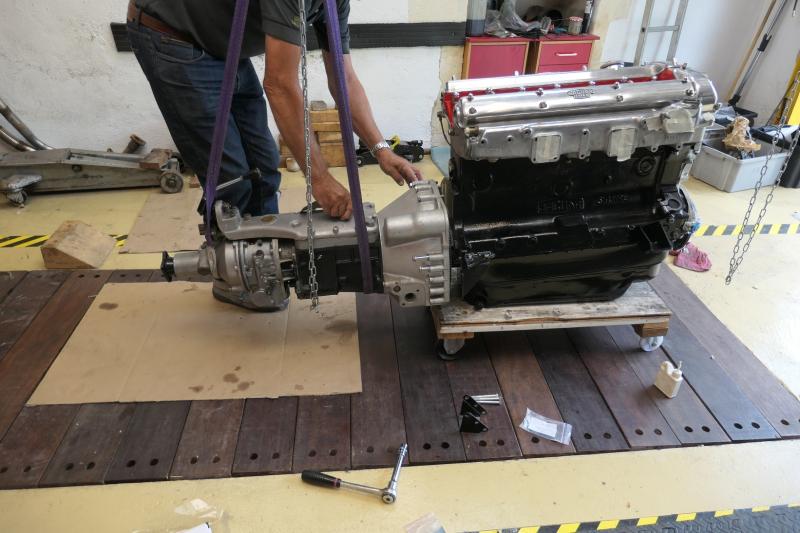
Check of the bearings, and the masterpiece of the day closing the 3 main parts : box, OD , and junction part. It’s not an easy job to insert the shaft and compress the 12 springs while the splines have to be specificly aligned… ![]()
The beer at the end of the day was welcome ![]()
![]()

back at home ![]()
2 Likes
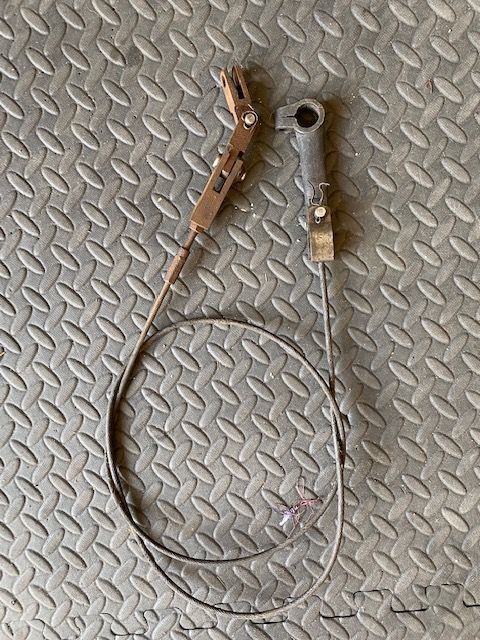
Quizz…? i found this part among others of my 140 … I wonder if it is from a 140 ? it could be a hand brake cable from another XK ?
I just very recently read a very interesting webpage explaining the special methods to do this OD assembly job easily, involves making a small wire tool, and someone chipped in the comments with another shortcut…maybe it was on @Bob_K1 page ?
One thing - be very careful when pulling the casings together on bolts, as you MUST be sure the parts are correctly aligned. If not, tightening threads up to pull together will result in a broken casing. I’ve seen it too many times to count on Triumphs and Healeys, so I assume the Laycock o/d in a Jag is no different.
And no, I don’t think that part is from a 140 - just finishing mine and I didn’t take anything like that off it.
some one said it’s from an MK2…
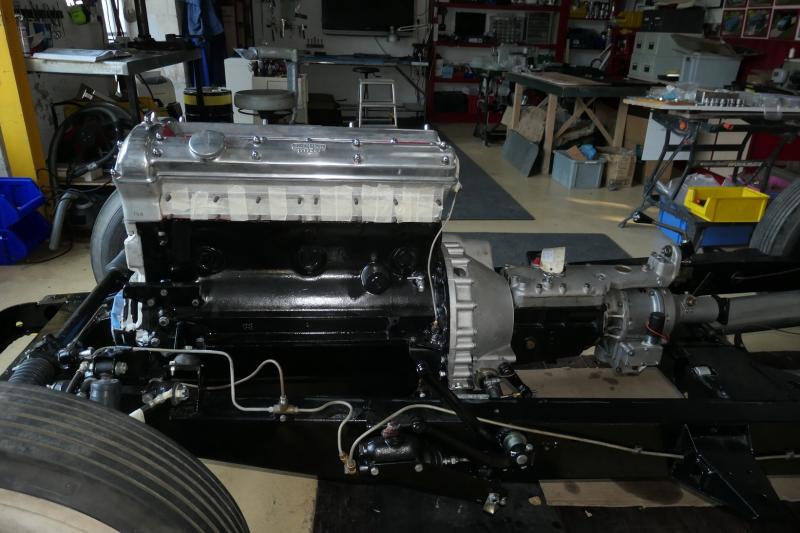
The OD is now bolted on the box as you see on the photo. I wait for some missing bolts to fix on the engine…
I don’t recall ever seeing a part like that on my MKII (1964).
Certainly not on the trans / OD.
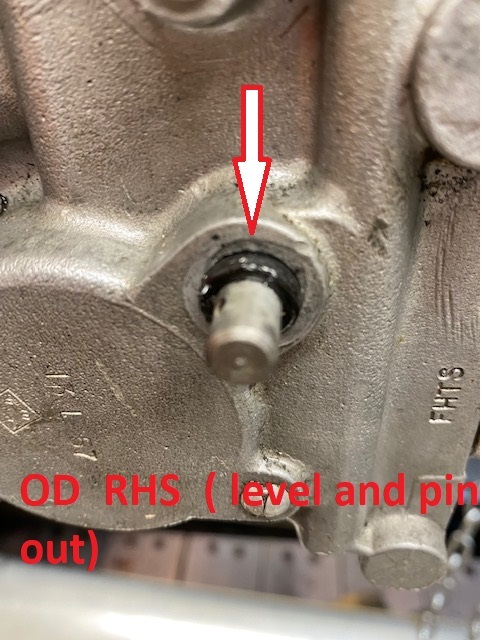
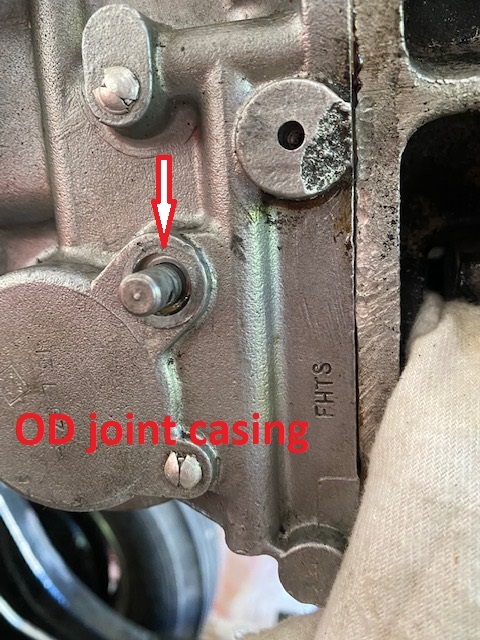
I have a “small” leak on the OD where the level is fitted at the right side but i have no reference about the “Oring” joint . May be some one here has it ?


Thank’s Rob Joint ordered… ! and finaly found at LE MANS CLASIC today where my mechanic friend was as “master” mechanic for the E type N62 . And he had these specific joint in one of his "magic part box "
1 Like
Questions about this seal for the OD lever…. Mine leaks like crazy… or at least I believe that is where the leaking is coming from, spend a bit of t8me under the car cleaning etc to find the leak and this looks like the best suspect…. Anyone know if this can be changed with the gearbox and OD still in the car? The parts diagram shows the part as a seal which would likely have to be picked out and pressed in which would be hard to do with the OD still in the car… I ordered what I though was the correct part from Moss and I got a couple of o-rings not seals. O-rings could more easily be changed with the OD in the car, but usually on O-ring has some sort of retainer to hold it in place which I don’t see in the parts diagrams!
It’s an O ring :
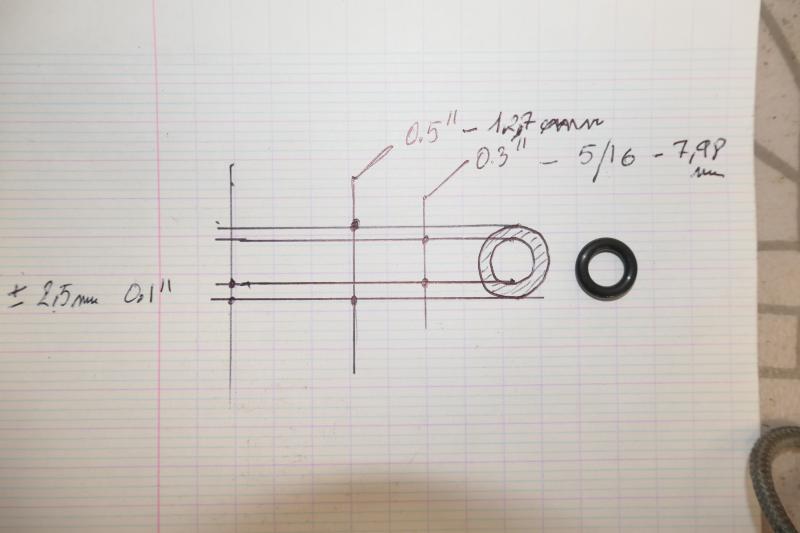
The measures are ± correct … it’s a rubber ![]()
The Oring is quite difficult to take off it’s casing , but with a surgical needle it’s fine, the more difficult is to pull out the level pin and even to put it when the O ring is fitted , it’s easy with the Overdrive out… i don’t know how it is when it’s in the car ?
Today is a great day …! ![]() clutch on the engine
clutch on the engine
Bell on the clutch :
And engine on chassis
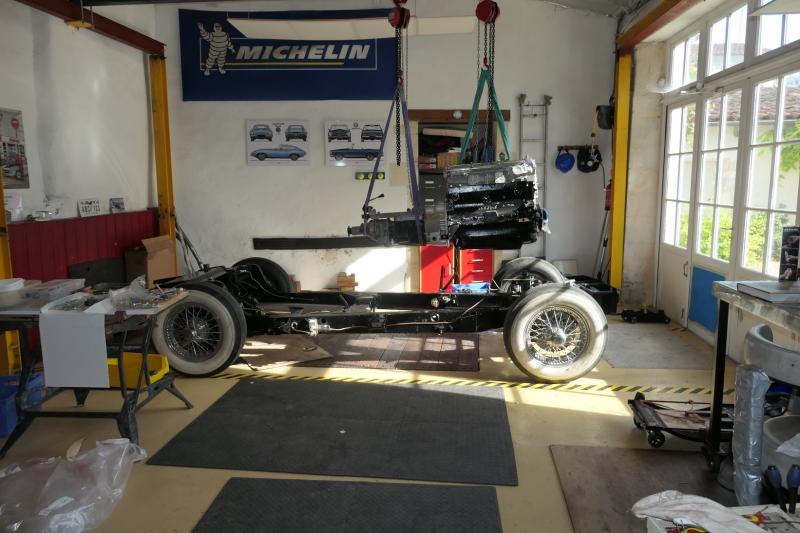
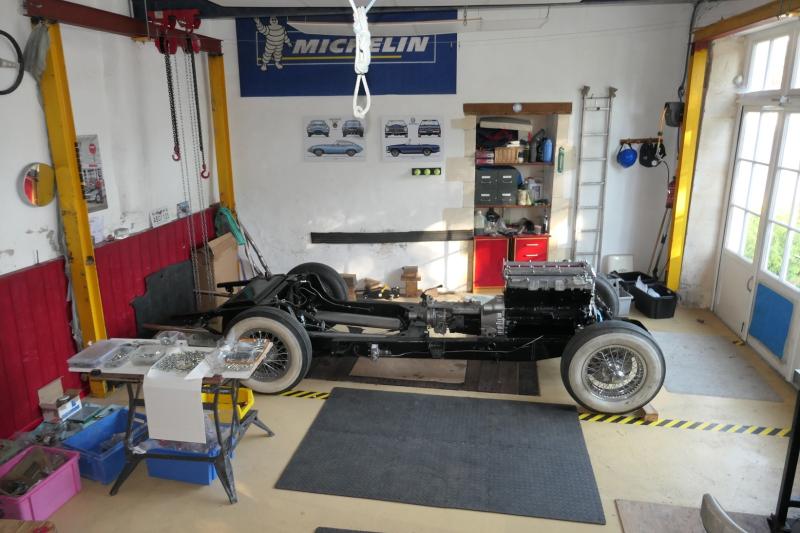
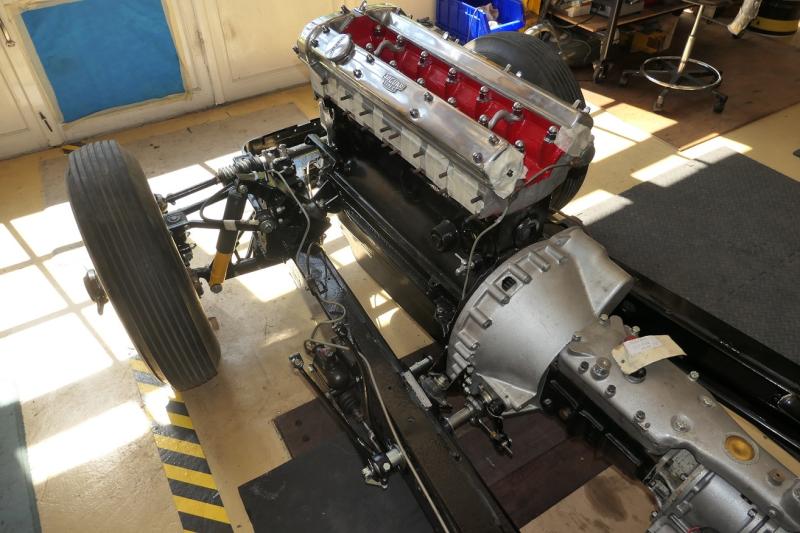
Ok it’s so obvious for many of you… ! but it’s a milestone for me
6 Likes
I have shop envy !!
And congrats on the milestone too.
1 Like
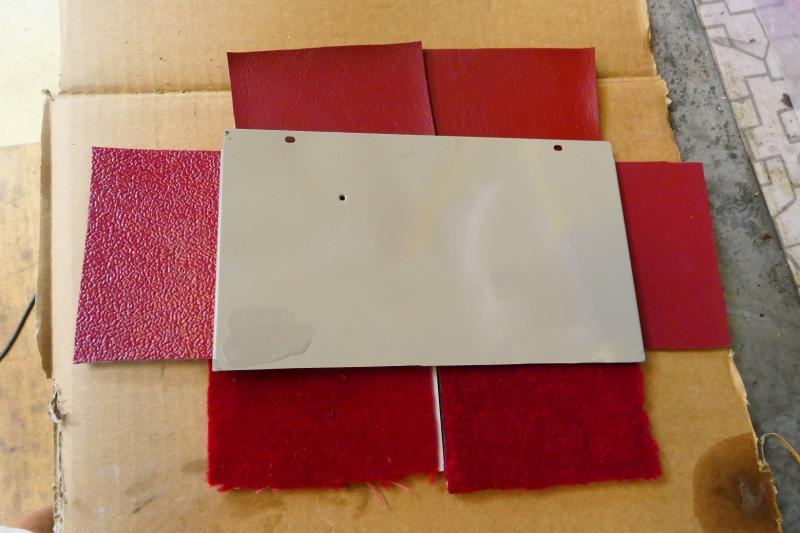
I am now arrived at a great step in the restoration… color choice ![]()
In fact i have decided to keep the factory color : Birch Grey ( not realy grey but a kind of grey cream) and also the red interior. So you could say what’s the problem …!
But things are not always so simple . A friend told me to consider having the wheels colored . I agree with that but what color…? i thought black could be a nice contrast with the birch grey . And he told me you could have them in red as the interior… and he said more… you could have a birch grey not “new” very shiny but a little matt grey. ![]()
![]()
I know it’s my own choice … but what do you think about that combination?
And are the wheels colored as the trimming something correct in 1955 ? i have seen some cars with colored wheels quite nice …
Thank’s for your thoughts which can help me to choice !!!
Here are the samples :
Is your car an SE? If so, wire wheels would have been body colour from the factory. That said, I have painted my Mist Grey 140DHC’s wheels dark blue to match the trim, common on British cars of that era.
Polse, a quick look at your photos, and progress to date…
Can I strongly suggest you have a really good look at your brake pipes/lines exiting your master cylinder… totally wrong shape/routing, which will cause you grief down the track, but easy enough to fix now and properly, before you fit body onto chassis…
Roger