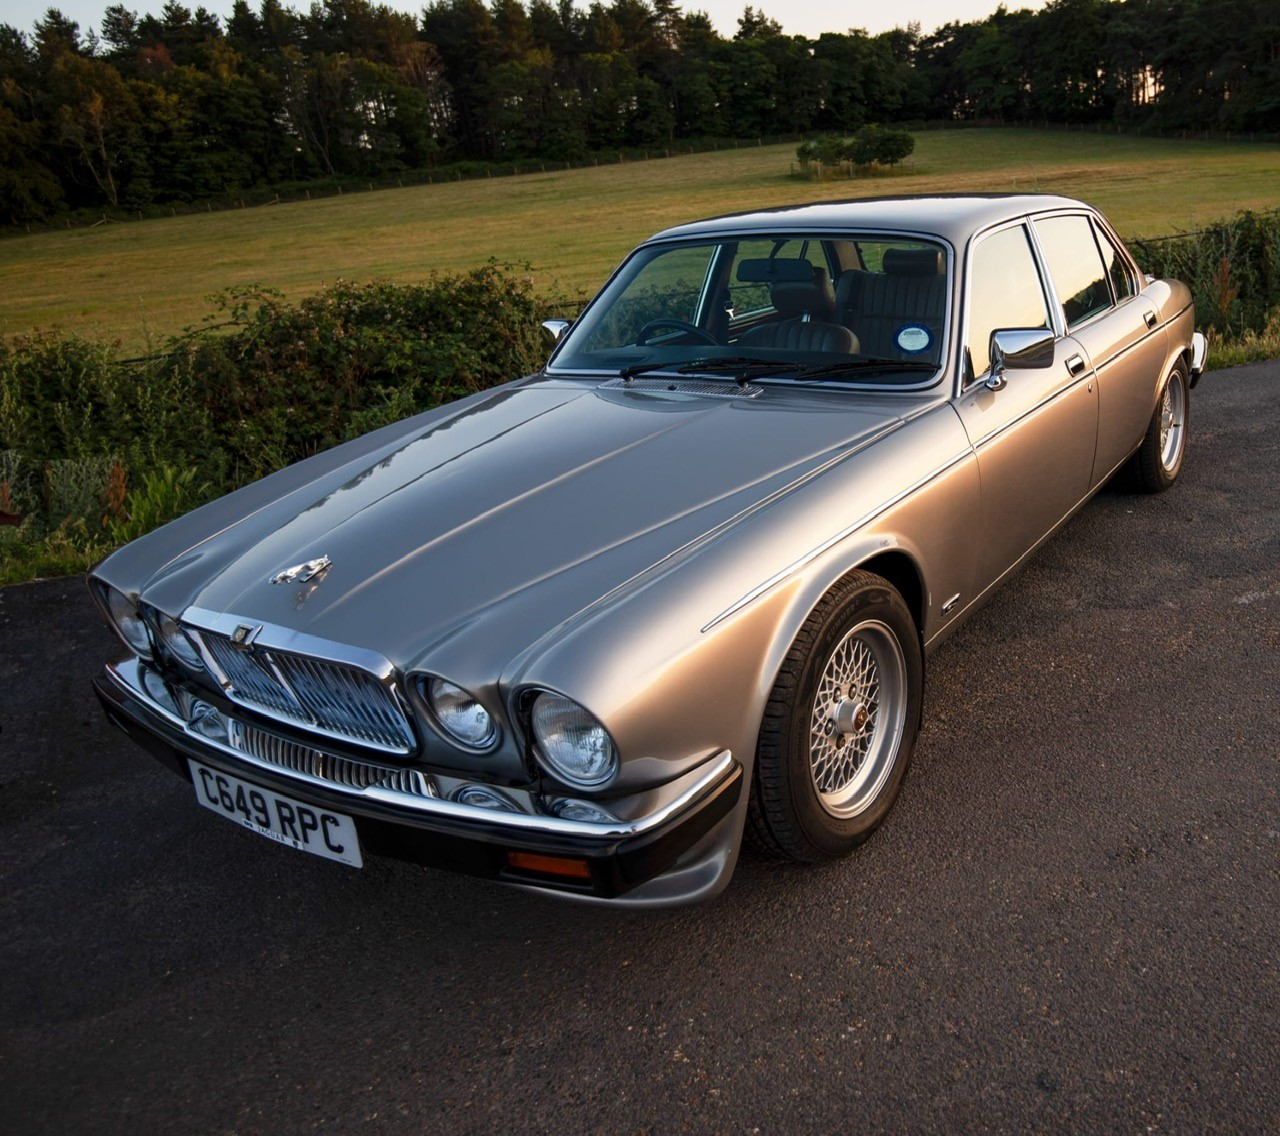
I recently( about a year ago) purchased a new toy. It is a 1991 Daimler Double Six, German market car. This is my first experience with a Jaguar as I previously only owned classic Mercedes models as hobby cars. The car was already slightly
modified by the previous owner with widened fenders and 8X16 Remotec wheels. It is a clean car(no rust or obvious prior accident damage) and around 140k KM on the engine. Stock suspension and driveline.
I know that purists will scoff at the fenders/wheels but since I went into this with the idea of further modifications, this car seemed like a perfect candidate.

2 Likes
I love a modified XJ, you’ll have fun with that, I noticed the widen arches aright away…
here’s my modified, XJ, courtesy of a German tuner Arden…
1 Like
Arden Jaguars are nicely and tastefully done, but slightly out of my league. When I was looking, the nice AJ4s were at around 30-50k Euros.
I certainly approve of the colour and will be looking for an Arden front spoiler, like on your car.
I did a lot of research on V12 Series 3 models and steered clear of any with rust, electrical issues or prior accident damage. This car was somewhat neglected as it was stored and unused for a few years. It had old tires, sagging headliner, original hoses under the hood and the AC was non-op. However, it ran on all cylinders and all electricals were functioning.
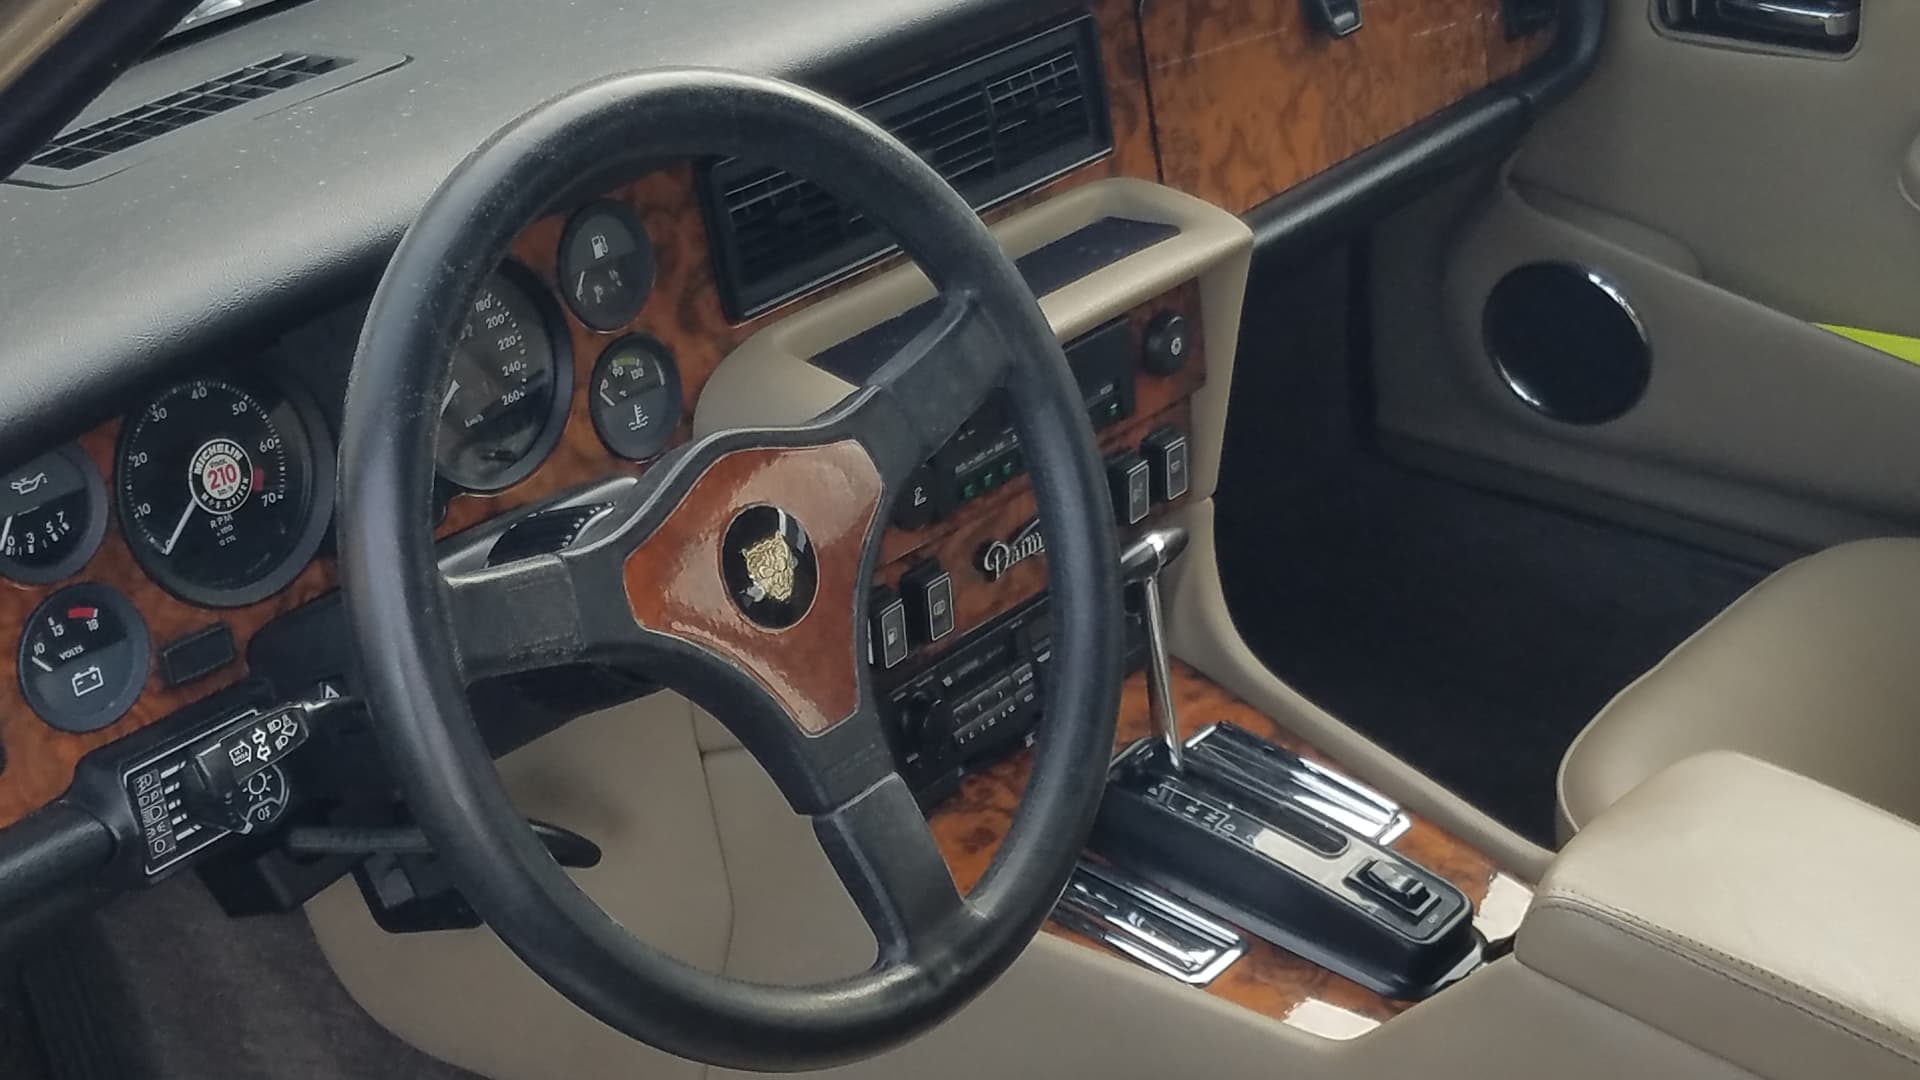
What I didn’t like were black painted wheels and wooden Moto Lita steering wheel.
I quickly sourced another set of wheels(not yet mounted) and a period correct Momo Jaguar steering wheel.
2 Likes
The plan is to do something similar to Harry Metcalfe’s modified XJC, with standalone ECU EFI, manual transmission and modified exhaust and suspension.
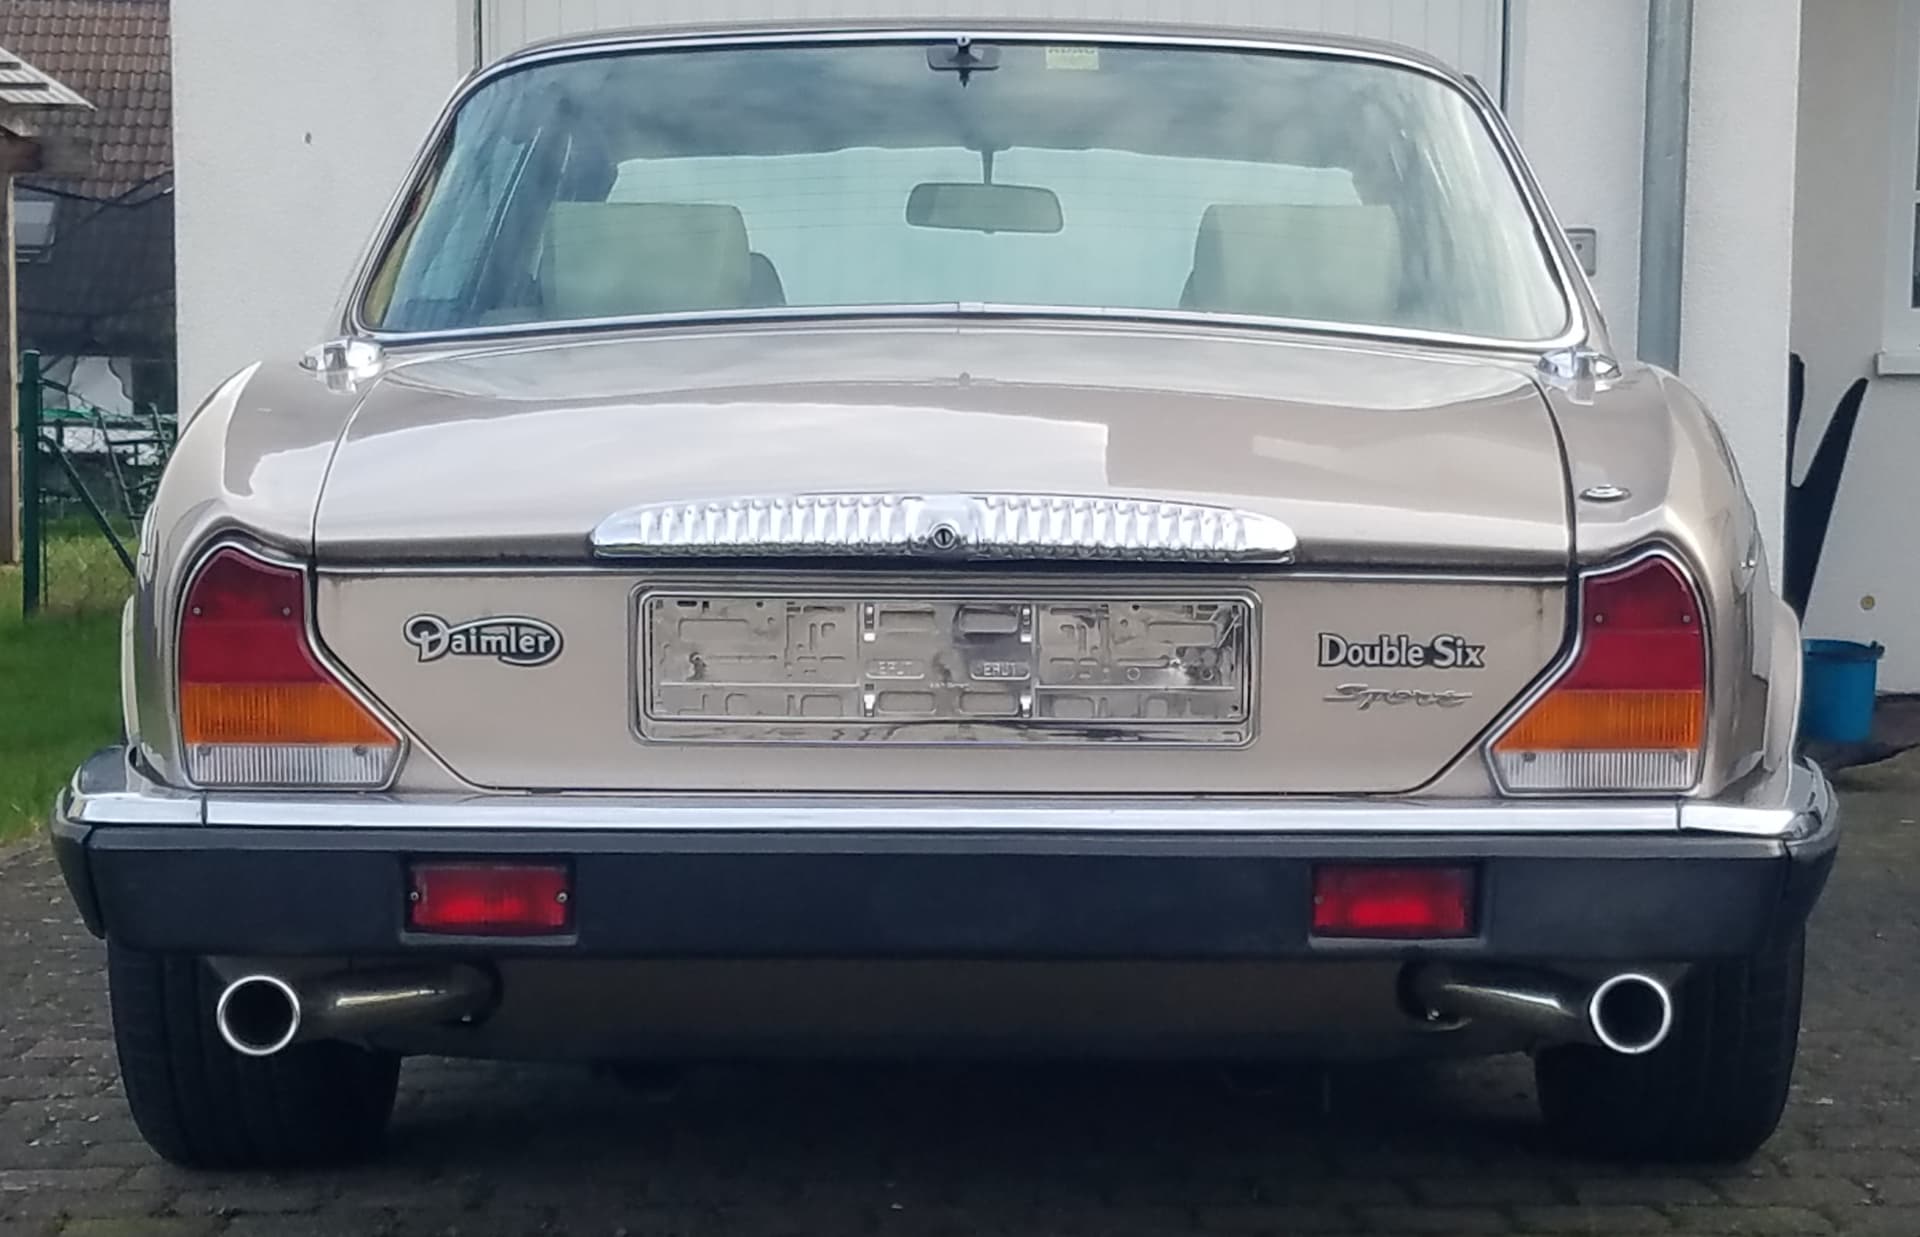
I already mounted Simply Performance stainless steel exhaust system as well as their lowering suspension kit.
Now I am in the process of installing Mobeck EFI kit. I was really lucky to source 6.0 intake manifolds and fuel rail to be able to somewhat copy Tom Lenthall’s conversion, as in Harry’s XJC. Unlike him, I will not be using Emerald ECU because I will be doing all of the work myself and Mobeck kit makes that much easier in my opinion.
I will shortly post pictures of the process, which I hope to finish in the following 10 days.
3 Likes
i like the fenders and wheels! please keep us updated!
good luck!
I have a Motec M800 on my series 2 V12 - it uses the distributor as the crank sensor and fires the ignition through a hi performance single coil. I have asked about changing to coil packs but the consensus is that they are not needed and work fine even at the 6500Rpm redline.
It does seem to work really well.

Garry
2 Likes
I like those custom fuel rails and the cold air intake. Very nicely done.
Does your system(Motec) also control the fuel as well as ignition?
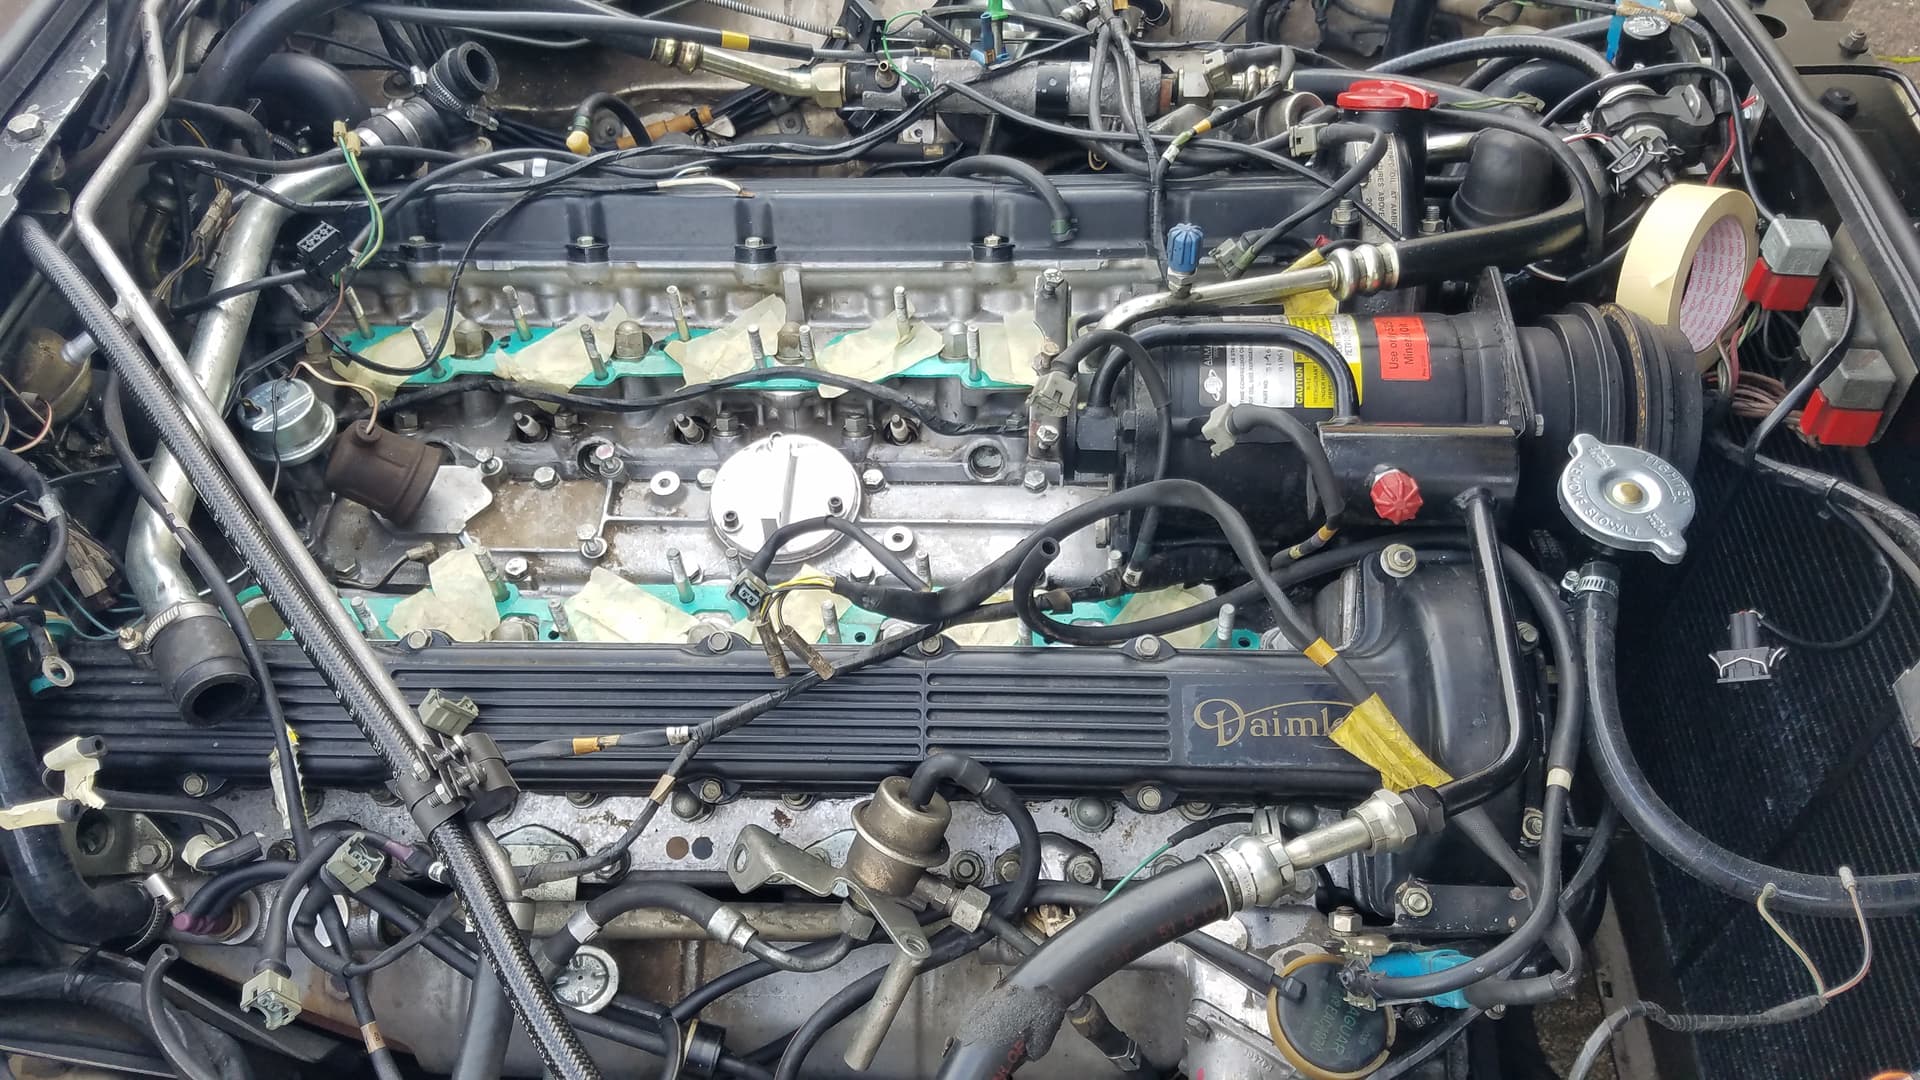
Even though my car worked on all cylinders when I bought it, I got convinced about the need to switch to a more modern system to control both ignition and fuel after seeing all of the 30+ year old plumbing/wireing under the hood, which showed signs of cracking, loose connections and hardening. I also watched all of the Harry’s XJC episodes on YouTube, particularly Tom Lenthall’s advice on what to keep and what to replace to make the V12 more reliable. I am not plugging the Mobeck kit but at this point in my life I have more money than time so I opted for the solution that seemed most complete and therefore faster. Of course, I might regret this decision soon as I just started this part of the project. However, since I already removed all of the engine loom, vacuum lines, sensors/solenoids/AAV and intake, there is no going back now. We shall see.

1 Like
Unfortunately I cannot claim credit for the conversion as it was done by the previous owner.
Yes the system does injection as well. The Motec ECU has now been superceded by later models but is able to sequentially drive both injection and ignition,
The ECU is in that red box where the battery would have been. The battery is now in the boot - not sure why they did that but is OK.
Garry
I have done a lot of prep work prior to starting this. The photo shows modified air intake with new air sensor mounted. This is not part of the kit but has to be purchased separately. Some cutting and fabricating needs to be done and all holes on the throttle side of the housing, not used anymore, need to be sealed.

In addition, I purchased Simply Performance enlarged throttle bodies. They are 72mm vs 63mm which matches the opening on the intake manifolds. I did have to slightly Dremel the manifold, but compared to other modifications, it was minimal.

I tried to obtain the ones from AJ6 Engineering, as they have a radiused opening, but they were not available at the time.

I mounted the O2 sensor on the left downpipe. This comes with the kit but I did have to purchase an extension as the wiring loom was about 30cm too short. I made sure when ordering the exhaust system from Simply Performance to have them put the O2 bung on both sides since I wanted to have the option to attach it to either side.

The right intake manifold is now in. One thing I forgot when I decided to use the 6.0 manifold is that it had air injection ports (also present on some other market 5.3s, like US). My German market 5.3 didn’t have an air pump and no holes on the manifold flange for the air injection.

It took me a long time to find something that fit the holes without having to machine or cut threads. I searched for a long time for either imperial or metric bolts to fit but nothing readily available in local hardware stores did. M6 was too small and M8 too big. Same thing for imperial sizes. I eventually went to a junk yard and managed to find 7mm bolts off of a Volvo that actually fit perfectly.

Yesterday I managed to mount the missing tooth wheel and the crank sensor. My car was somewhat of a hybrid model. I had both the crank sensor mount and the three-pronged wheel mounted on the harmonic balancer but no sensor. This would have been used with the Marelli equipped cars. I guess it depended on the market whether Marelli ignition or another system were used. I am slightly concerned about the distance from the sensor tip to the wheel. It has to be more or less 1mm and I have a hard time measuring it due to access. Also, it seems that the sensor is not centered on the wheel teeth and there is no way to modify the geometry.
What are you using for a fuel pressure regulator on these 6.0 style manifolds? I assume you are using the 6.0 fuel rails as well. The 6.0 had a higher fuel pressure than the 5.3.
For 1992 only, Jaguar had a 5.3 with 6.0 fuel rails, but with the earlier lower pressure. 1993 and later had a higher pressure.
I ask because I’ve had this conversation with Ole before and was wondering what you conclusion was.
You can measure the gap with a feeler gauge. I don’t know what they are called in you native language but they look like this:

Hey John6,
I will be using the built-in FPR that came with the 6.0 fuel rail. It is, I believe, 3 bar and is on the return side. AN hoses, fittings and Mobeck supplied adapters to attach injectors to 6.0 rails should prevent leaks. I also think that the ECU should be able to prevent over fueling due to the increased pressure. I have no way of testing the FPR and apparently, they are no longer available.
I do have a feeler gauge, but it is almost impossible to drag it in a straight line and make sure you don’t get a false reading. I can adjust the sensor out to increase the gap by adding washers but there is no way to close the gap unless you machine the mount itself.