Not sure if this is under the proper heading, maybe this ought to under the heading of XK?
Still working on the engine, but, put the fan and pulley on today. So starting with the fan belt….Nick says this could be tricky business. I ordered one from XK Unlimited to find I am not able to get it on. The old ratty one is no doubt stretched but is 41 and 1/4 inches in circumference. I may have received the wrong one so my question is which of these 2 would be the proper one or do I send the fan belt back and just get one from NAPA?
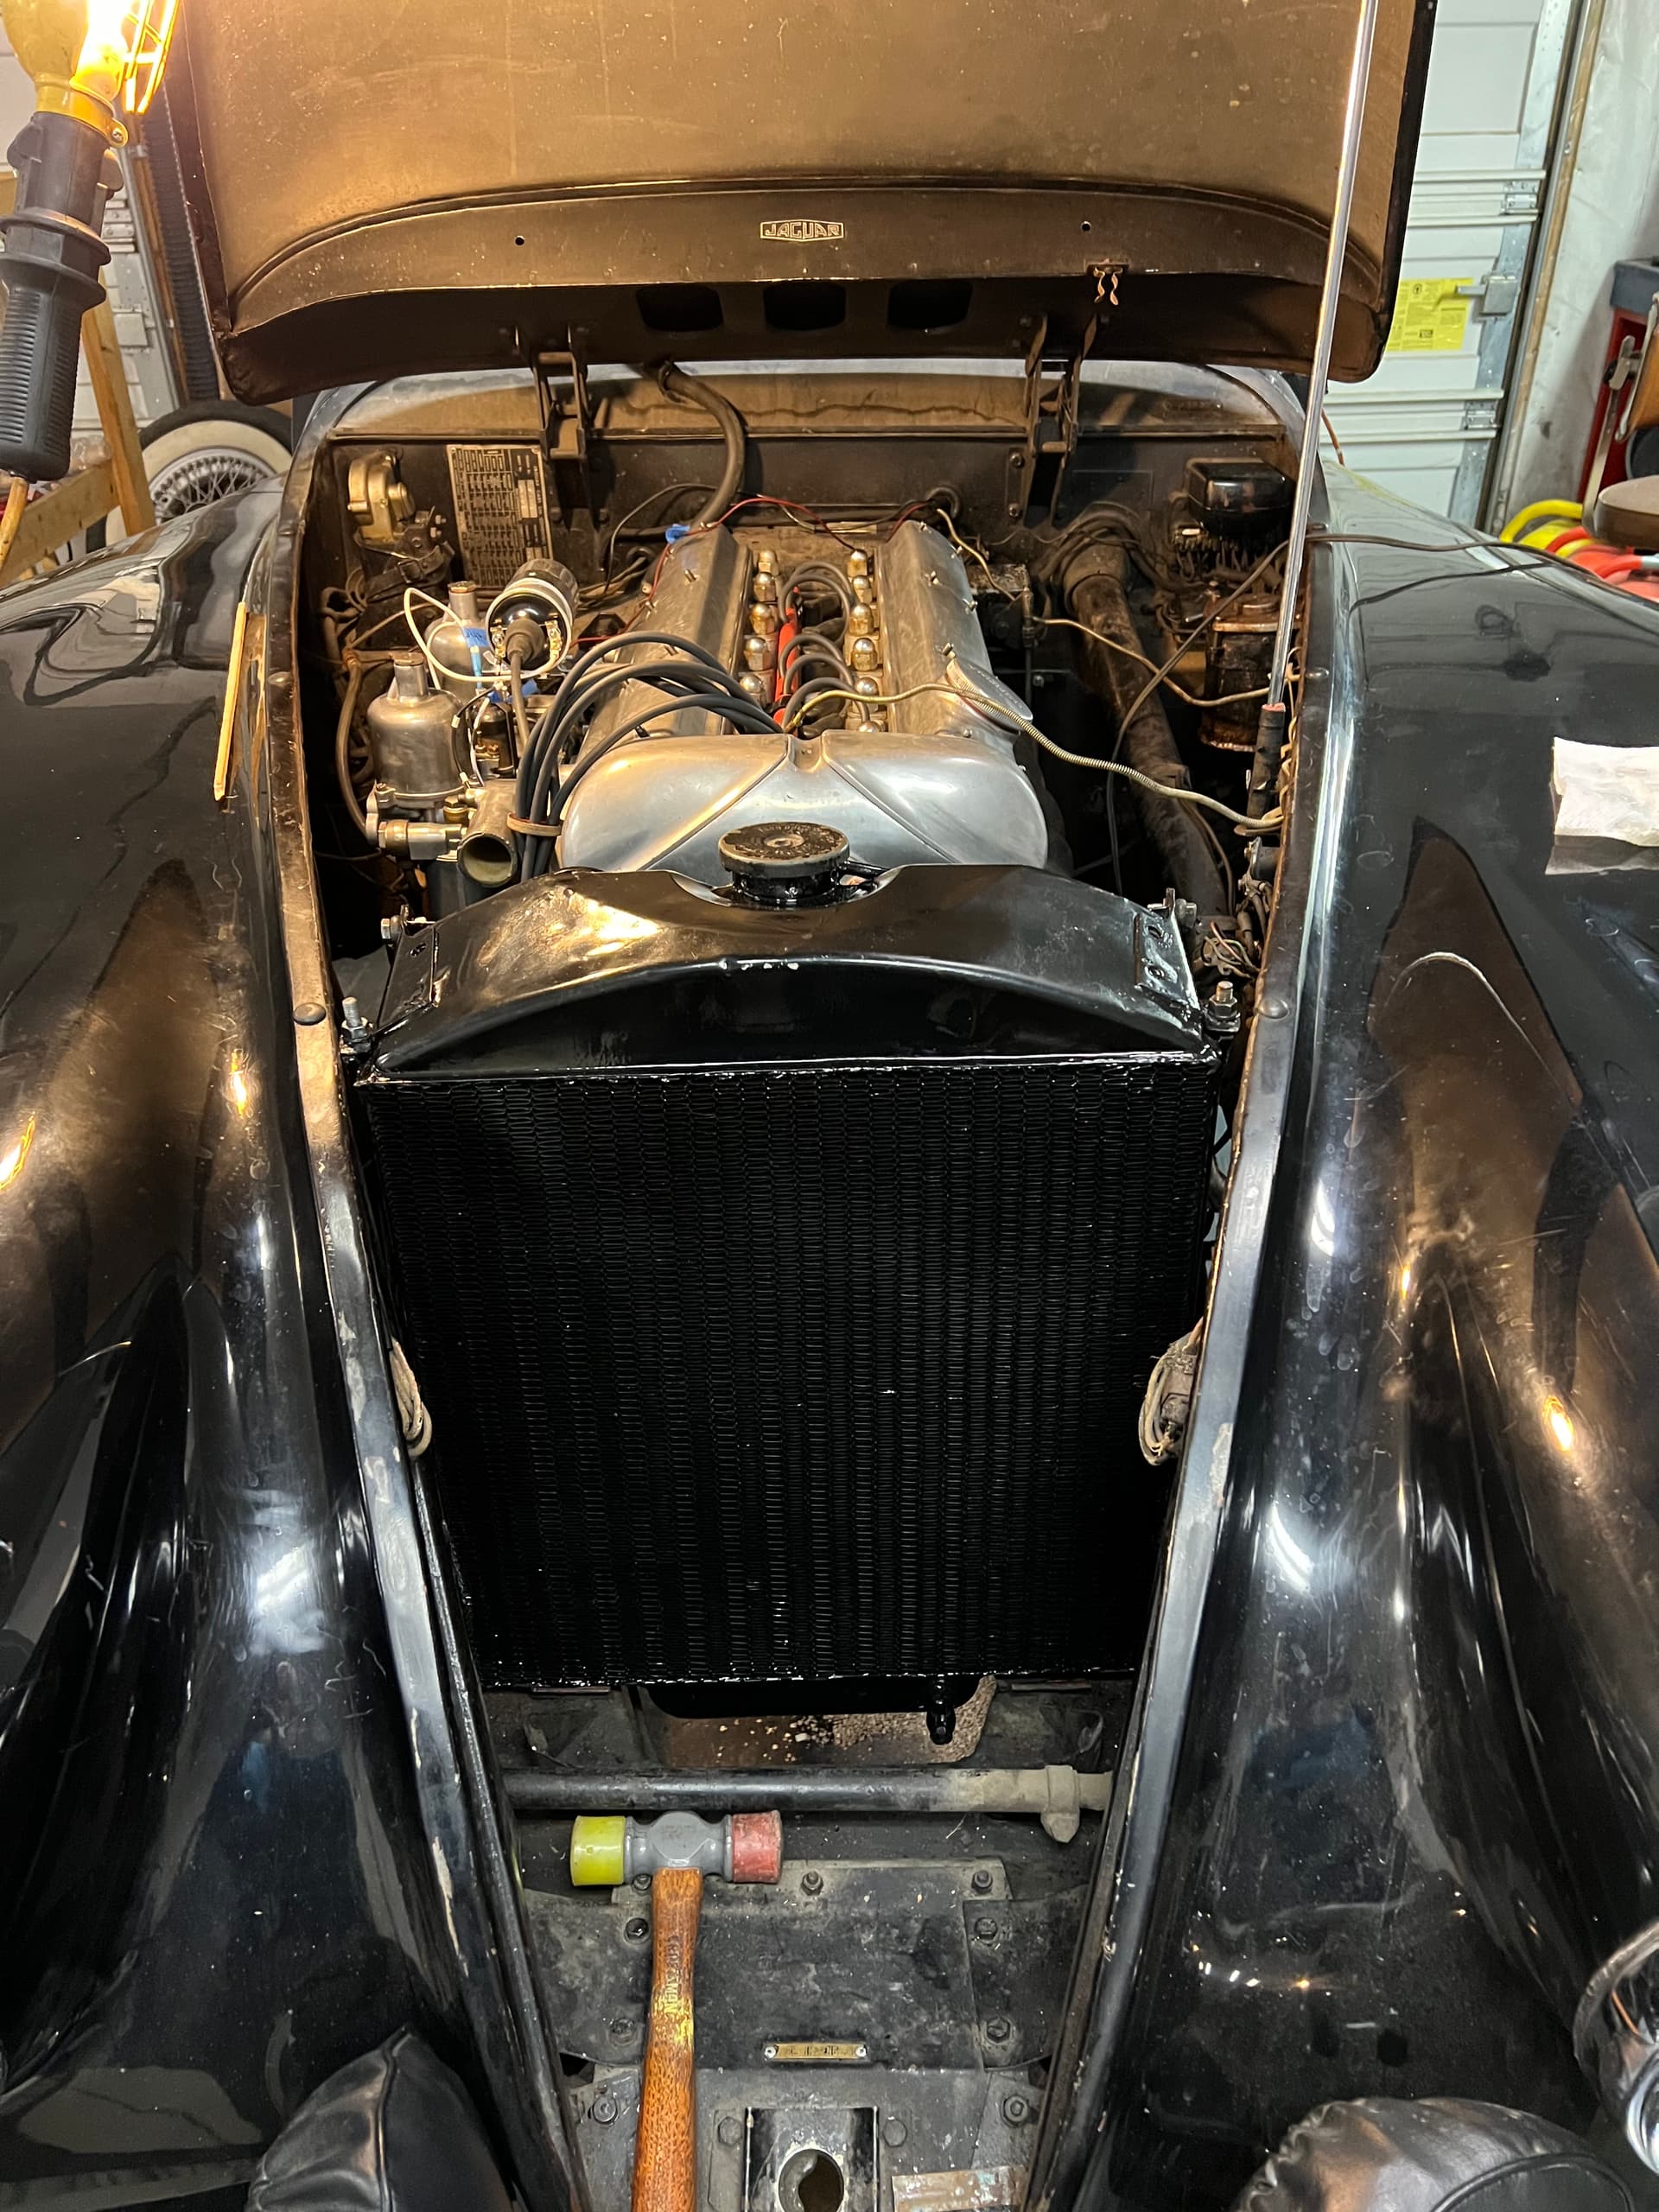
Next comes the radiator. I have a mounting kit that has 4 rubber strips. Two of which I presume rest in the radiator cradle. Or does it get 2 strips per side. Then the 2 rods with nuts and washers hold the radiator in position. The manual makes it look like there is a brace piece that goes on top of the radiator with a framework surrounding the front of the radiator as you would stand in front of the car.
So am I missing pieces? I am not sure. The exploded view is not the same as a picture of the assembly in situation so I end up confusing myself, do I have all the parts, the right parts or what?
If anyone could help clear this up for me before I proceed I would appreciate it. Merry Christmas to all of you!
Mike this is a more clear picture than what I have available, thank you! At the bottom of the radiator where it cradles i to the frame, do 2 stacked rubber strips fit on either side?
The top portion of the radiator looks the same as the one I have for the car therefore I am clear there are no missing pieces there.
I am getting excited to have the engine compartment complete and ready for start up.
The kits come with four rubber packing strips. I think I used just one on each side to get the radiator up to the right height. Your situation could be different.
Which direction do the rubber strips lay into the cradle brackets? I want to do this properly. I have seen no images on the Internet. Does it matter? Give me a clue or a picture or two!
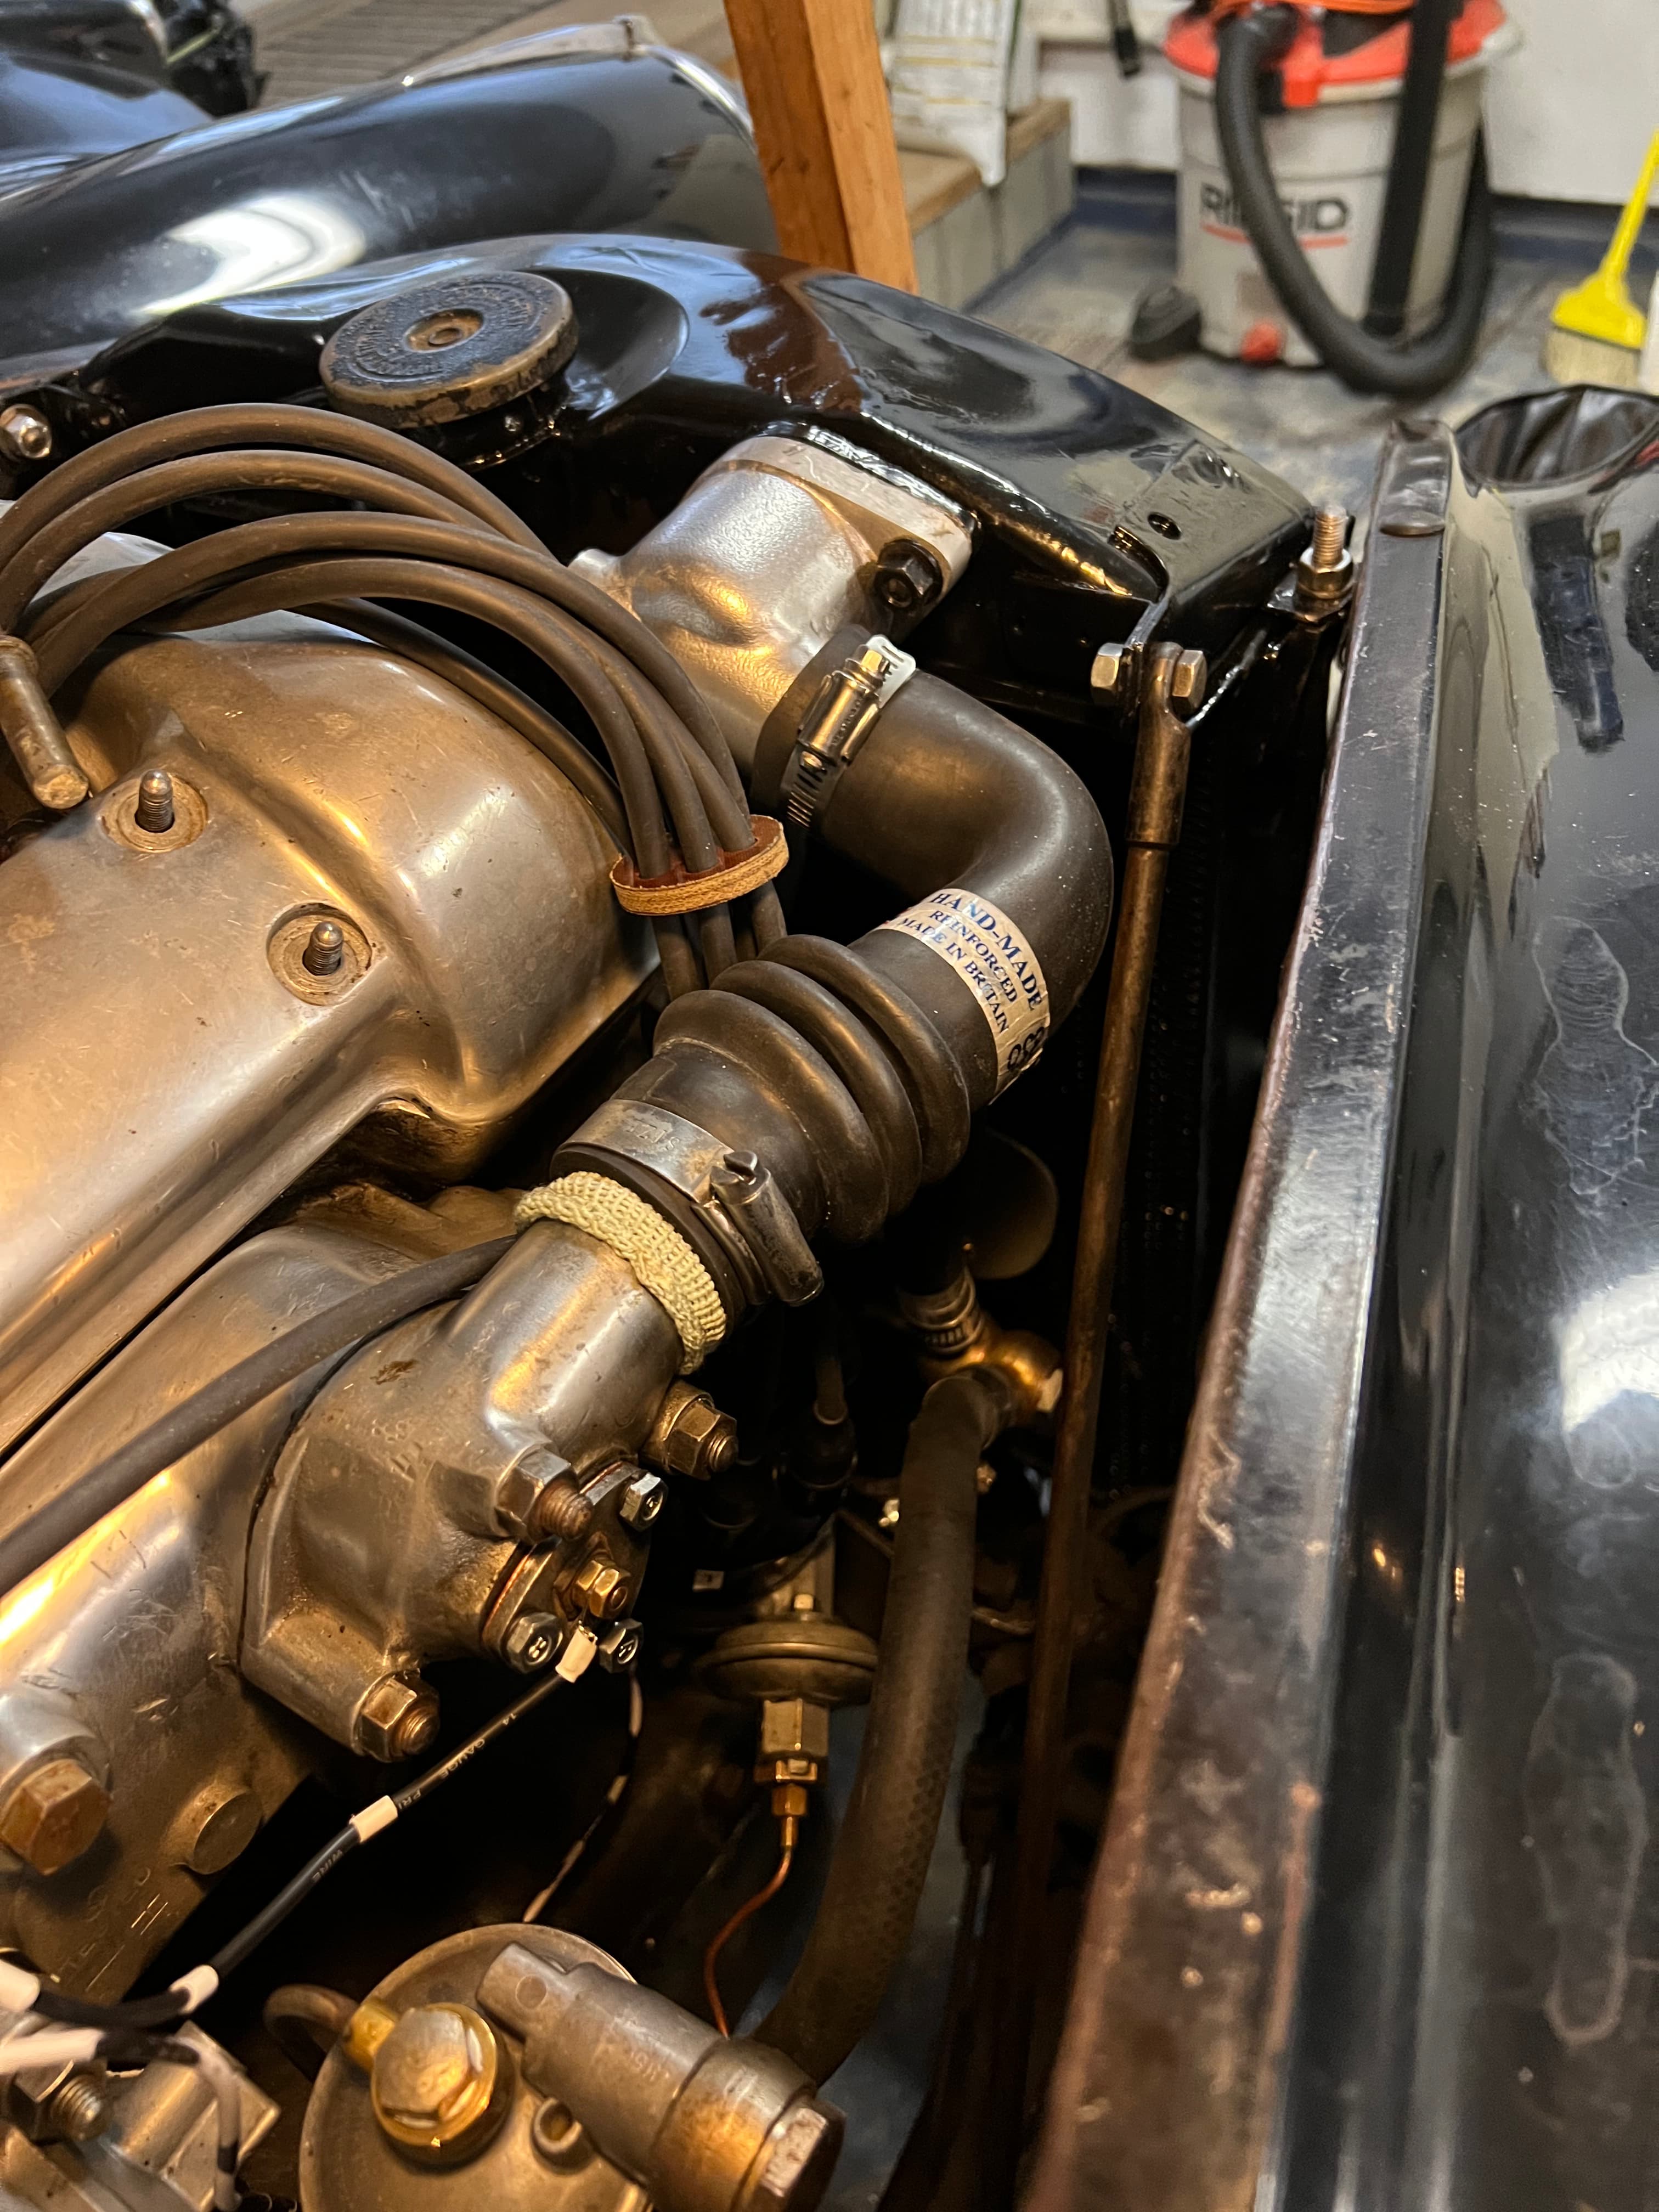
Hey guys, just a quick post to let you all know the radiator is in! Yea! And that lower radiator hose was a bearcat! Got it all done except for the top of it.
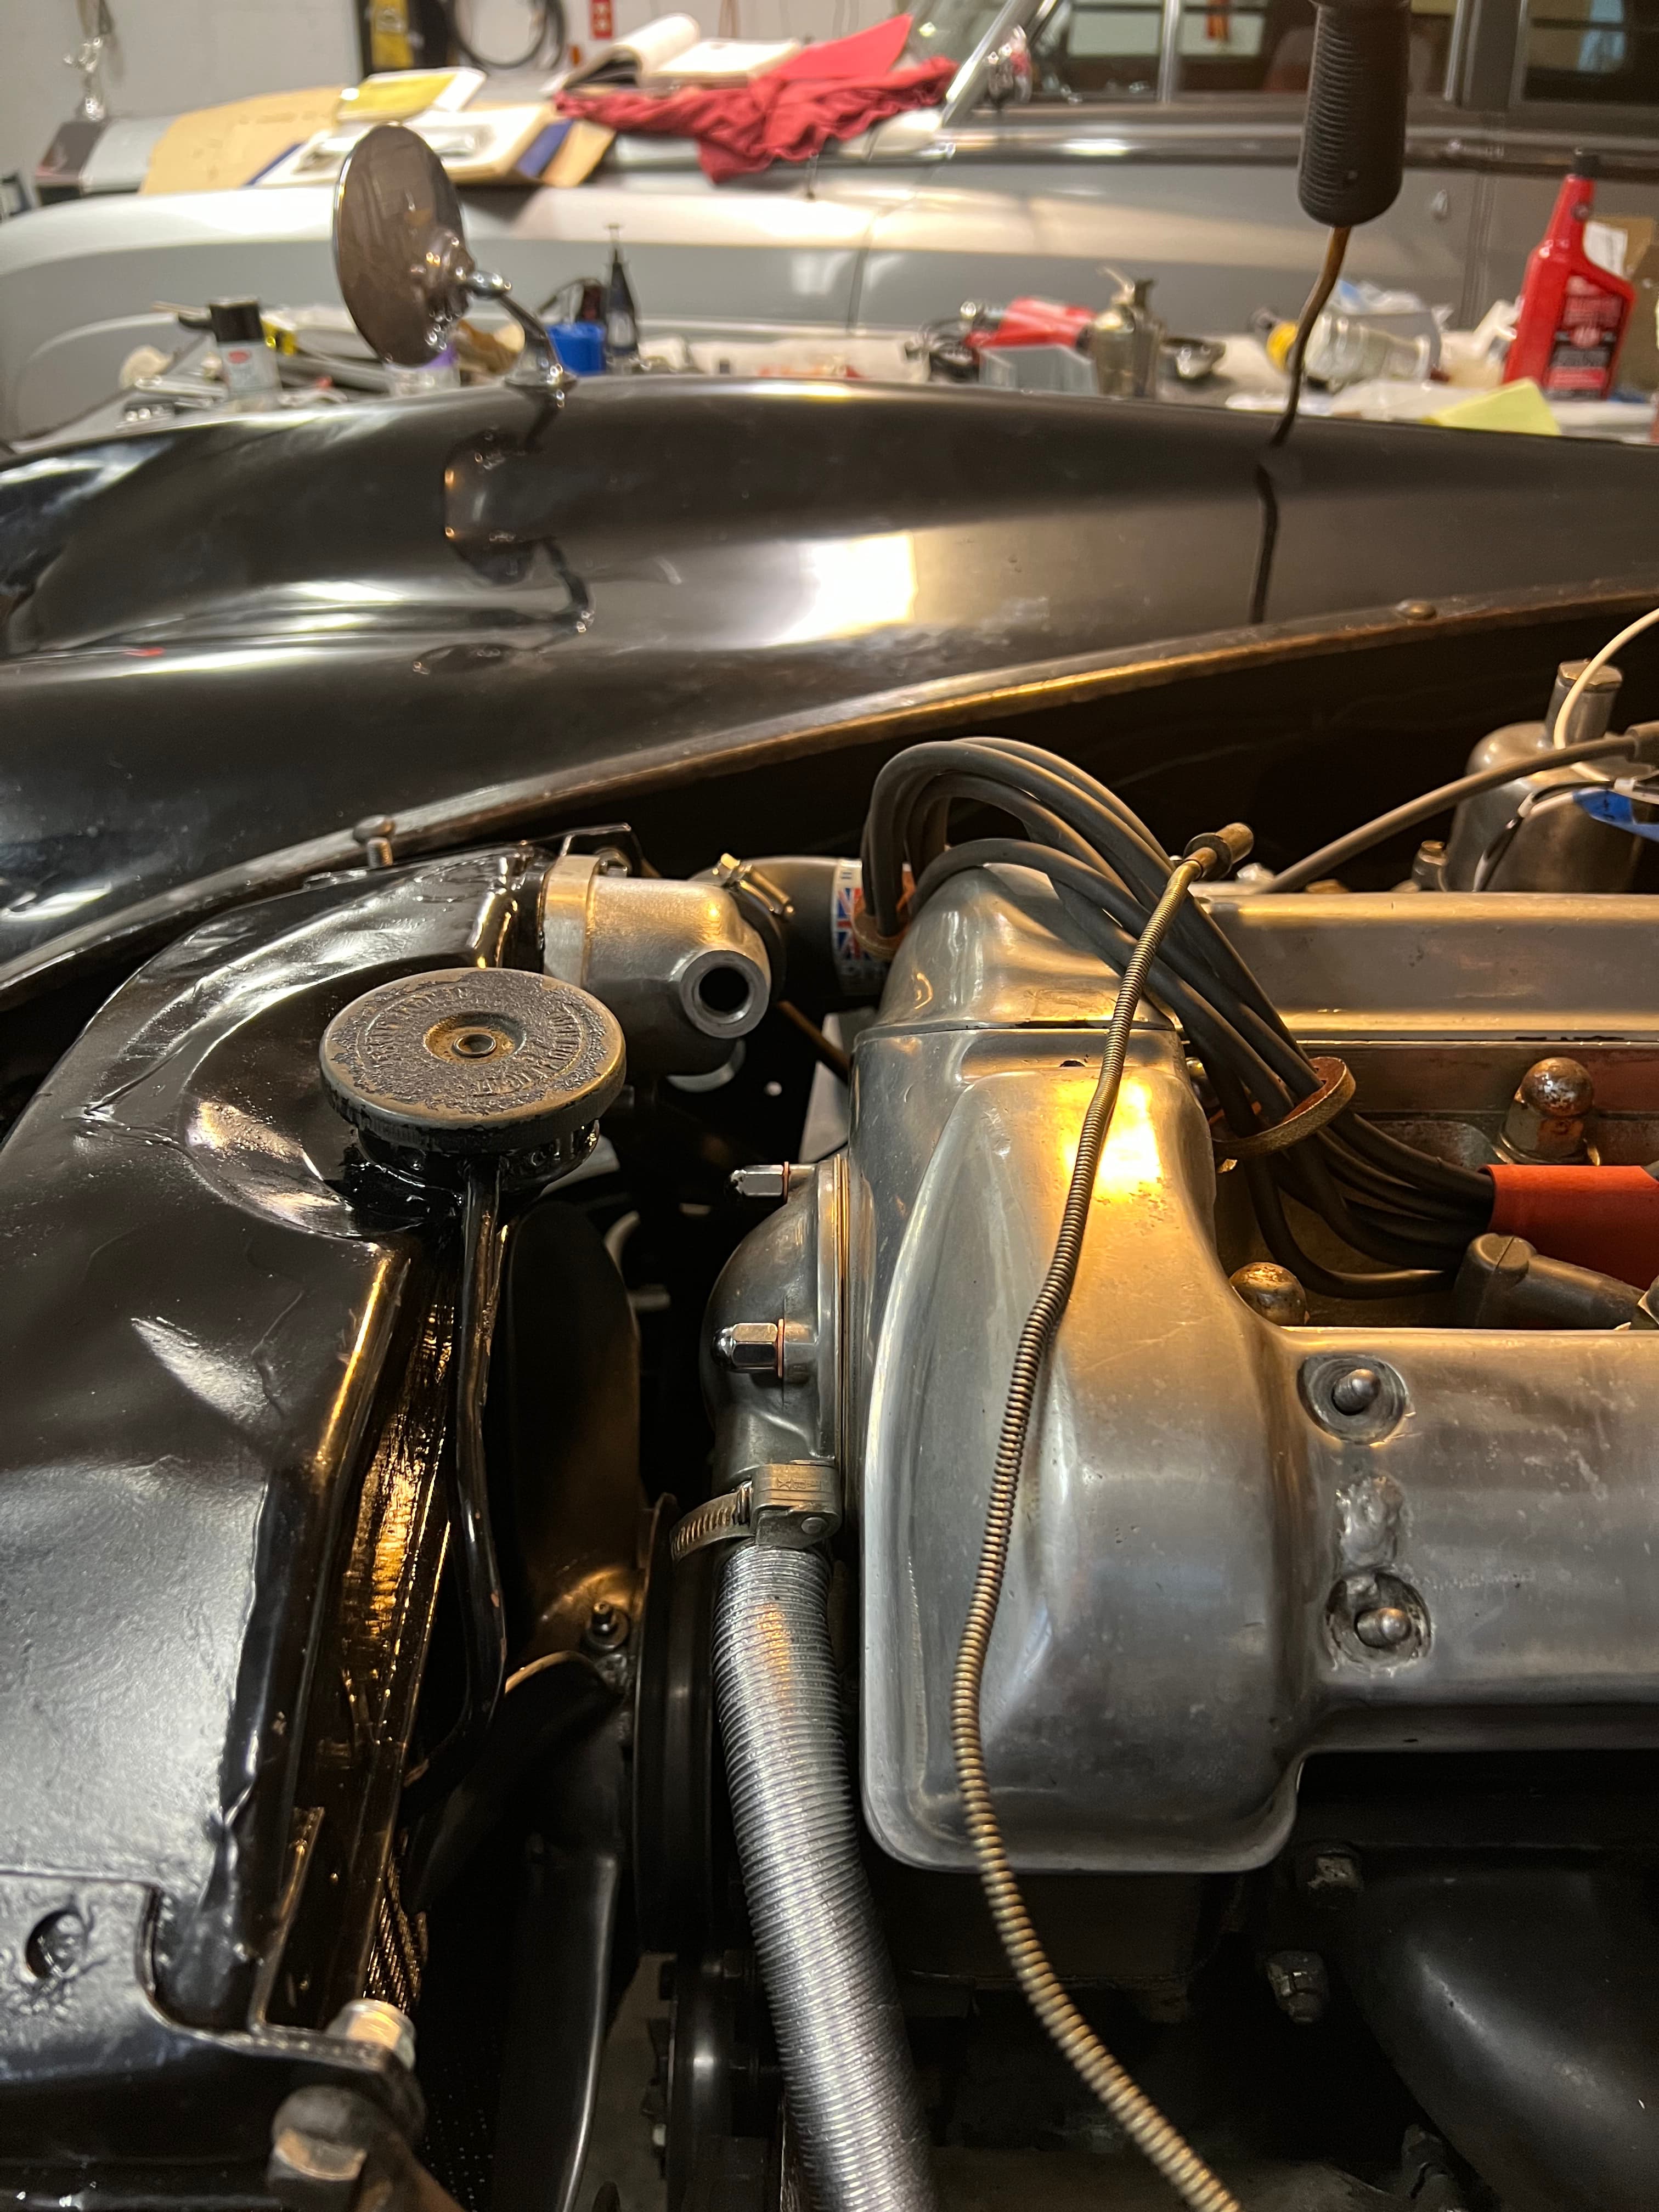
I have added the rest of the coolant apparatus having only the temperature sensor to install, however, the parts I have do not match up. Additionally whomever installed the after market sensor put the retaining nut on the wrong side. I can put the nut on the proper side by disconnecting the tube from the temperature gauge then slide the nut to its proper location. Does anyone understand how the tube comes away from the gauge? It looks as though it may unscrew or perhaps just pull it out. Not knowing the engineering, I don’t wish to ruin it.
With some luck I have found the coupling that will make it all work. For that to be successful though I need to resolve the nut before the temp sensor. To do this I must remove the tube from behind the aftermarket gauge then slip the nut on the tube feeding it toward the temp sensor. I have attempted to unscrew the tube from its connecting point but it turns only so far before the tube also turns. The same result occurs when turning it the opposite way. Since I do not understand how this tube is engineered to be placed behind the gauge I do not want to make any further attempts without further understanding of what I may try. I am open to those ideas if anyone has them to share with me. Thank you all for your assistance.
can someone be a bit less sensitive about a single book page copied for repair use and education of how stuff fits…please. Such use might even help sell another copy of the book. Nick
Your comment about the page in the book gave me a chuckle. I can agree with you but seeing the image for minute or two gave me the information needed to do the job. Thanks Mike B!
The top radiator hose has been shortened to make a proper 90 degree angle to the thermostat housing. In addition I have coolant in the radiator last evening. I’ll look for leaks today.
It is not about a single page, it is about single pages pasted multiple times until most of the book has been copied. By all means write a book yourself and publish it for free but using the education reasoning is not applicable as the whole book is meant for education.
The moderators have stated in another thread that we will not allow reproduction without the authors permission and the authors have previously stated that they are not happy about pages being reproduced here.
perhaps you meant to say the whole book is meant for profit.
Nick
PS: should anyone want data copies of the thousands of notes I have collected and edited about nearly all XK mechanical systems, with many photos and notes re service bulletins, just let me know, and since meant for education, no cost or payment is necessary, and you can distribute to others.
I don’t look at the XK-engine forum as often as the XK forum, so I just now saw this.
Maddy, did you get your fan belt resolved?
There are two variables to investigate.
The water pump pulley - 5-1/2" diameter on the 5-blade fan type, and 4" dia on the 6-blade fan type.
With the generator pulley there are two sizes floating around - C.2579 used on XK120 and Mark V is 3-1/2" diameter, where C.1076 used on Mark IV and Mark VII is 3-3/4" diameter; they are easily interchangeable and after all these years you could have either one. The part number is stamped in the spaces between the vane fins.
Then there is the adjustment bracket. Some people including me have reported theirs have been made longer to accommodate getting the fan belt on.
There is only one size crankshaft pulley on the 120.
I have the small water pump and small generator pulleys, and I use a 5L380 belt.
Rob ,
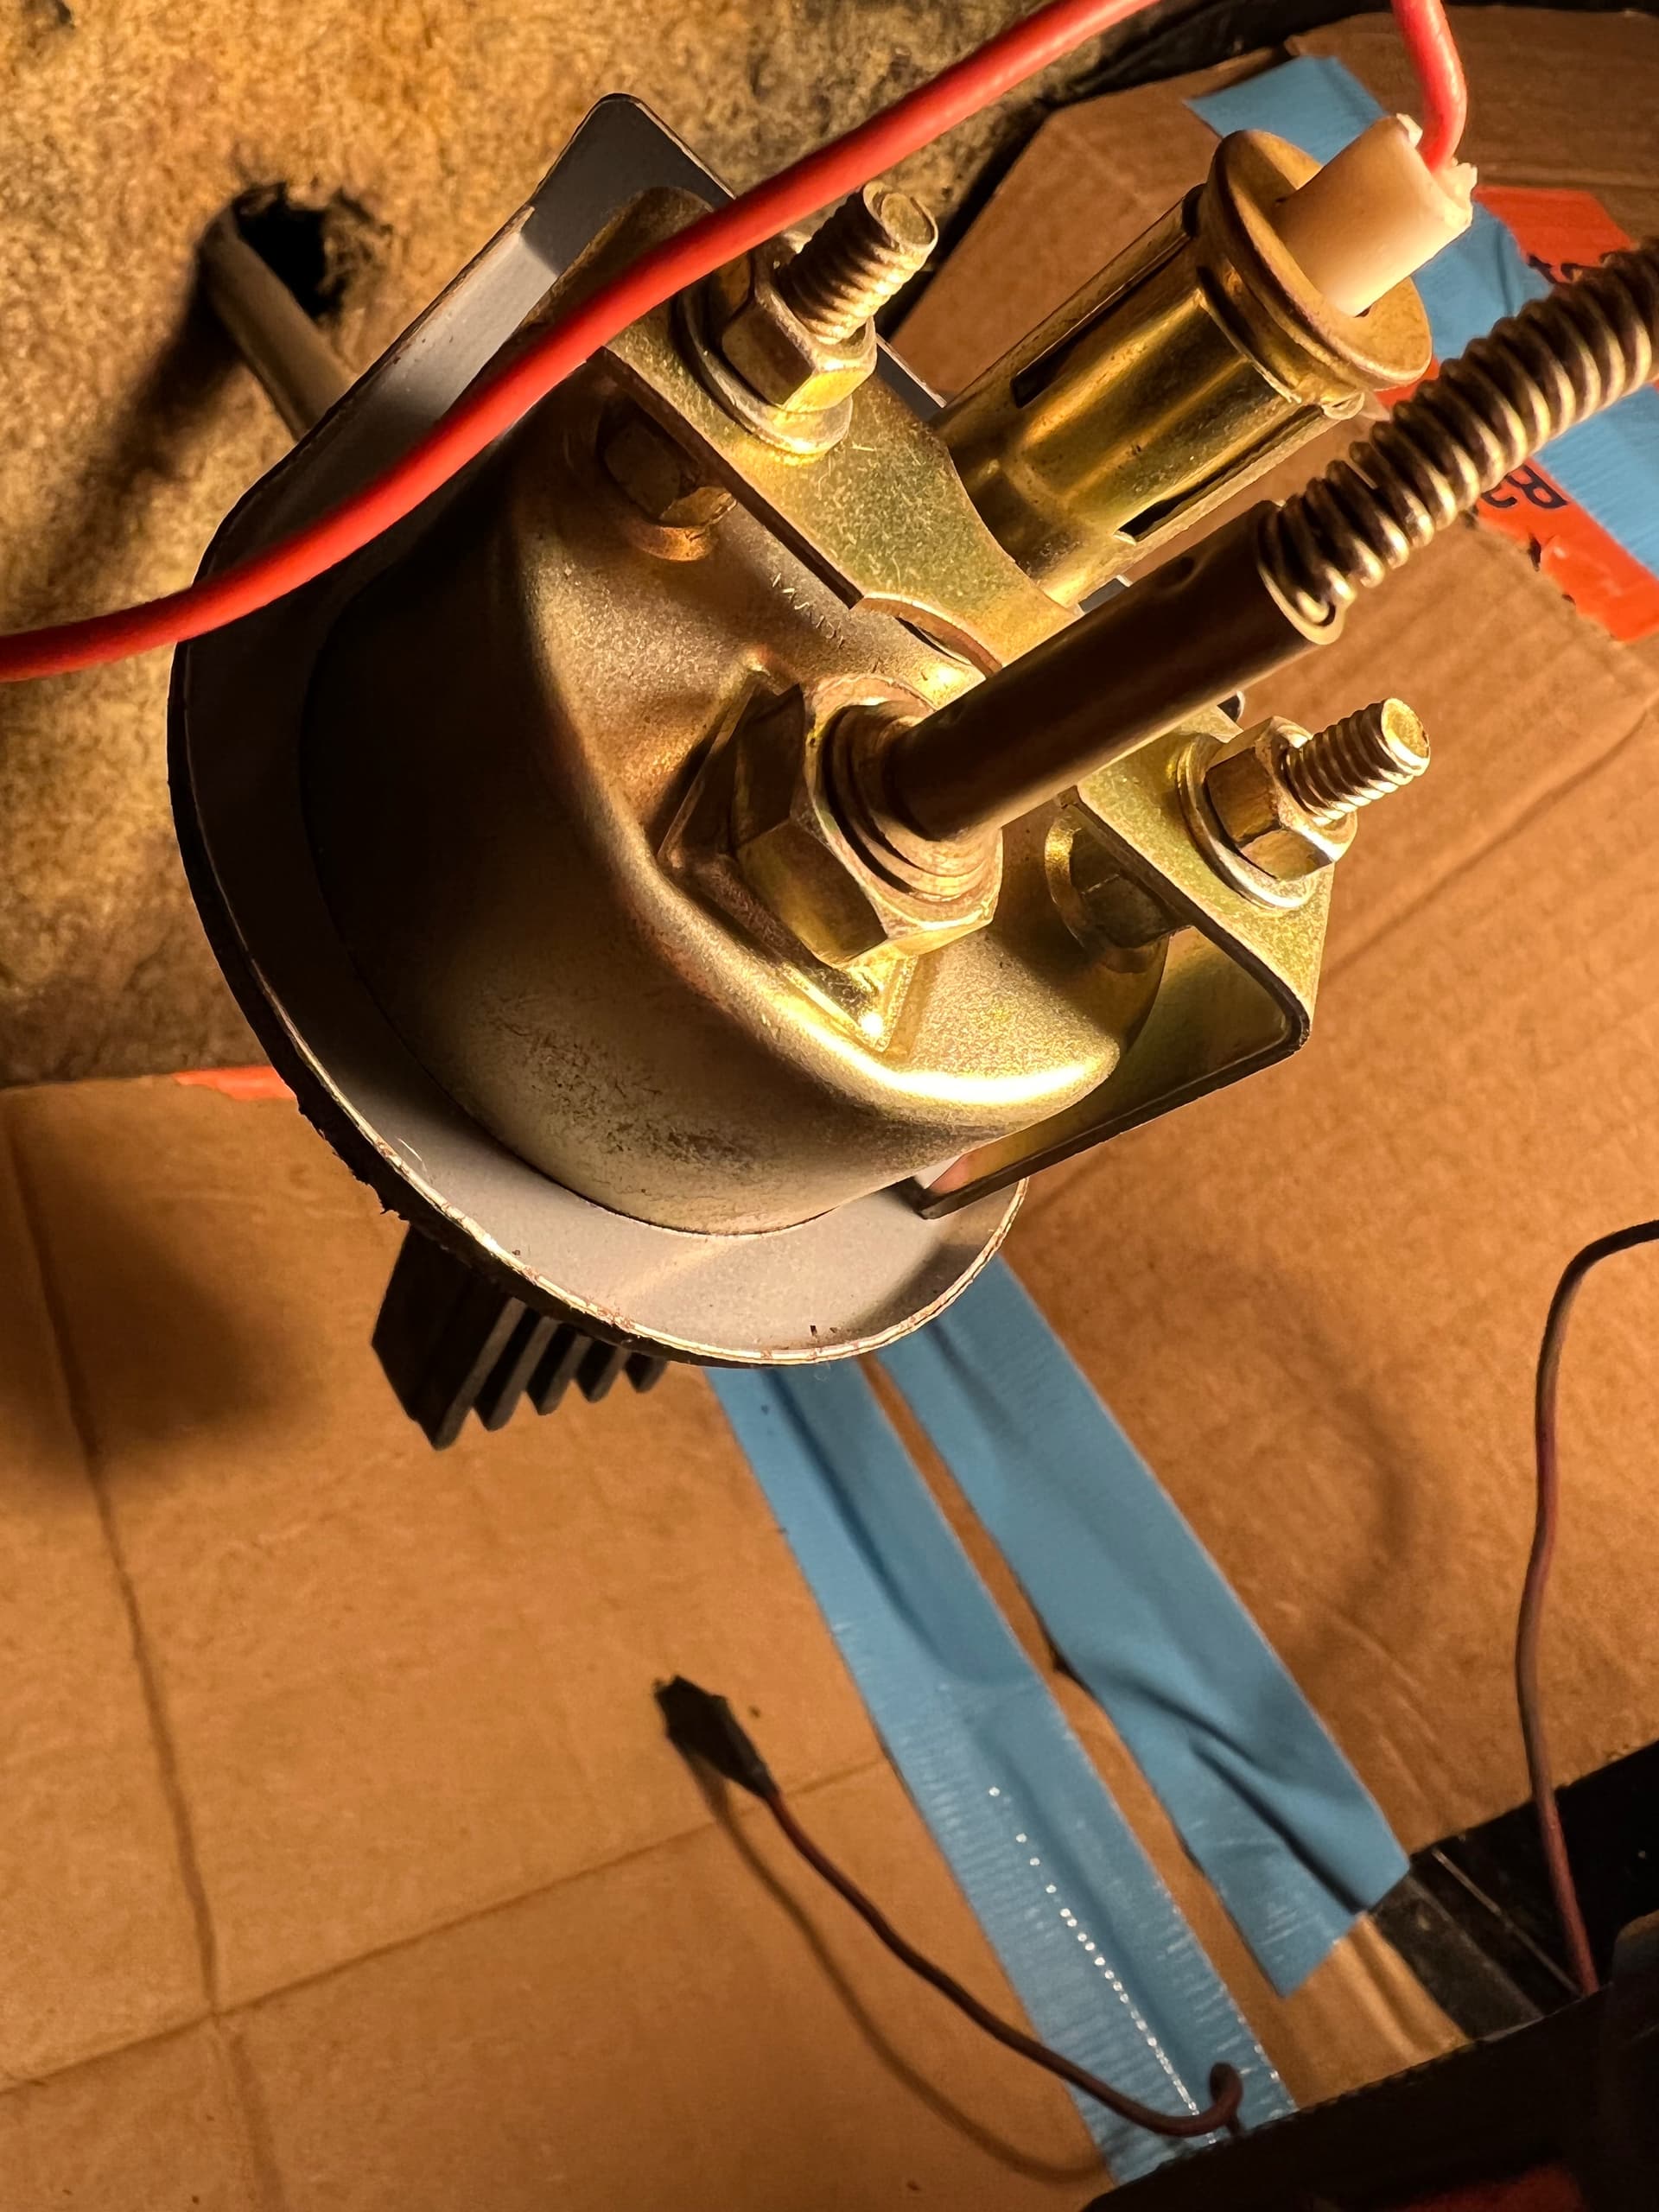
I have not resolved the belt issue yet. You gave me some measurements I have to look up on the car which I will do tomorrow. I had hoped to work on the car today but spent a good portion of the day examining the wiring diagram. Not seeing as well as I once did I had to make a poster size diagram to see how to wire the fuel pump in. I will get back to you. Thank you.
Maddy
So you do not have to go back to the XK-engine thread:
Rob said,
I don’t look at the XK-engine forum as often as the XK forum, so I just now saw this.
Maddy, did you get your fan belt resolved?
There are two variables to investigate.
The water pump pulley - 5-1/2" diameter on the 5-blade fan type, and 4" dia on the 6-blade fan type.
With the generator pulley there are two sizes floating around - C.2579 used on XK120 and Mark V is 3-1/2" diameter, where C.1076 used on Mark IV and Mark VII is 3-3/4" diameter; they are easily interchangeable and after all these years you could have either one. The part number is stamped in the spaces between the vane fins.
Then there is the adjustment bracket. Some people including me have reported theirs have been made longer to accommodate getting the fan belt on.
There is only one size crankshaft pulley on the 120.
I have the small water pump and small generator pulleys, and I use a 5L380 belt
Maddy said: Rob ,
I have not resolved the belt issue yet. You gave me some measurements I have to look up on the car which I will do tomorrow. I had hoped to work on the car today but spent a good portion of the day examining the wiring diagram. Not seeing as well as I once did I had to make a poster size diagram to see how to wire the fuel pump in. I will get back to you. Thank you.
So here is the information I have found out:
I have the 5 blade aluminum fan with the 5 1/2" aluminum pulley. The valley measurement is 3/8" and the top of that “V” is 7/8".
The dynamo has a 3 3/4" diameter pulley.The valley measurement is 3/8" and the top of that “V” is 7/8".
The belt on the car when I got it is18" end to end measurement. The newer one is 17" end to end measurement.
So far as the dynamo bracket goes, I will make the belt fit if I have to remove the bolt from the bracket in order to give me the room then tighten things up once the belt is on.
Ok, belts are measured by periphery, the distance all around the outside, which you could measure with a cloth sewing tape or mark a spot and roll it along a yardstick. Measure your old belt this way. Does it have a size marking or part number on it? Perhaps something like 5L400?
With the larger water pump and generator pulleys, you will need the longer belt.
The one I use is 38" around and 5/8" wide and the code size is 5L380.
I suspect the C2240 is the correct belt with the 5-blade water pump, but it may be a little tight with the C1076 generator pulley, or you can do like I did, get a 5L400 and 5L410 from Ace Hardware, see which one fits and return the other one.
Hmmm, I may attempt the 39 3/8ths one. Worst case I put the old belt back on. The engine is not going to start for a while I have time to work out the belt issue. I want to test the fuel pump for its operation then understand how I wire that into the ignition switch.
Having that done the belt becomes more of a priority. Spring will draw closer and the starting of the engine will be realized. I only wish I had someone with a trained ear on how these engines are supposed to run to coach me what adjustments need to be done. That may materialize on its own.
I still need to make the seat runners. There weren’t any with the car. Then throw some carpet in the cockpit re-install the seats as well. I have to replace the two right side brake hoses and then when the engine runs properly the car will move under its own power. Yea!