So, here’s the bonnet. I finally got the pins to fit into the receptacles by drilling them out.
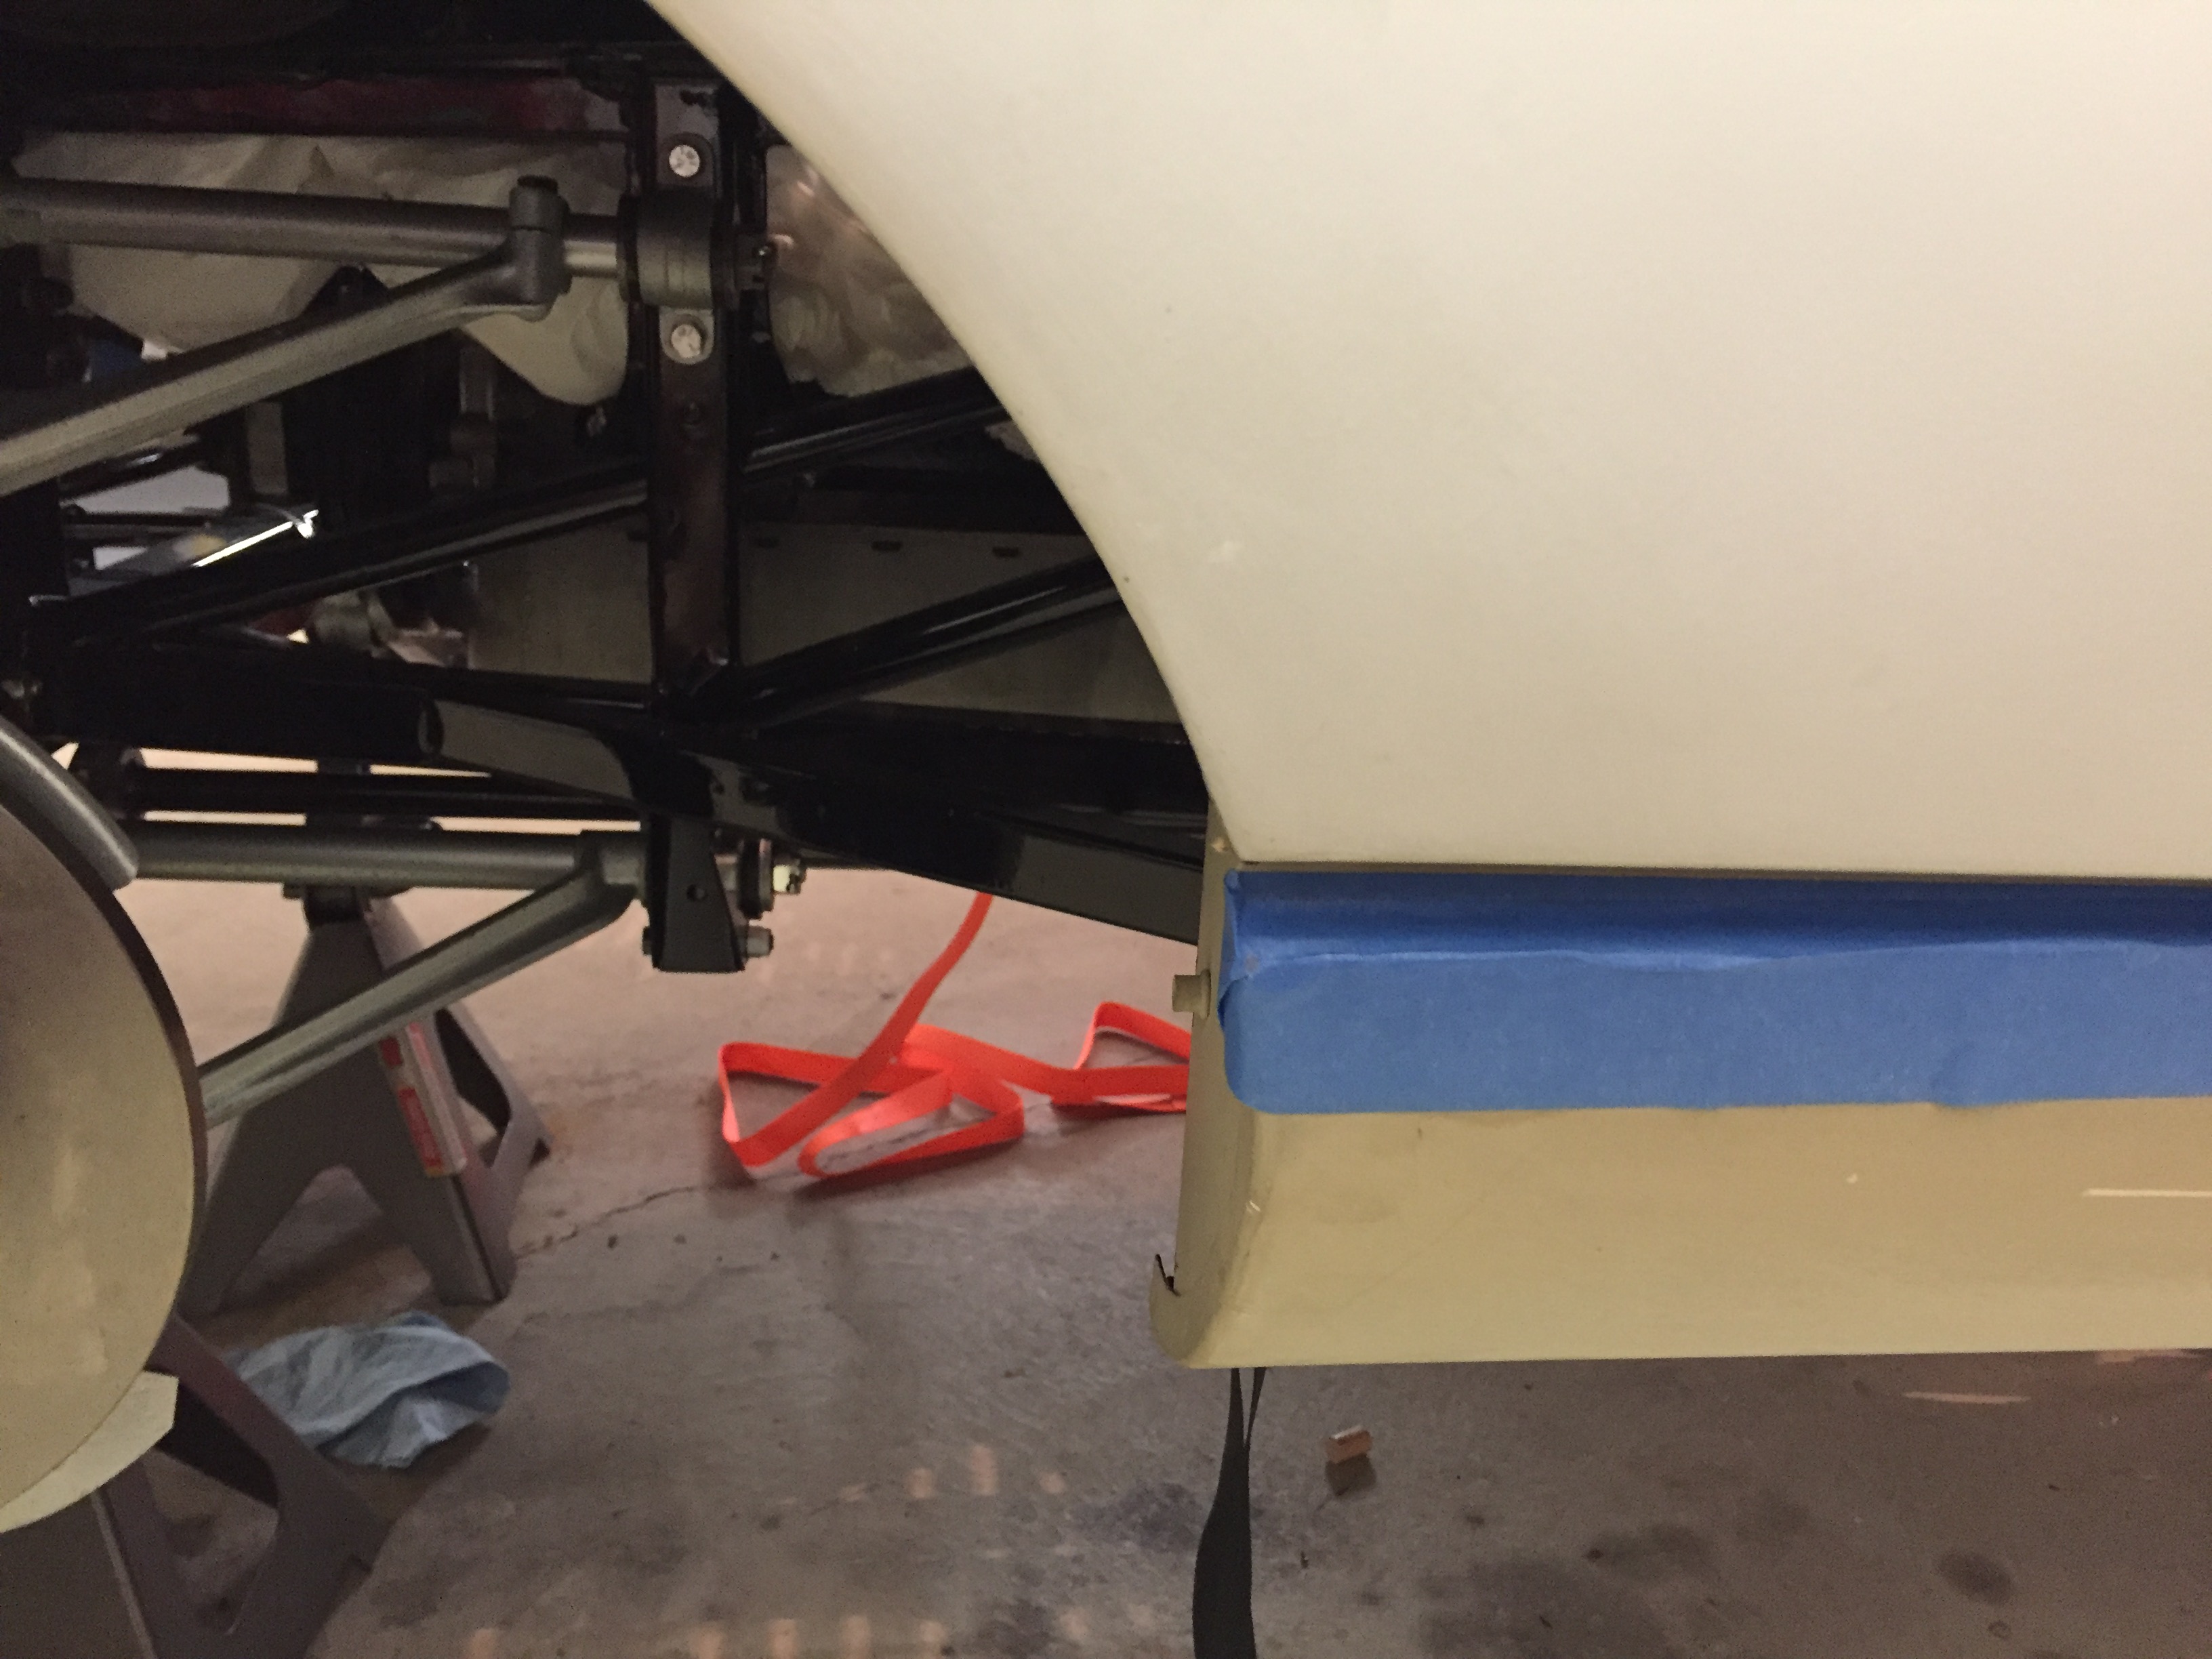
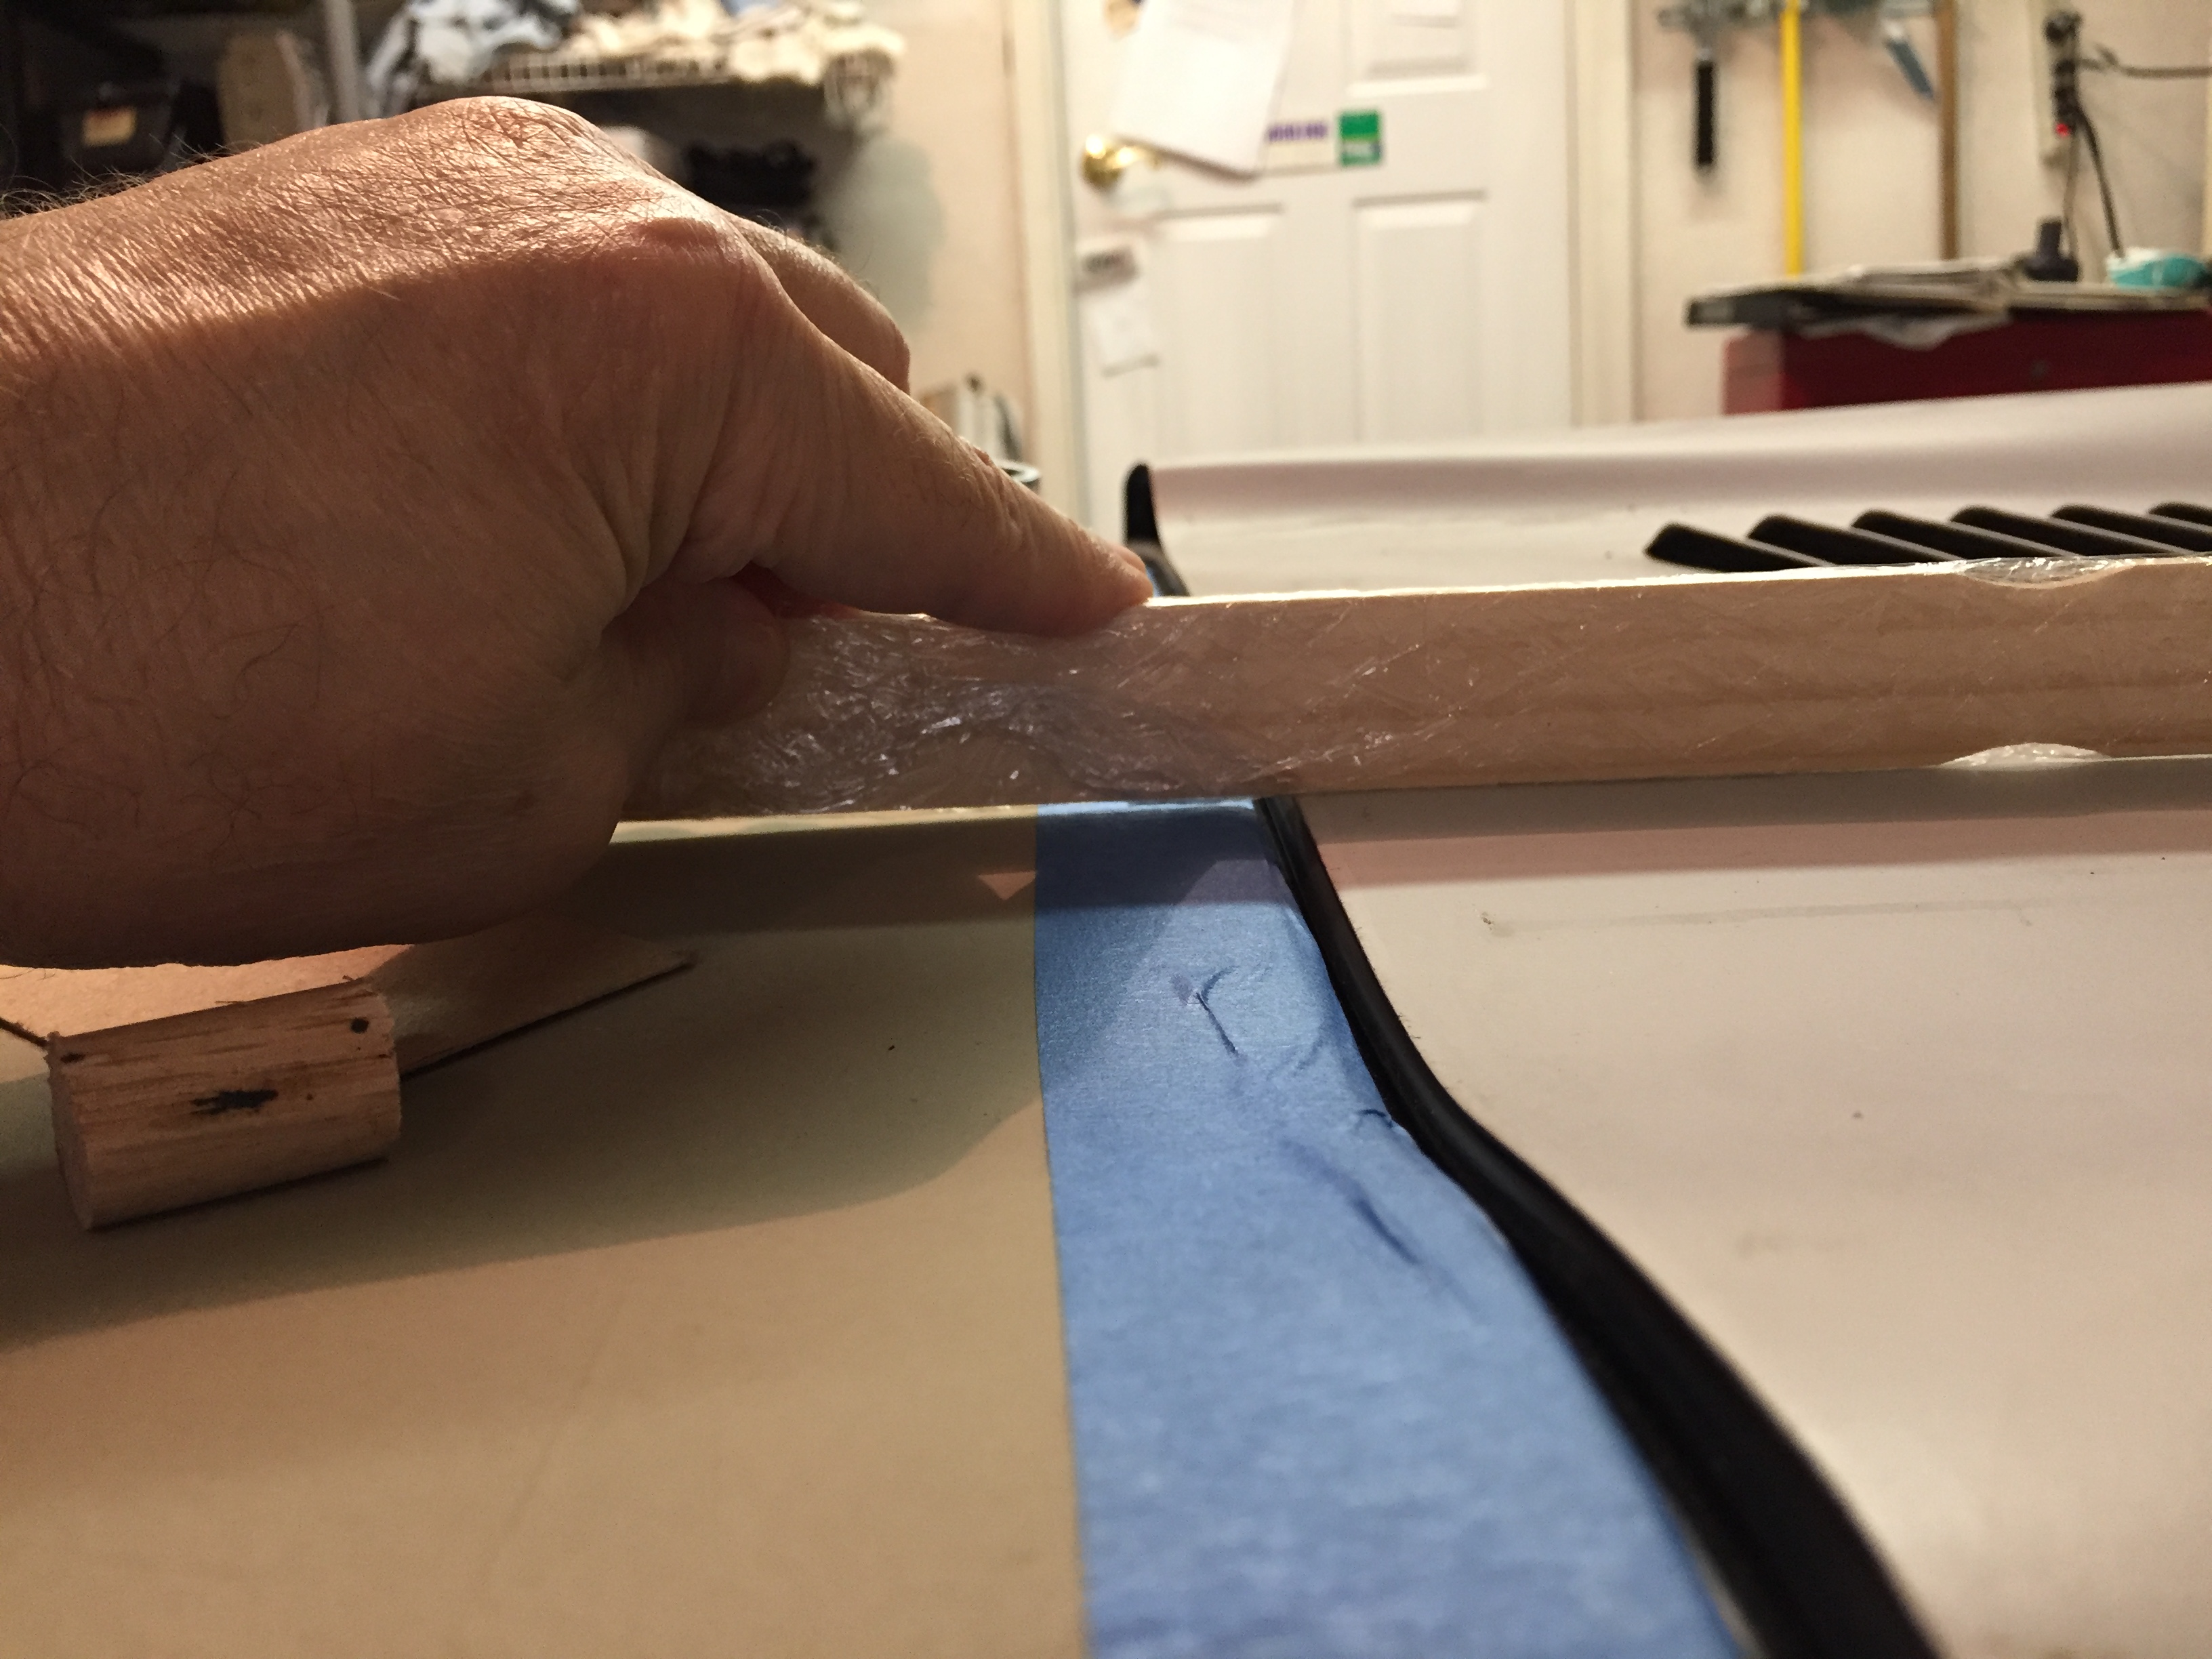
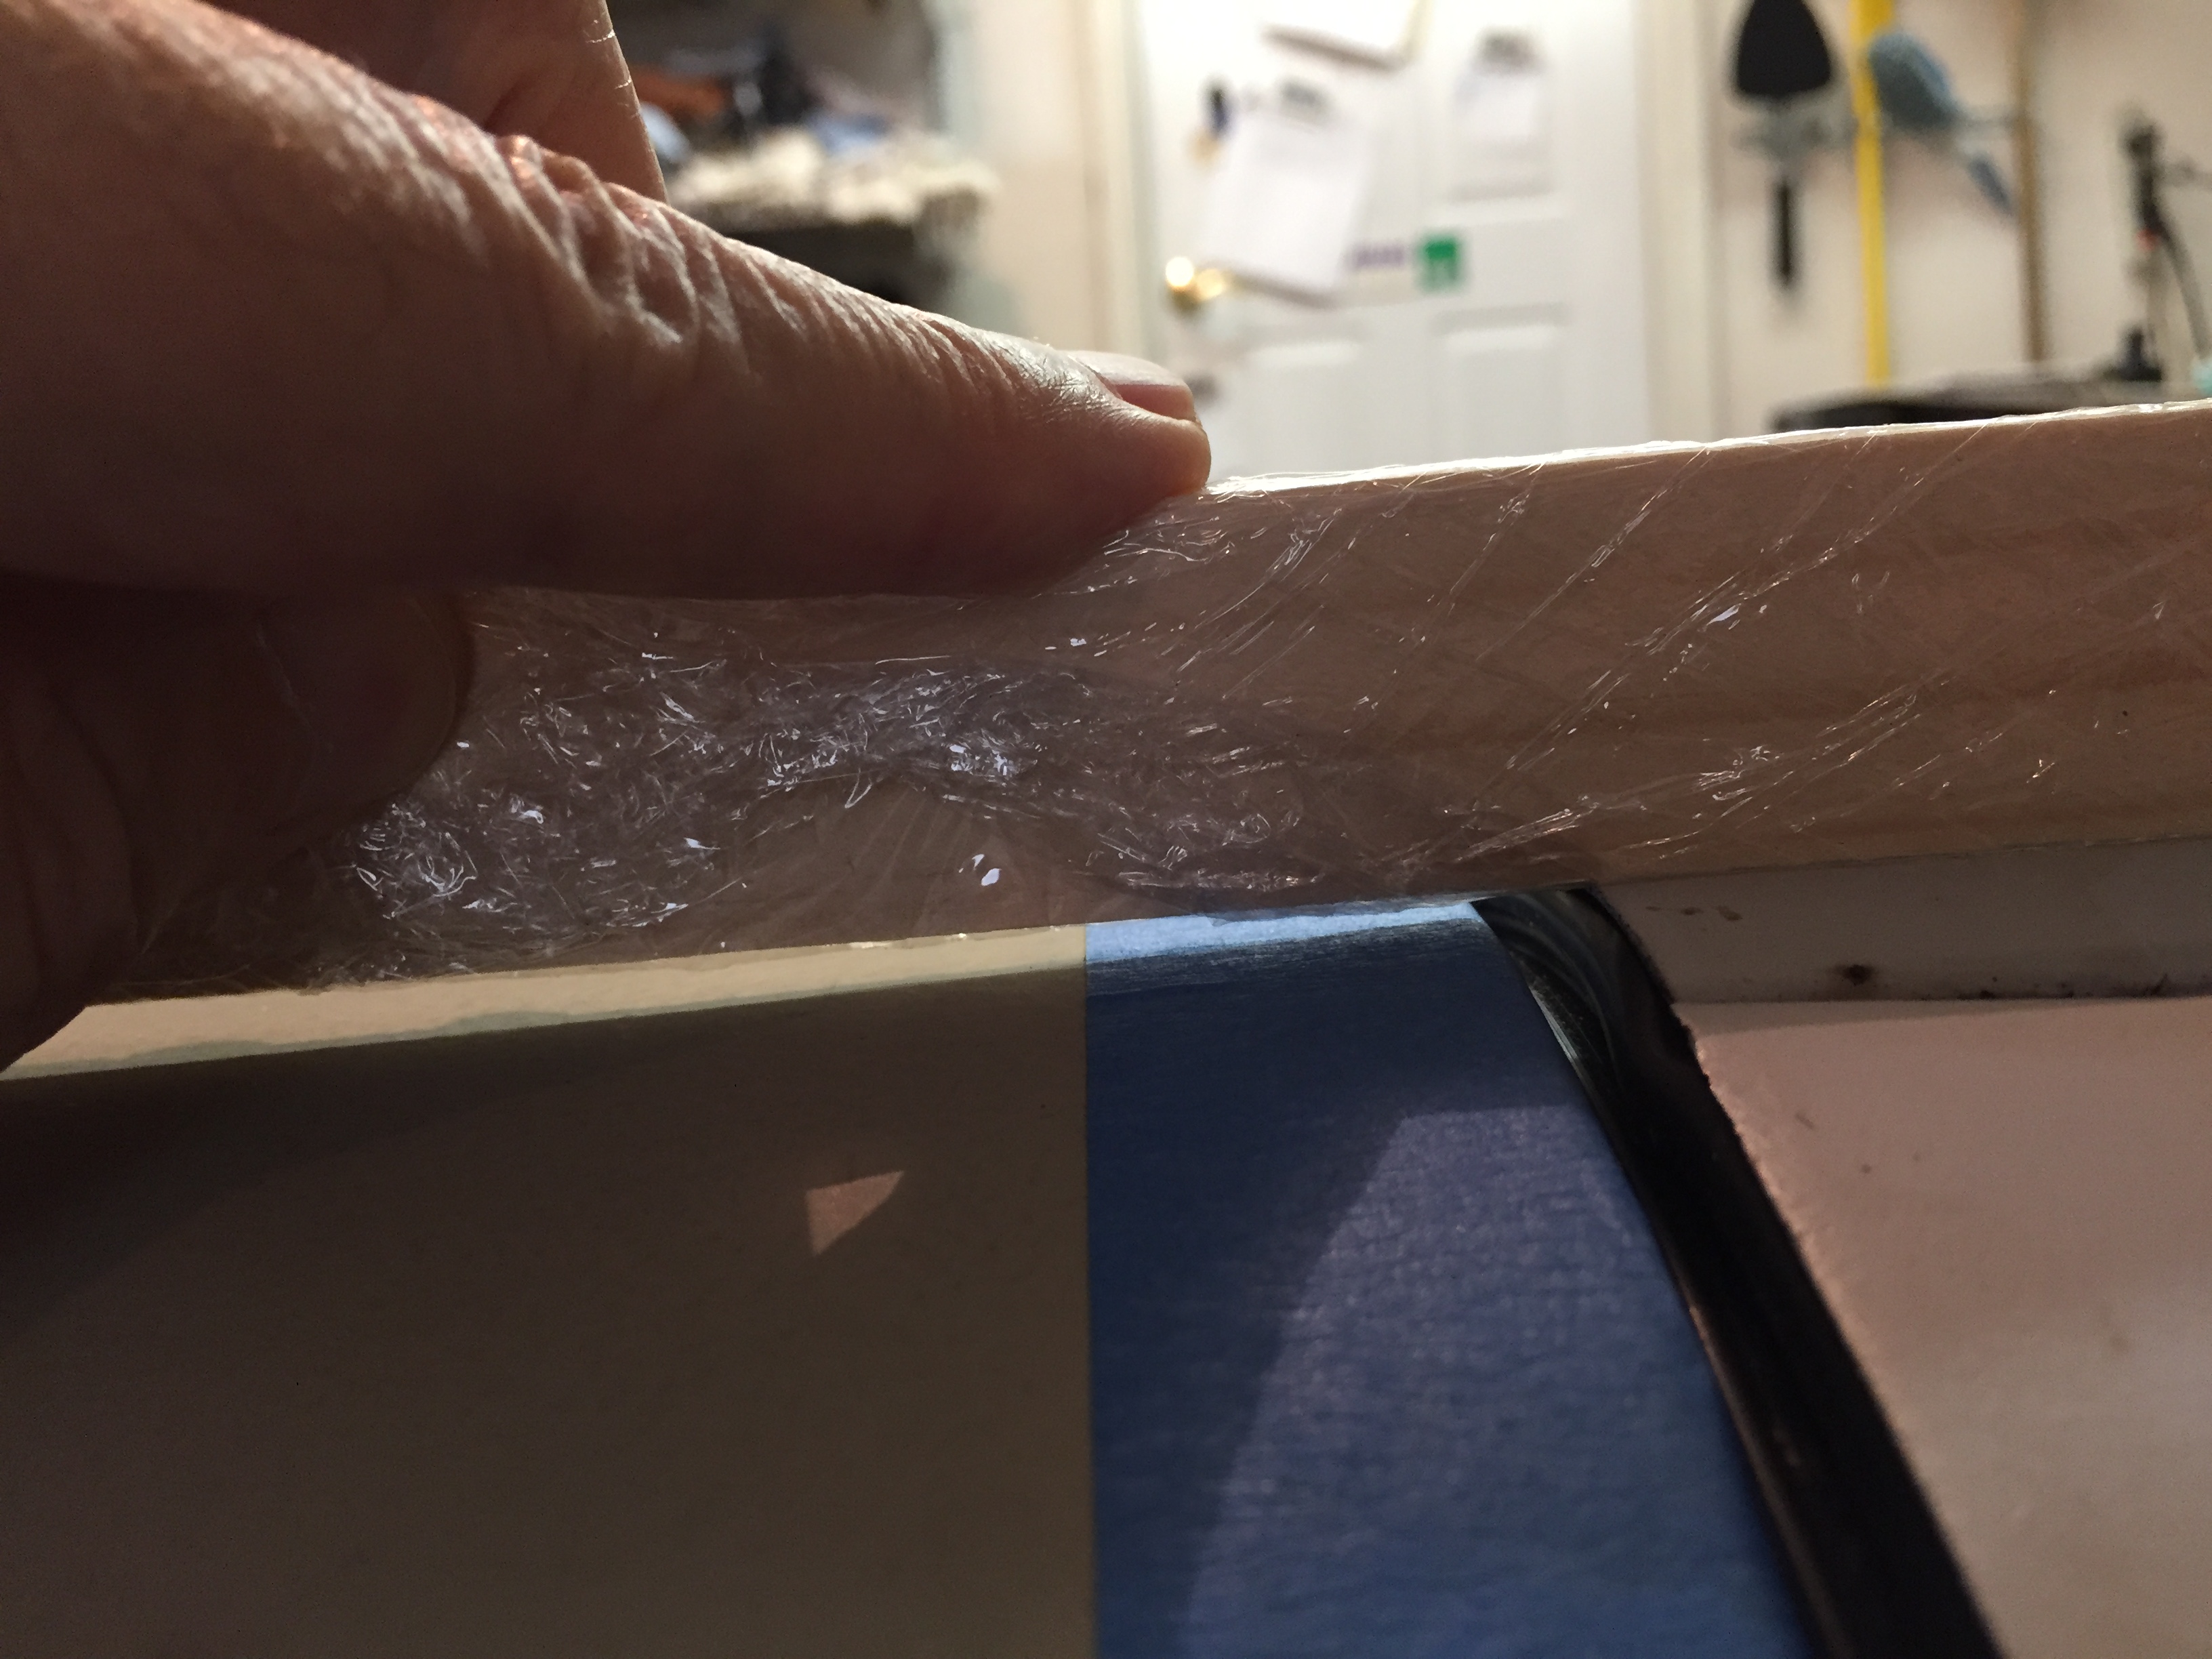
This is as low as I can get it, without having it hit the sill on the R side. The pics show it with a new bonnet seal temporarily fitted.


see part 2.
So, here’s the bonnet. I finally got the pins to fit into the receptacles by drilling them out.
This is as low as I can get it, without having it hit the sill on the R side. The pics show it with a new bonnet seal temporarily fitted.
see part 2.
Would the pins literally not fit into the sockets, even when those parts weren’t attached to the car?
Some bending of the left wing looks necessary to bring in the bottom. Adjusting the joining plate to the center section won’t help because the wing seems to line up already at the top.
The right…no clue, out of my league. I assume adjusting the relative height of the center panel to wing joint isn’t going to help because they’re already aligned nicely at the top? I don’t suppose that right sill was built up for some reason? If you run a seamstress’ tape measure up both sills are they the same height? Ditto with the wing height?
ha ha. Yes the pins literally would not fit, new pins, holders and receivers. The hole was exactly the same size as the pin.
I’ll check the heights.
Sills, from top of horizontal edge to edge under car:
Near the front of car: Left, 11 1/8 . Right, 10 7/8
Farther back: Left 11 1/16. Right 10 3/4
Fenders from seam, around and down outer cicumference to lower lip.
Near Front: Left 18 7/8, Right 18 5/8
Father back Left 18 5/8, R 18 5/8
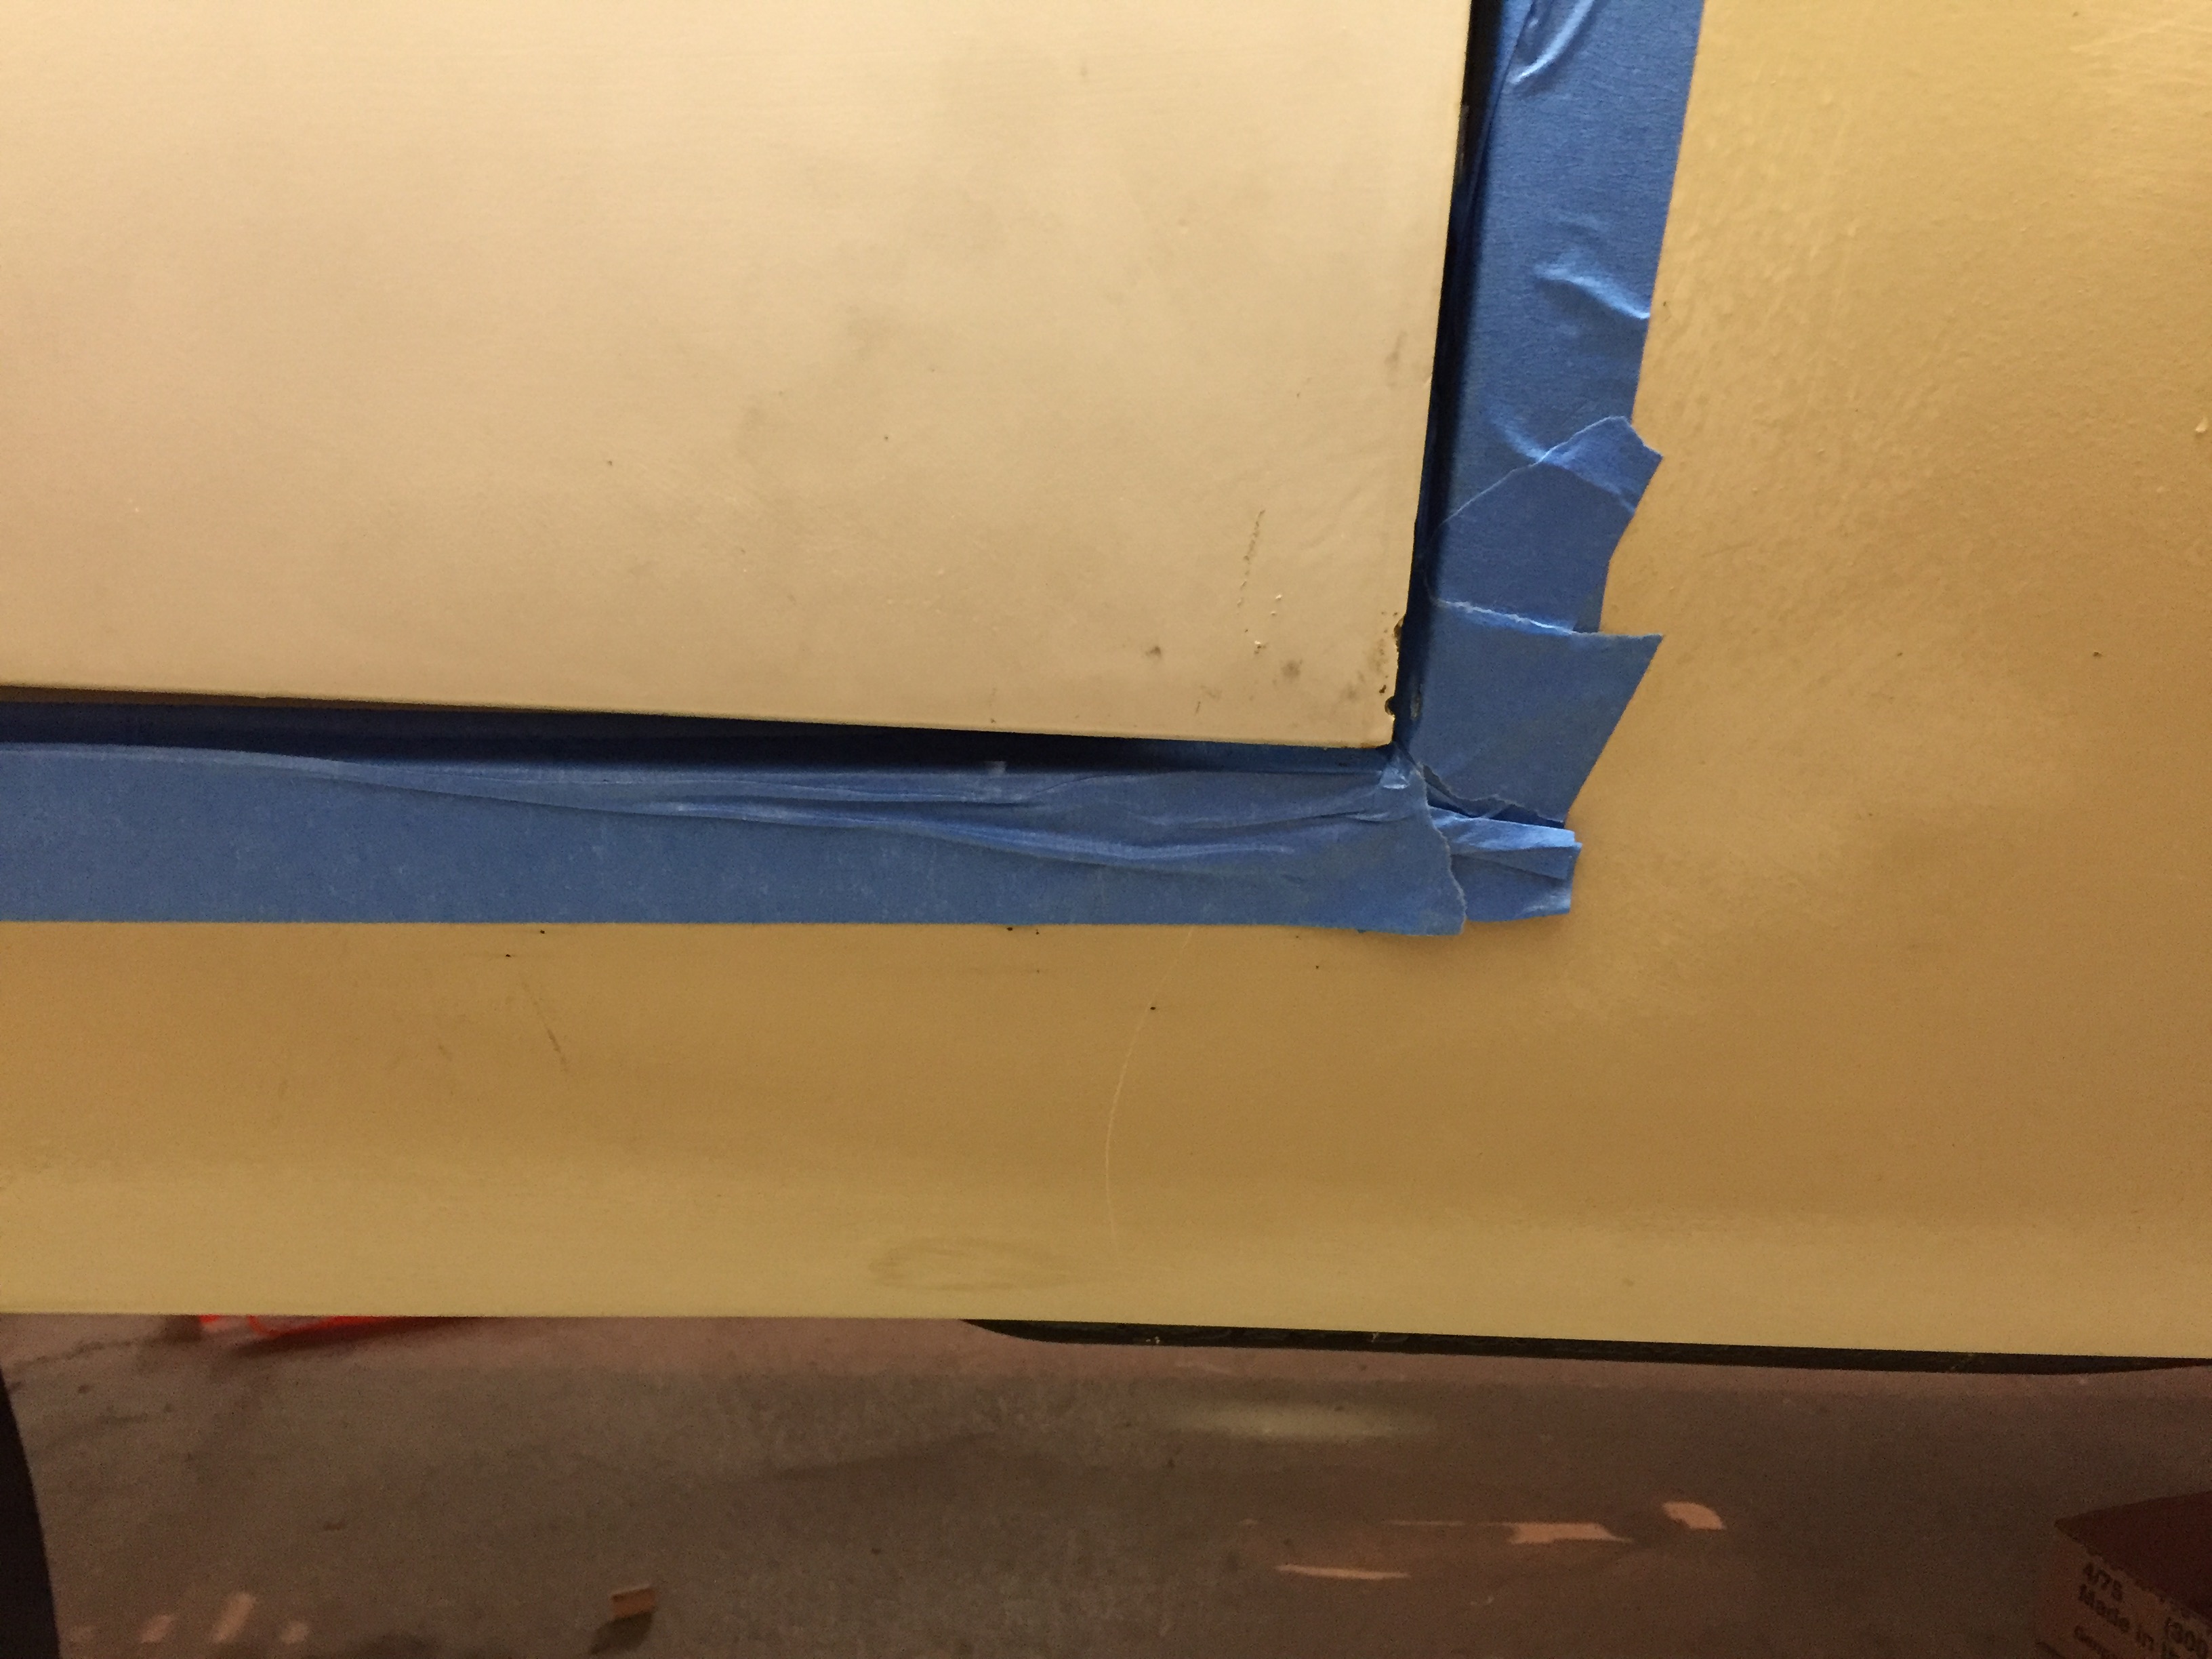
The right fender measures a little more in the middle where you see the gap narrow in the photos but not much.
Caveat in mind that these things aren’t machined edges and probably weren’t the same when they were stamped. I used my trusty narrow Stanley steal tape as I didn’t want to get grease in my sewing basket.
Whelp that makes things as clear as mud. The left sill and wing appear slightly longer yet that is the side that “fits”. None of this speaks to whether there is some difference in relative distance between the sill and the rubber landing strip L/R, but I don’t know what point of reference could be used to measure that.
Something clearly seems wrong with either the bottom of the right wing or the top of the right sill based on the fact that the photo implies it’s contacting in the center of the span not in the front or rear (it’s blurry though?) Have you put a straight edge on both to determine which if either is stright?
My body guy swears the L sill is straight and he lined it up when fitting, he just replaced the sill from the battery forward. Both sills are original.
The right hand gets “tight” in the middle but the hitting problem was the rolled edge of the diaphragm hitting the very forward edge of the horizontal portion of the sill.
The left sill gap of lower fender to sill is awful near the wheel well. I didn’t show it.
Close!
Two, three more months, tops, of fiddling, banging, twisting, and cursing… yer THERE!!!
Left sill. Ghastly.
the only thing is now I don’t only have to look for a painter but one who can fit the hood.
Hey. Here’s a question, are the washers that go between the fenders and the centre section, standard thickness washers? Or are they extra thick?
They must be a bit thicker than the brass clips that have to insert into the channel after painting. I believe they are “special” in that regard.
Are all the up/down shims on the left side removed? If so you might be a candidate for the CJ low profile hinges.
zero up shims on the left, just about max shims up on the right.
Max shims forward on the left, not so many on the right
I don’t see another option but those hinges then. You sure no hits have messed up the bonnet subframe? It all just seems so wonky.
Have you considered farming this part out to a pro? DIY is satisfying, and frugal but this is one of the hardest tasks on the car.
absolutely! However I now have to find a new pro as the guy who did this is too old to do it anymore.
Yes we took the bonnet down to bare and found all sorts damage, disassembled and reassembled.
HTH I find a guy with the requisite skills is a question. I went with a club to a big $ restoration shop and though they had impressive things in there, they had never done an xke.
You’re in CA right? Within hauling distance to Images? That’s who repaired Jerry’s car, and they let him wrench on it too to save money. They win trophies so I assume they’re good.
I figure I never would have gotten the sub frames back on the car if they were bent
Only if the cross tube were bent. It the others were tweaked it could result in this. Not saying what is, only what might be.
No. RI. where real talent is rare
Kane Motorcar?
You’re just five hours from one of the biggest gurus in the county in Elkton MD, Monocoque Metal Works. This would be what I’d do. It would be like me driving up to Dallas. Bonnet fit makes or breaks these cars.
Another option is Stew Jones in Conn: http://www.jaguarv12etype.com/
Stew Jones Restoration
199 East Lake Street
Winsted, CT 06098
Phone: (860)379-1534
Fax: (860)379-2747
E-mail: stewjones@jaguarv12etype.com
Note from the web address that Stew specializes in V12’s - but I’m figuring that tweaking a bonnet is tweaking a bonnet regardless of the engine under it
Hello Bill,
The washers/spacers are approximately 2mm thick. There are plenty of off the shelf washers 2mm thick, but what makes them a bit special is the OD for the ID clearance on the 1/4" bolts used.
Bill Wrote:
zero up shims on the left, just about max shims up on the right.
Max shims forward on the left, not so many on the right
What are you calling Max? It was suggested in your other Thread “Bonnet Fit. Where do I go from here” that 3/4" (19.05mm) is the Maximum. This is not correct and is way too thick. The limit enforced by the Caged, Threaded Plate is 11mm (7/16") plus a couple of mm clearance of the holes in the hinge itself; so 13mm (1/2") is the Max. Sure, you can shoe horn in more spacers with all the bolts loose, but the whole system gets distorted when everything is drawn up tight with the mechanical advantage of the screw threads.
Bill Wrote:
However I now have to find a new pro as the guy who did this is too old to do it anymore.
Well, you dodged a bullet there by not being able to take it back to your original guy, in my opinion. Your previous pro did a test fit then the bonnet was stored for years. The same as never having seen a crack get any smaller, E Type bonnets don’t get to be as rubbish a fit as yours by being stored upright.
Most of the comments in your “Bonnet Fit. Where do I go from here” Thread still apply. If the top line of the sills, forward of the cowl, are in line with the top line of the sill below the doors, then I would be setting the tub up with the chassis rails parallel with a level flat surface and take height dimension of the engine frames at various points and compare with the correct body geometry drawing of the car. Offset hinges and the like are just fudges and don’t address the cause. One knuckle head friend recently fitted a new set of known good eFab Engine Frames, Picture Frame, and Bonnet Hinge Frame and rather than find and fix the issue, to get the Engine Frames to fit, elongated the attachment holes in the Tub Chassis Rails.
If the geometry of the Engine Frames and Bonnet Hinge Frame checks out OK, damage to the supper structure of the lower valance is a common source of bonnet poor fit.
Regards,
Bill