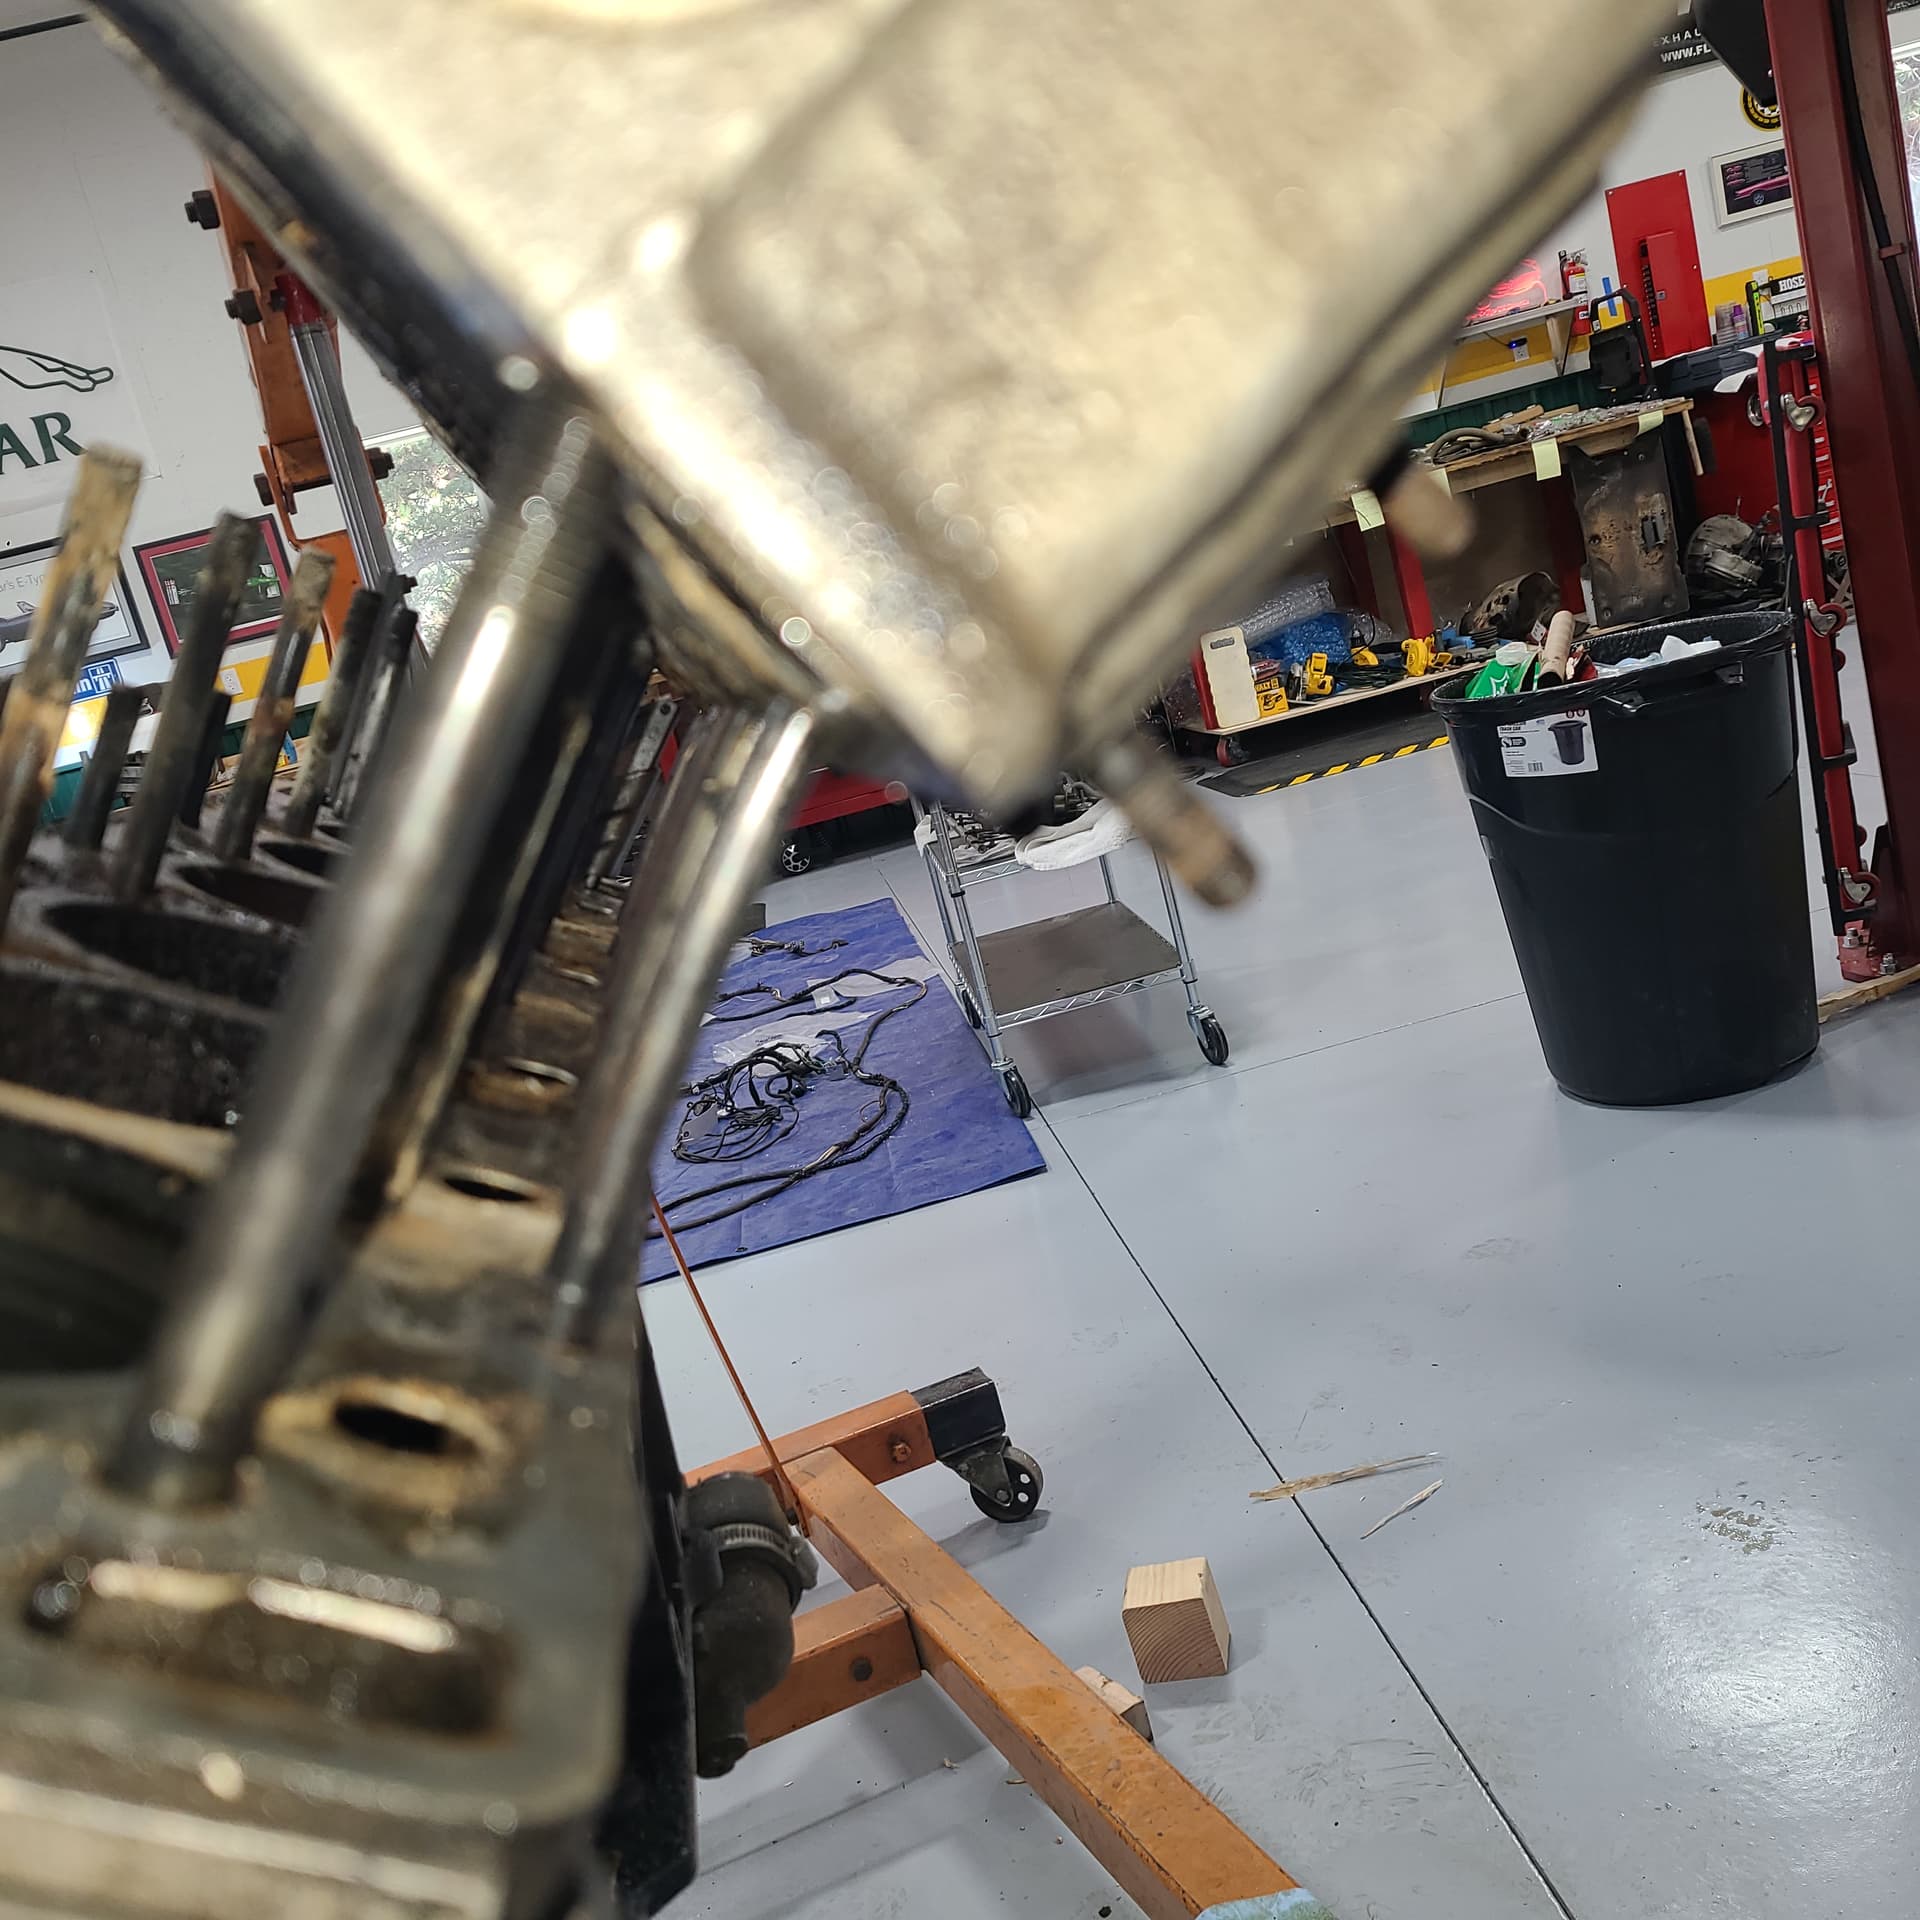
I went through my archives looking for photos that captured the condition of the head studs. To my uneducated eye they look pretty good:
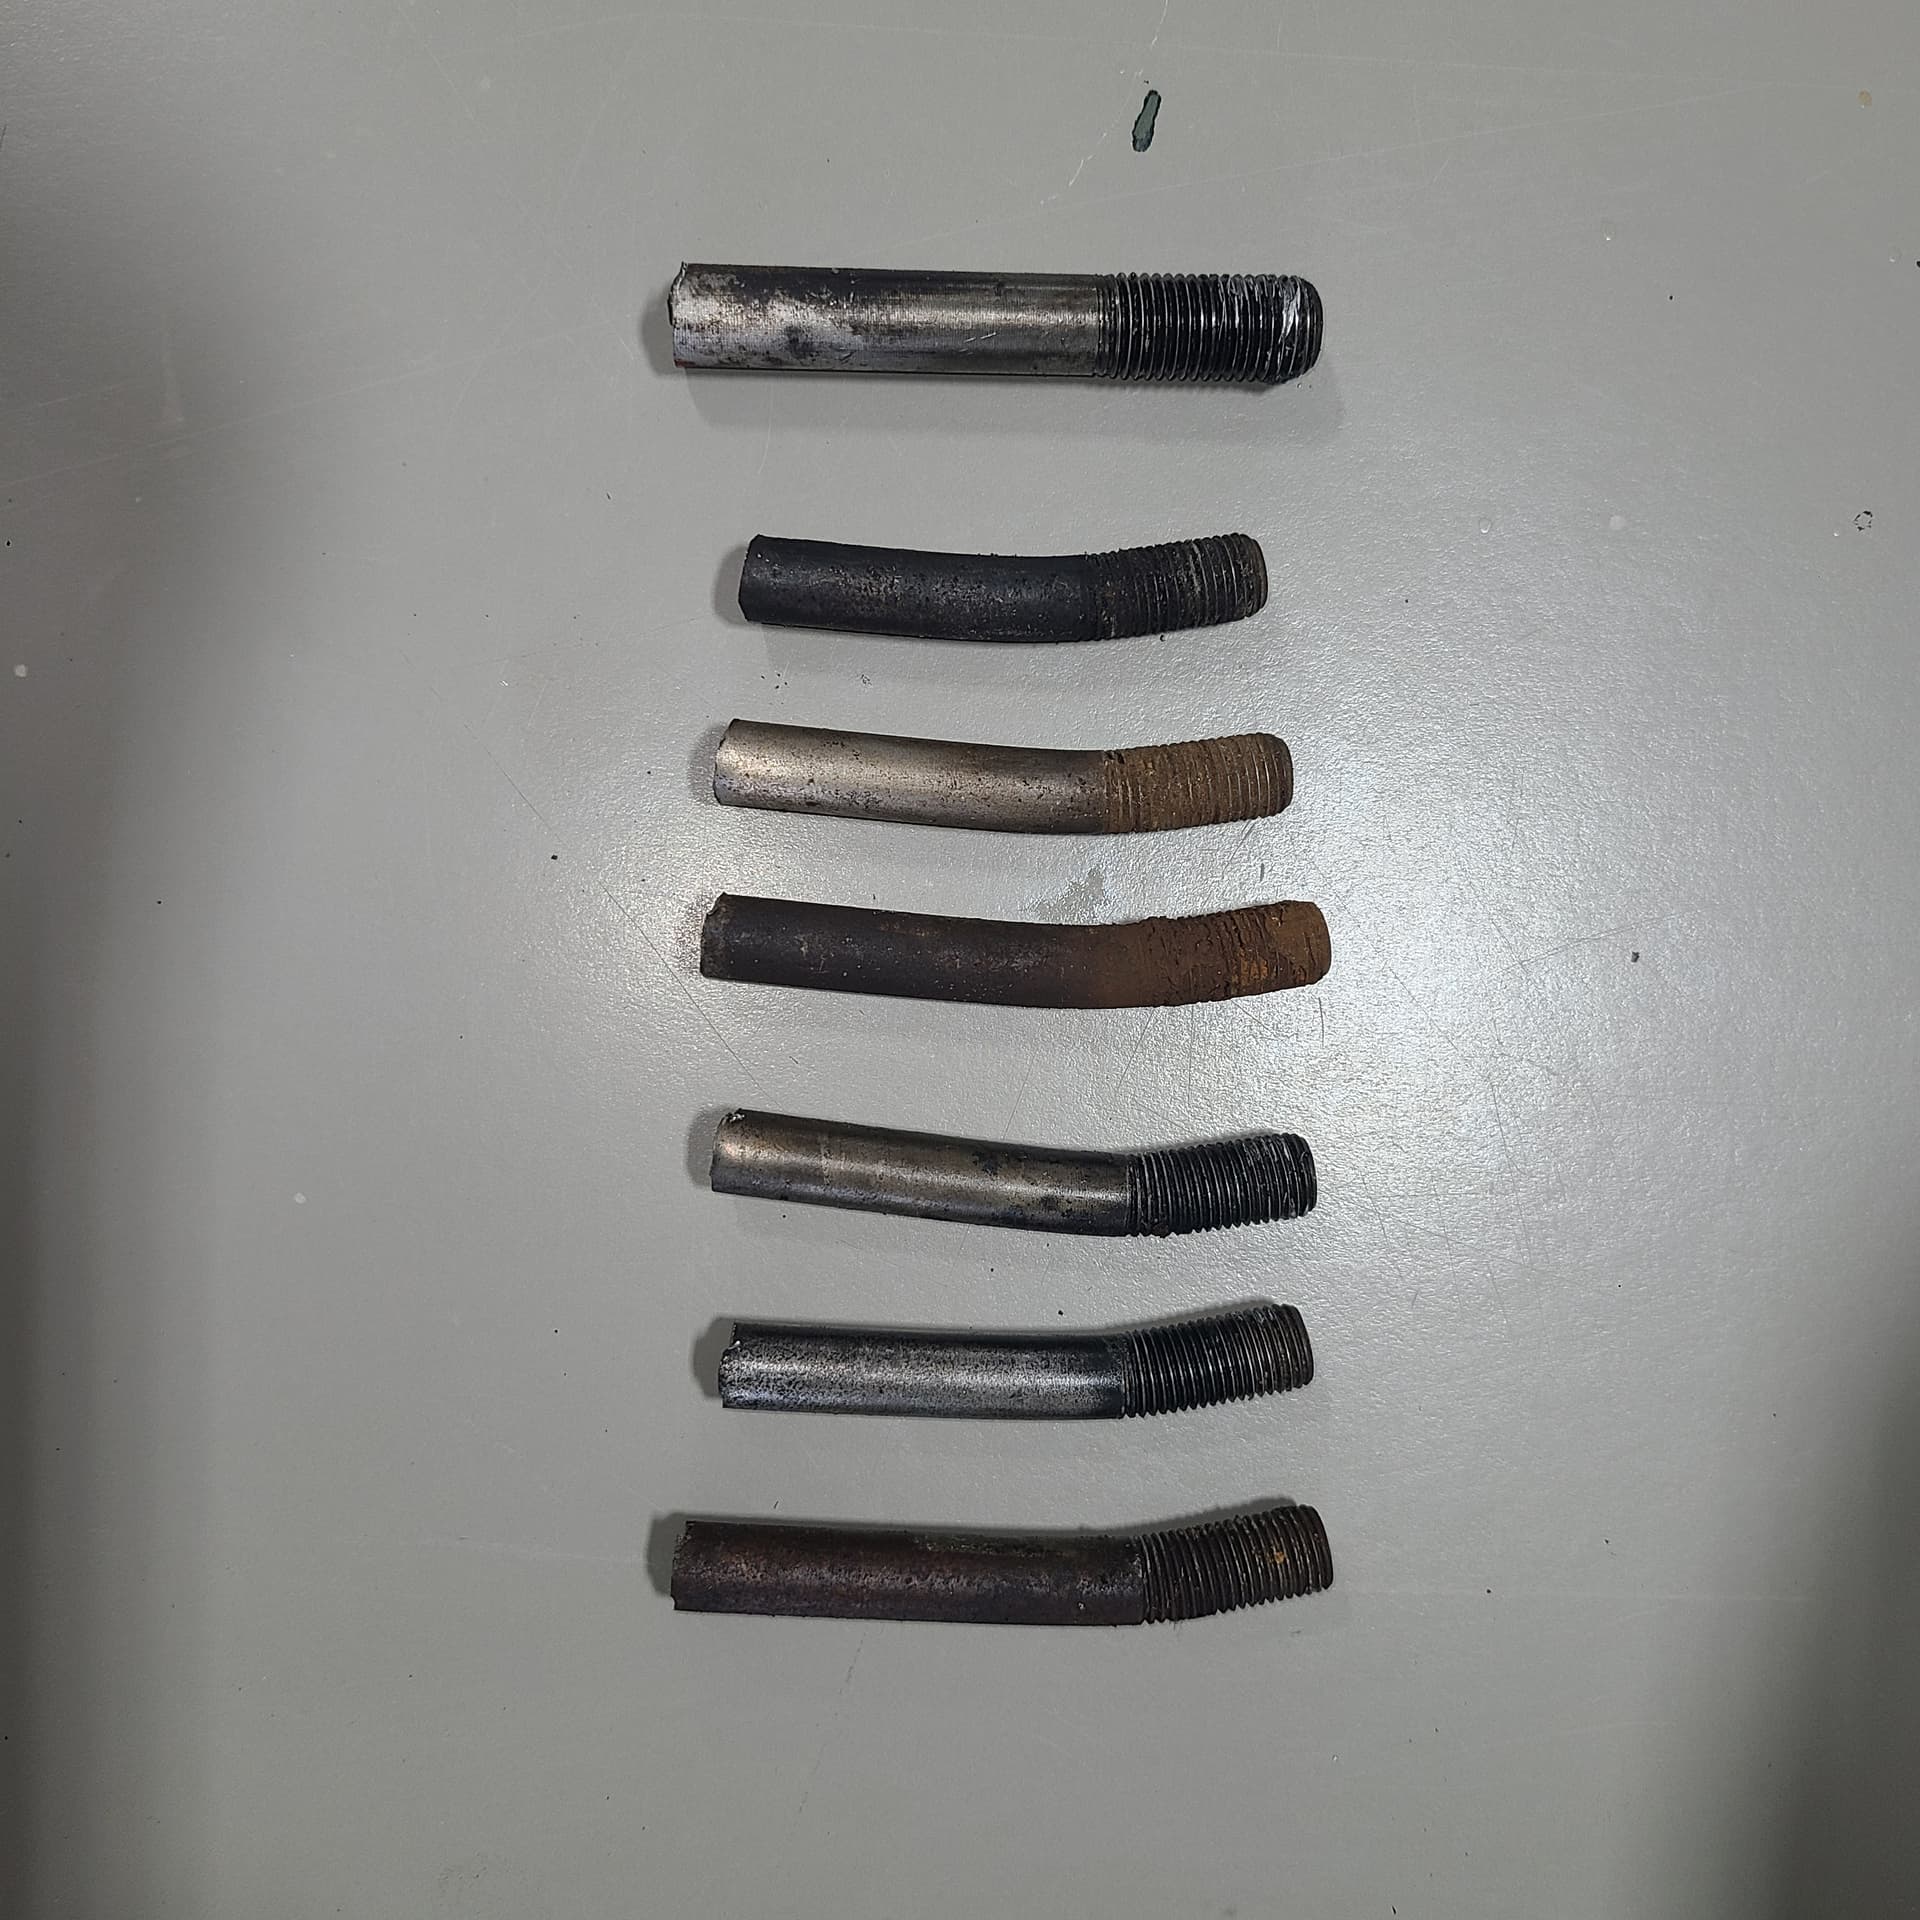
This photo captured the replacement six outboard studs (the gold looking ones - anodized?) on the left of the image.
The pewter looking one in front left was also one of my replacements (got too busy with the Sawz-All)
/
/
You can clearly see the “high water mark” on some of the studs. I used SOS pads and fine steel wool to clean the studs of gunk as much possible to ease installation of the heads
Hello Craig,
Why were the heads replaced? Apart from damage caused by dropped valves, the most common reason for replacing an aluminum head is overheating. You can easily tell if an aluminum head has been overheated by having a hardness test carried out.
The Munich Jag Dealership’s service manager told me they had measured the heads and found that too much material had been removed. He said they would reuse the old heads but would not guarantee their rebuild if the engine was taken over 3,000 RPM. I believed him - I bought two new heads.
When I bought the Jag, I dealt with the brother of the owner so my information is vicarious.
The brother said the owner was planning to sell the V12 engine to a boat racer and install a 'Merican V8.
He further said the V12 heads had been shaved in prep for the sale. I didn’t pursue any details because it didn’t ring true. It may have been true.
PS - the reason for the rebuild was a prominently leaking rear main oil seal.
Found my receipts - lot’s of pages. (Translation was done by a soldier friend with excellent language skills but limited mechanical skills.
Relevant extracts:
both cylinder heads mounted and finished (price in 1982; converted from Deutsche Marks = $690 each)
cylinder heads planed
valves adjusted and seated
cylinder head gaskets replaced
ring set x2 ($23.26)
valve plate x24 ($27.98) ← valve spring seats??
24x bolts ($10.61 total)
crankshaft loosened
cooling motors replaced
no mention of cylinder head studs - the invoice is EXTREMELY detailed but also, in places, vague. I counted 5 places where I was charged for “gasket”
I didn’t get the translation from my friend until days after paying and accepting my Jag back.
A guess - a clean up pass to ensure total smooth, flat, and level surface to begin
I just stumbled across one of my two lower window stops.
It is made of closed cell foam.
Has about the same “squeezability” as a kneeling pad (hint hint)
It measures
/
/
The black line compares heights of the items.
The kneeling pad is 0.7+" – so two segments to be cut from the kneeling pad and glued together to make the missing window stop. If being a smidge too tall proves an issue, I can easily trim the kneel pad with a razor. (*)
Hello Craig,
They’re flat heads without combustion chambers, a shite load of material would have to be removed to warrant replacing them; that wouldn’t happen unless the heads were severely warped and that would show up in Cam bearings of the Cam Housing.
If you end up removing the heads, its simple to get a hardness test done on the Block in the area where the studs have pulled; any decent aluminium foundry would normally have a hand held hardness tester.
I’m also surprised to see that you were able to unwind the whole of the Thread Helix pulled out by the stud. Normally this material would be quite brittle as it gets work hardened to glory when a thread is stripped.
In hind-sight, I think there was more than few things fishy with that dealership and/or service manager.
That is a problem with service in any military. The US military typically rotates personnel on a three-year schedule.
Year 1 - learning which guy to go to
Year 2 - enjoying good and consistent service/support
Year 3 - getting work done hoping it is completed well and correctly; invariably the “bad” job is done just before your rotation to your next duty station. You discover the issue(s) when you are on another continent or different time zone . (ie - the reversed thrust washer on the crankshaft)
Hmmm - that is nearly word-for-word the text comment from @Jeff_Schroeder over the weekend
Hello Craig,
To find out what is left in the Threaded area in the block and to confirm if you may have pulled a Heli Coil, do as follows:
Get a piece of wooden dowel that is a close fit in the hole in the head that the stud passes through, long enough to reach the bottom of the threaded hole in the block, plus 2" above where the stud exits the head.
Turn one end down to a diameter a few thou under the diameter of the stud thread, for a length in excess of the stud thread length. If you don’t have a lathe, chuck one end of the dowel in a bench drill or pistol drill and use a file, or coarse sand paper backed with something flat and solid to cut it to size. Form a reasonable lead taper on the end that’s been turned to size.
Lube the dowel well, particularly the area turned to just under Thread size, and screw it into the Threaded hole in the Block. You may have to remove and re-lube it a few times as you get more of the dowel wound into the Threaded hole.
What you’re trying to do is get an impression of whatever thread is in the hole. If you get nothing, the original Thread is either stripped, or has been drilled out to fit a Heli Coil or the like. To see if there is a thread for a Heli Coil, use a similar length of dowel, that is as large as the hole in the head will except without binding, and after forming a lead on the end of the dowel going down the hole, wind the dowel into the area where the thread should be to see if it picks up a thread.
I’ve used this method many times to determine the unknown thread size in machinery, where there is no other more convenient method available. On very small threaded holes I just use a matchstick.
The service team from the outfit that installed my 2-post lift just left. I’m functional again.
They ended up replacing the cable that connects the safety releases on both posts. The installer originally did it backwards - the catch on the cable (that prevented slack in the cable from developing) was on the wrong post. At first they thought the problem was too much slack in the cable but after re-running it, the problem persisted.
They then disassembled the mechanism on the post without the controls cuz they noted the open edge of a roll-pin was interfering with its operation. The roll pin not only allowed the pieces to pivot but acted as a guide in an arc cut into one piece. It was catching the cable; not enough to fray it but added too much friction for smooth operation.
The best part was: no charge. It was their installer who made the error 2 years ago - it just took this long to manifest itself.
Next - the pesky studs. I’ve some so expert support coming in next week. We’ll/He’ll get 'er done.
One of the only things I found lacking when I purchased my E-type six years ago was the lack of somewhere to put your left foot while not operating the clutch, especially on long trips. I’ve had a few cars with comfortably placed dead pedals so I went looking for something I could modify to use in the car. What I found was a dead pedal from an 89-91 Mazda Rx-7 on ebaymotors. Cost me a whopping $12. As you can see in the picture . . .
UNQUOTE
Well – not only does ebaymotors no longer exist, a search of eBay and other suppliers (RockAuto, O’Rielly’s, AutoZone, NAPA and 4 on-line Madza parts dealers) finds only two. The two on eBay are priced at $80 (talk about inflation!!).
So - JL’ers
(1) any one have a dead pedal from an 86-92 Mazda Rx-7 (PN FB0143040B) stashed in the corner at reasonable price?
or
(2) any one have an alternate more-available dead pedal option?
I hated not having a dead pedal in Tweety, and I just ended up making a small piece of angle aluminum that I screwed on to the area next to the clutch pedal-nothing fancy.
There still is an Ebaymotors and there is one listed for $60. You can fab one up but you’ll probably end up with more than $60 of effort and material. This one is a perfect fit that looks and feels factory. There was a run on them after I posted that on the forum years ago so they became rare:
To be honest Craig, I was wearing steel capped work boots at the time, so not ideal to establish a comfortable driving position. In the end I used an adjustable square, an educated guess & a copy of the part from the parts manual. Works well for me….