Going to be loads of fun that’s for sure!!
She’s going to be a quick one
Going to be loads of fun that’s for sure!!
She’s going to be a quick one
Some great references.
Thanks for sharing
other technicals pics if you want …
That would be great, the more the better.
Hound dog supervision… for a cat?
![]()
I assume you and the panel beater know, that if the panels are fitted to the outside of that shell, the resulting product will be ever so slightly bigger?
Awesome. Great skills.
Got any spare sets of those? ![]()
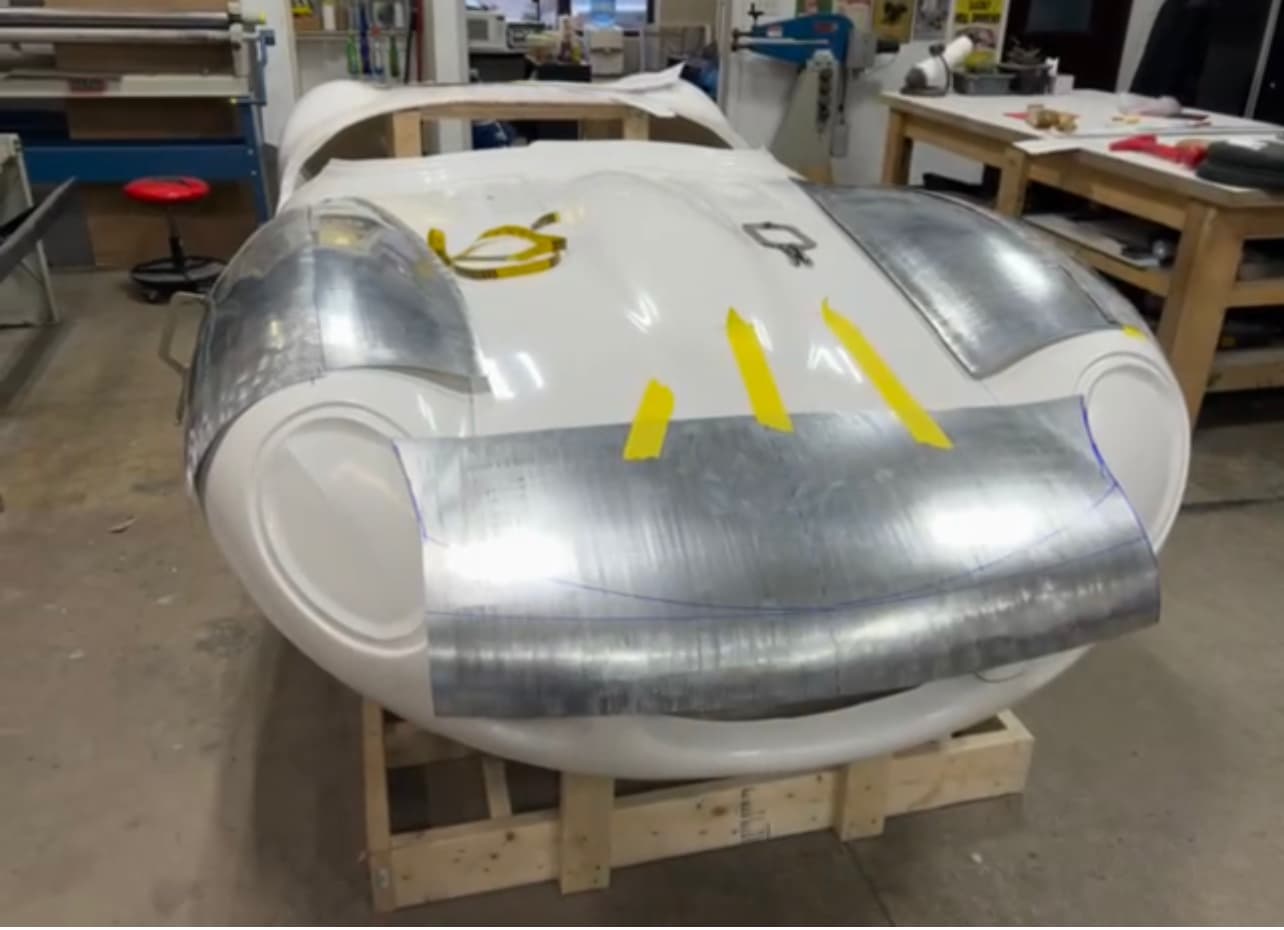
Progressing along. Unfortunately Dan wasn’t able to complete the build. It’s moved on to a shop near by and he’s really wheeling and smashing.


That fellow has a skill for sure. Beautiful work!
Awesome work, thanks for sharing.
How is the skin fitted to the separate chassis/tub? The spare wheel and a full petrol tank are pretty heavy but I don’t see any internal boot structure?
If I understand the question Peter I believe he is making the actual body panels using the fiberglass as the buck. They would be assembled into a monocoque as the original. Someone correct me if I am wrong.
We are waiting for the inner panel kit from rcr.
We have 2 projects going on installing the drivetrain on rolling tub and the shell being rolled. During the next couple on months we’ll introduce the tub to the shell and with a combination of bolts and rivets it will be secured.
I can imagine there will be some fitting struggles but nothing we can’t handle.

That’s all part of the process, Dino, but please… Let’s not do the crankshaft thing again, shall we? ![]()