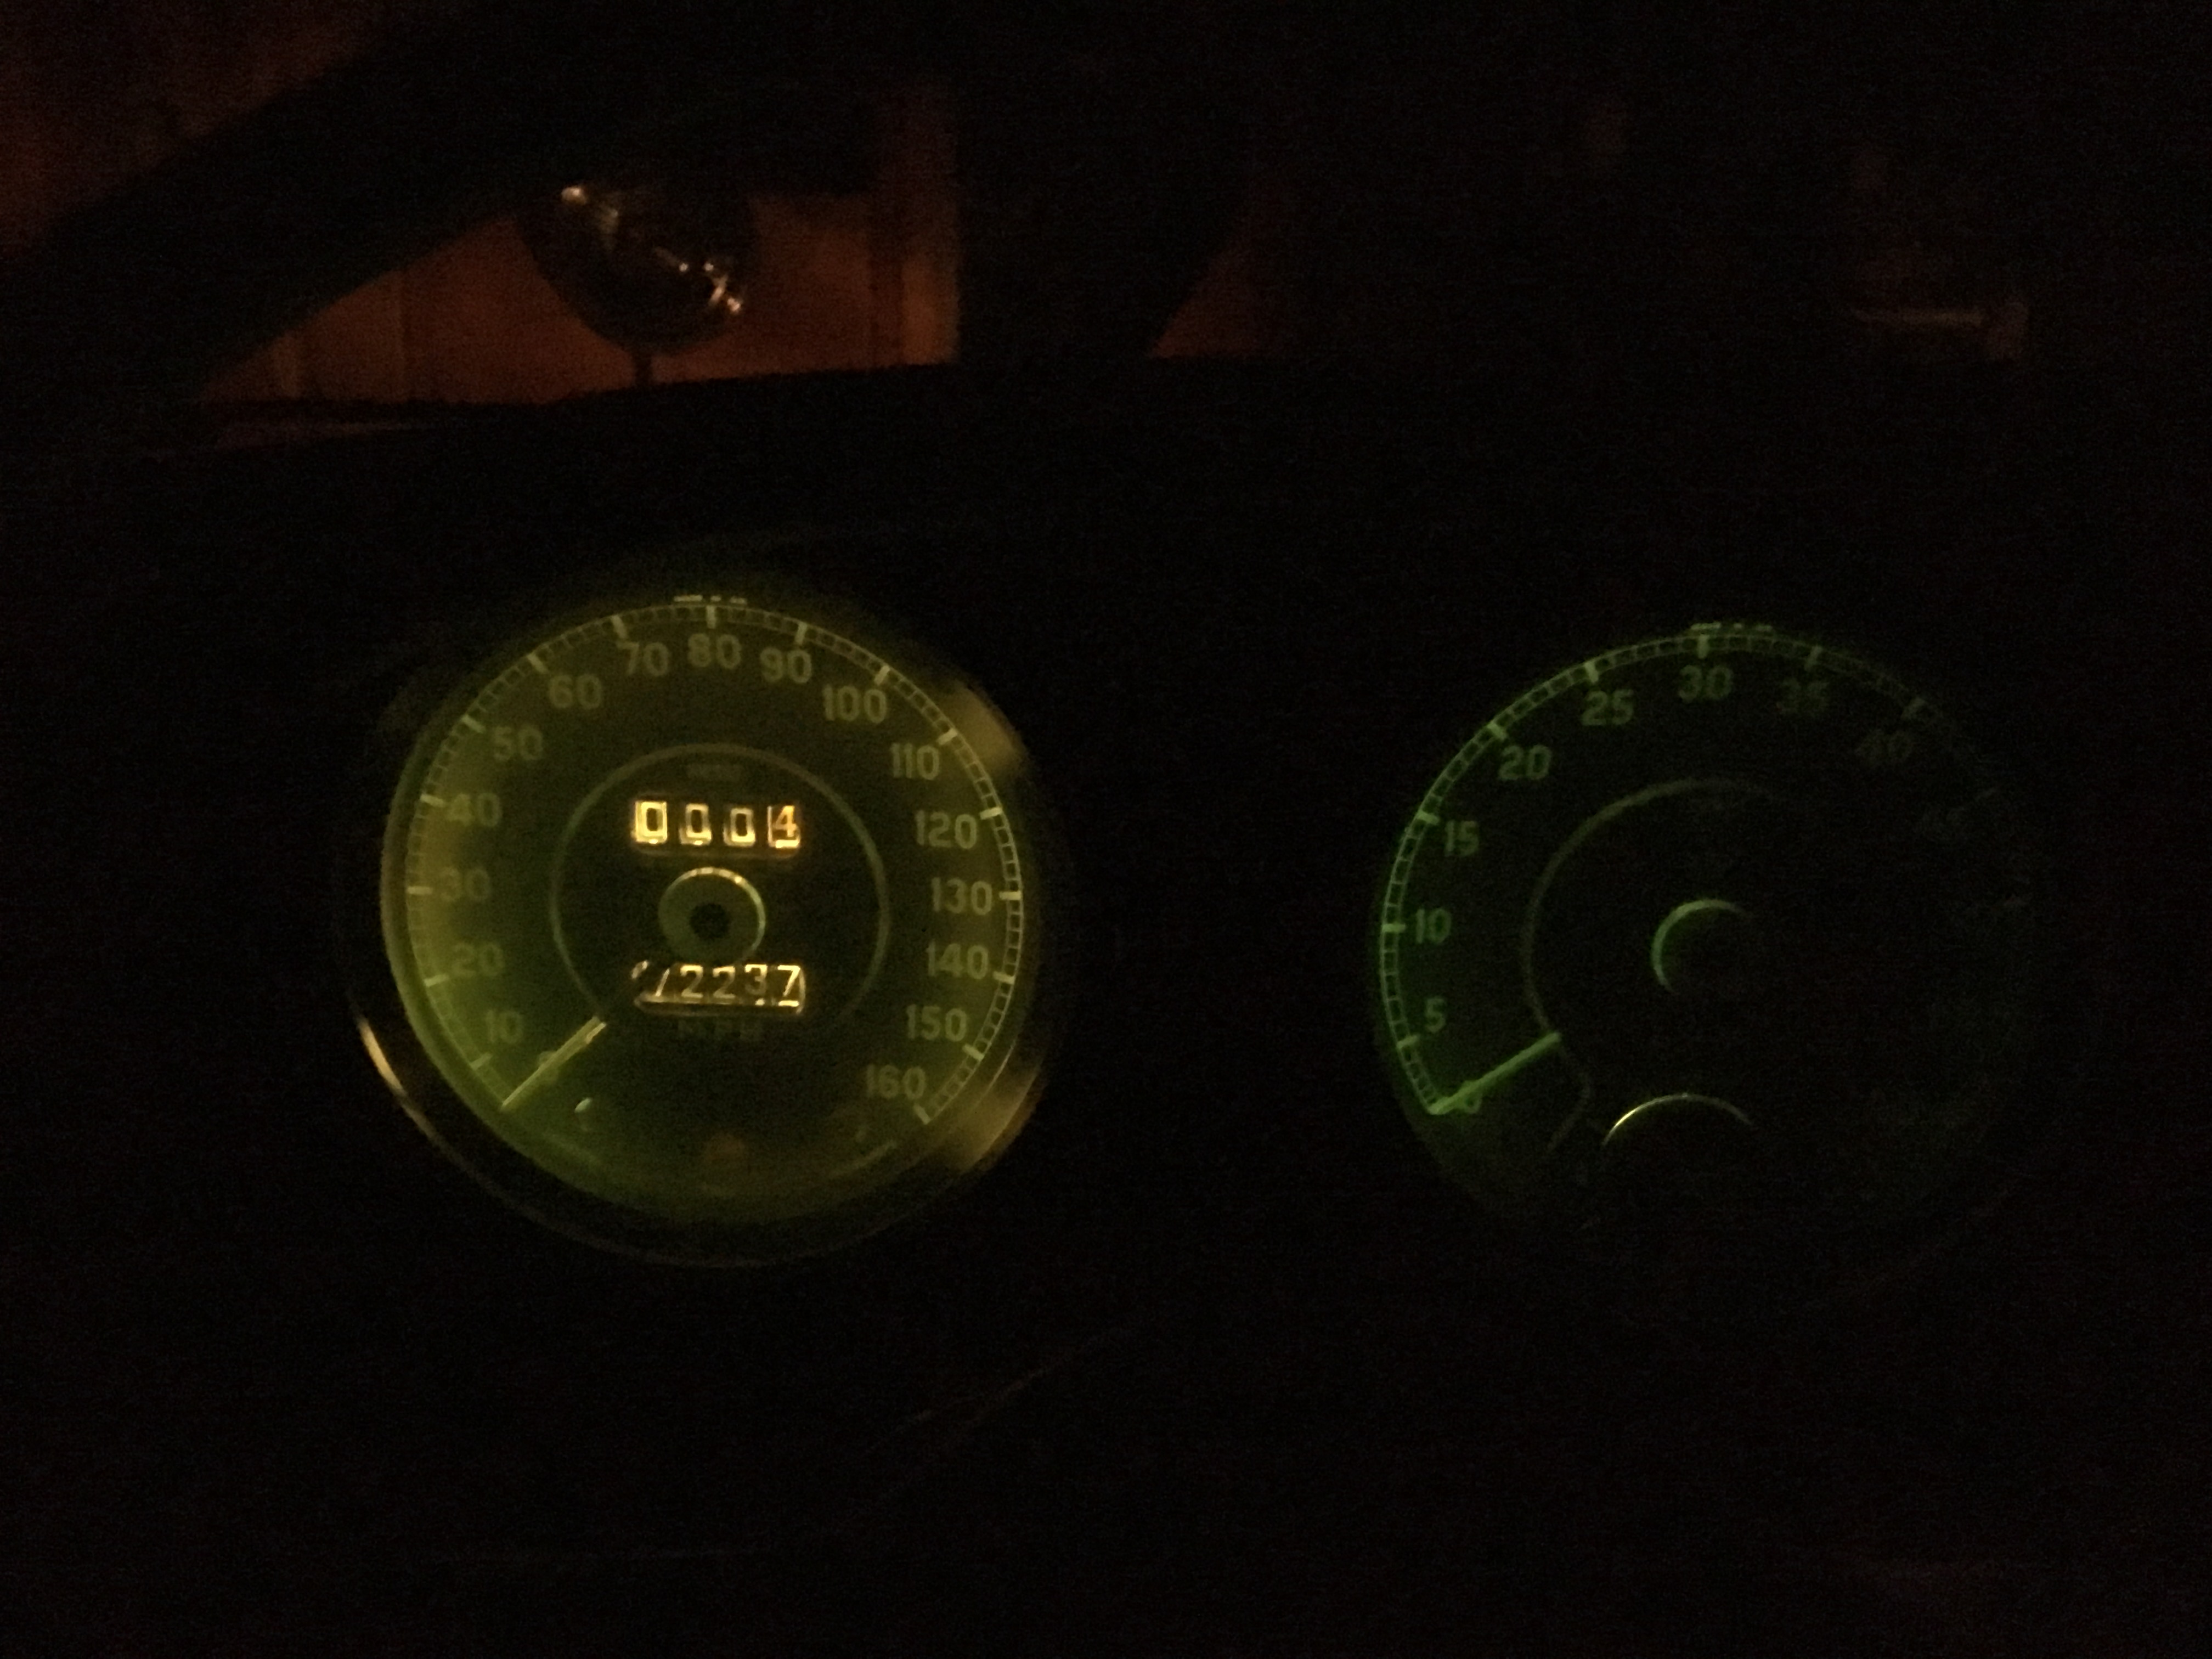
Just terrible, dead bulbs ,no led, green filters and enough London fog to patina the glass😀
Terrible
or this…

8am Monday morning
I love the petunia but want reliability and less issues
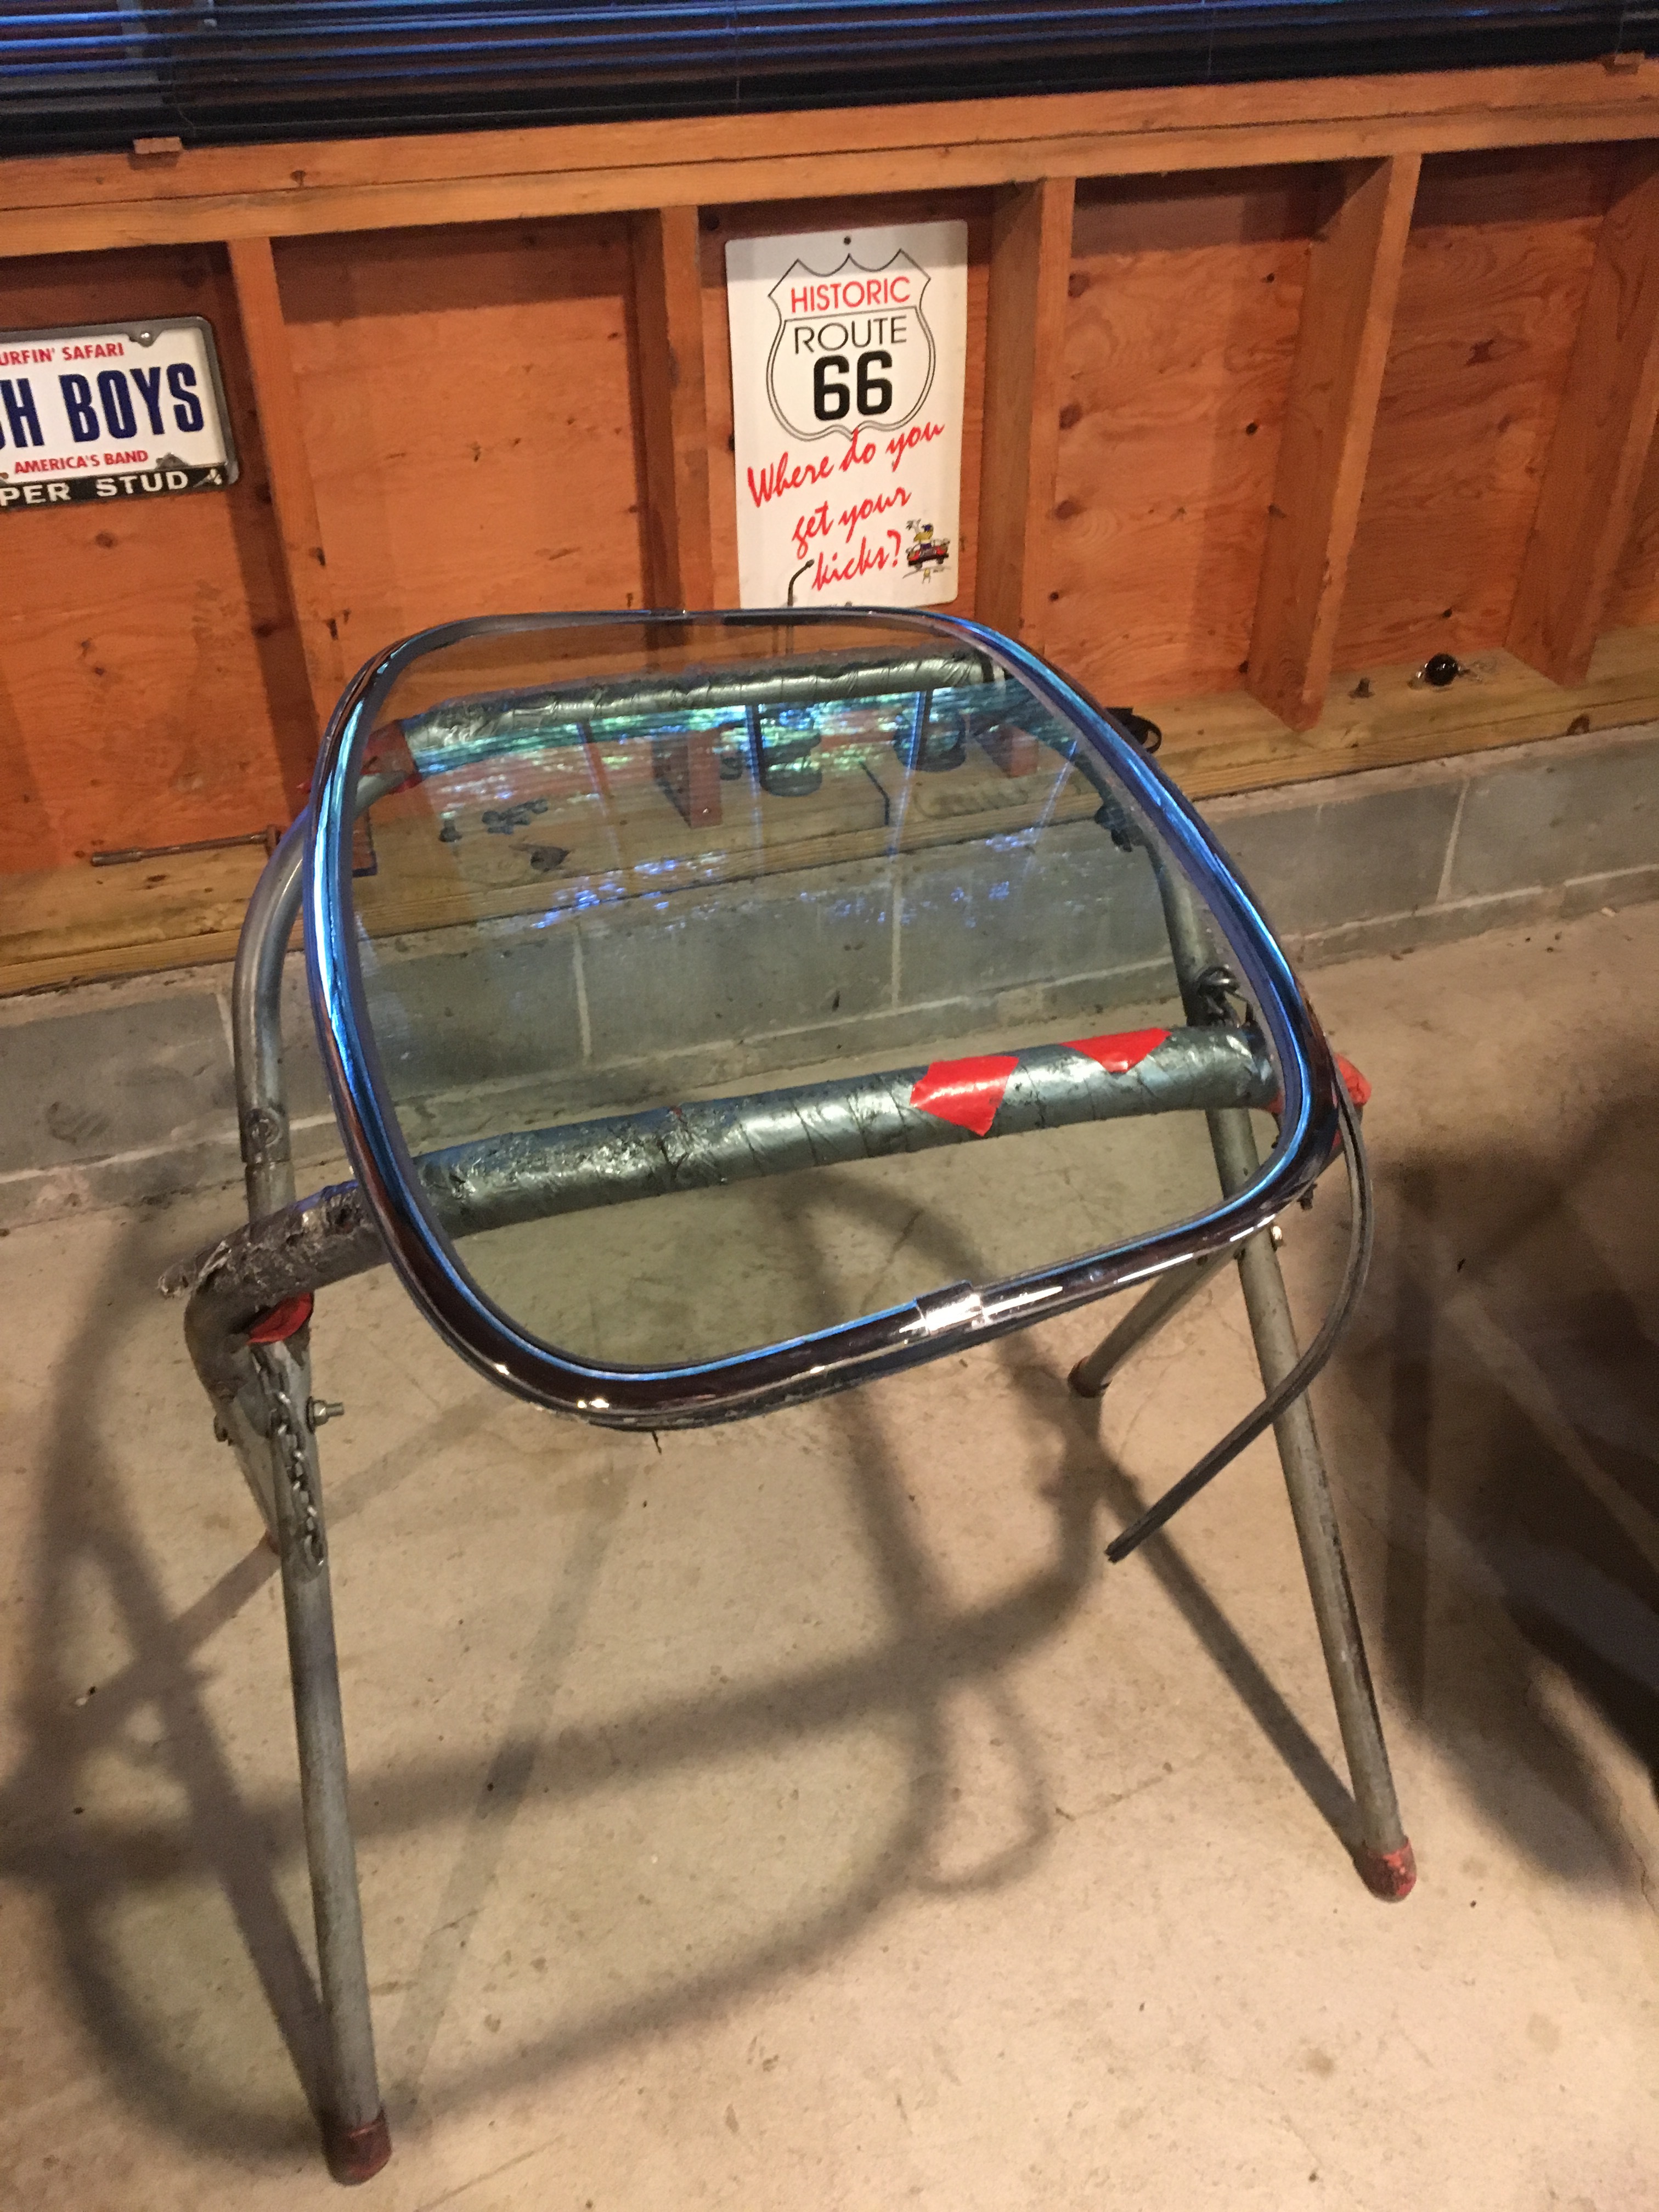
I don’t have the touch. For the rear glass seal
My young friends are doing the work with a new rear grass walk from sng


Doing some gardening on Monday morning. Nice…
1 Like

Spell check on iphones with no glasses stink.
That’s patina…
gtjoey1314
Glass came out fine but we had to cheat with silicone on the clips…and this was original trim!
Imma gunna remember that, next time I suffer a senior moment…![]()
1 Like
The sng rubber gasket again did the trick, no shaving or massaging.
I think it took less than a half hour with clean up.
I added a dot of silicone to the clips as they are not perfect after all these years but original not repro.
The fun is in installing the chrome trim.
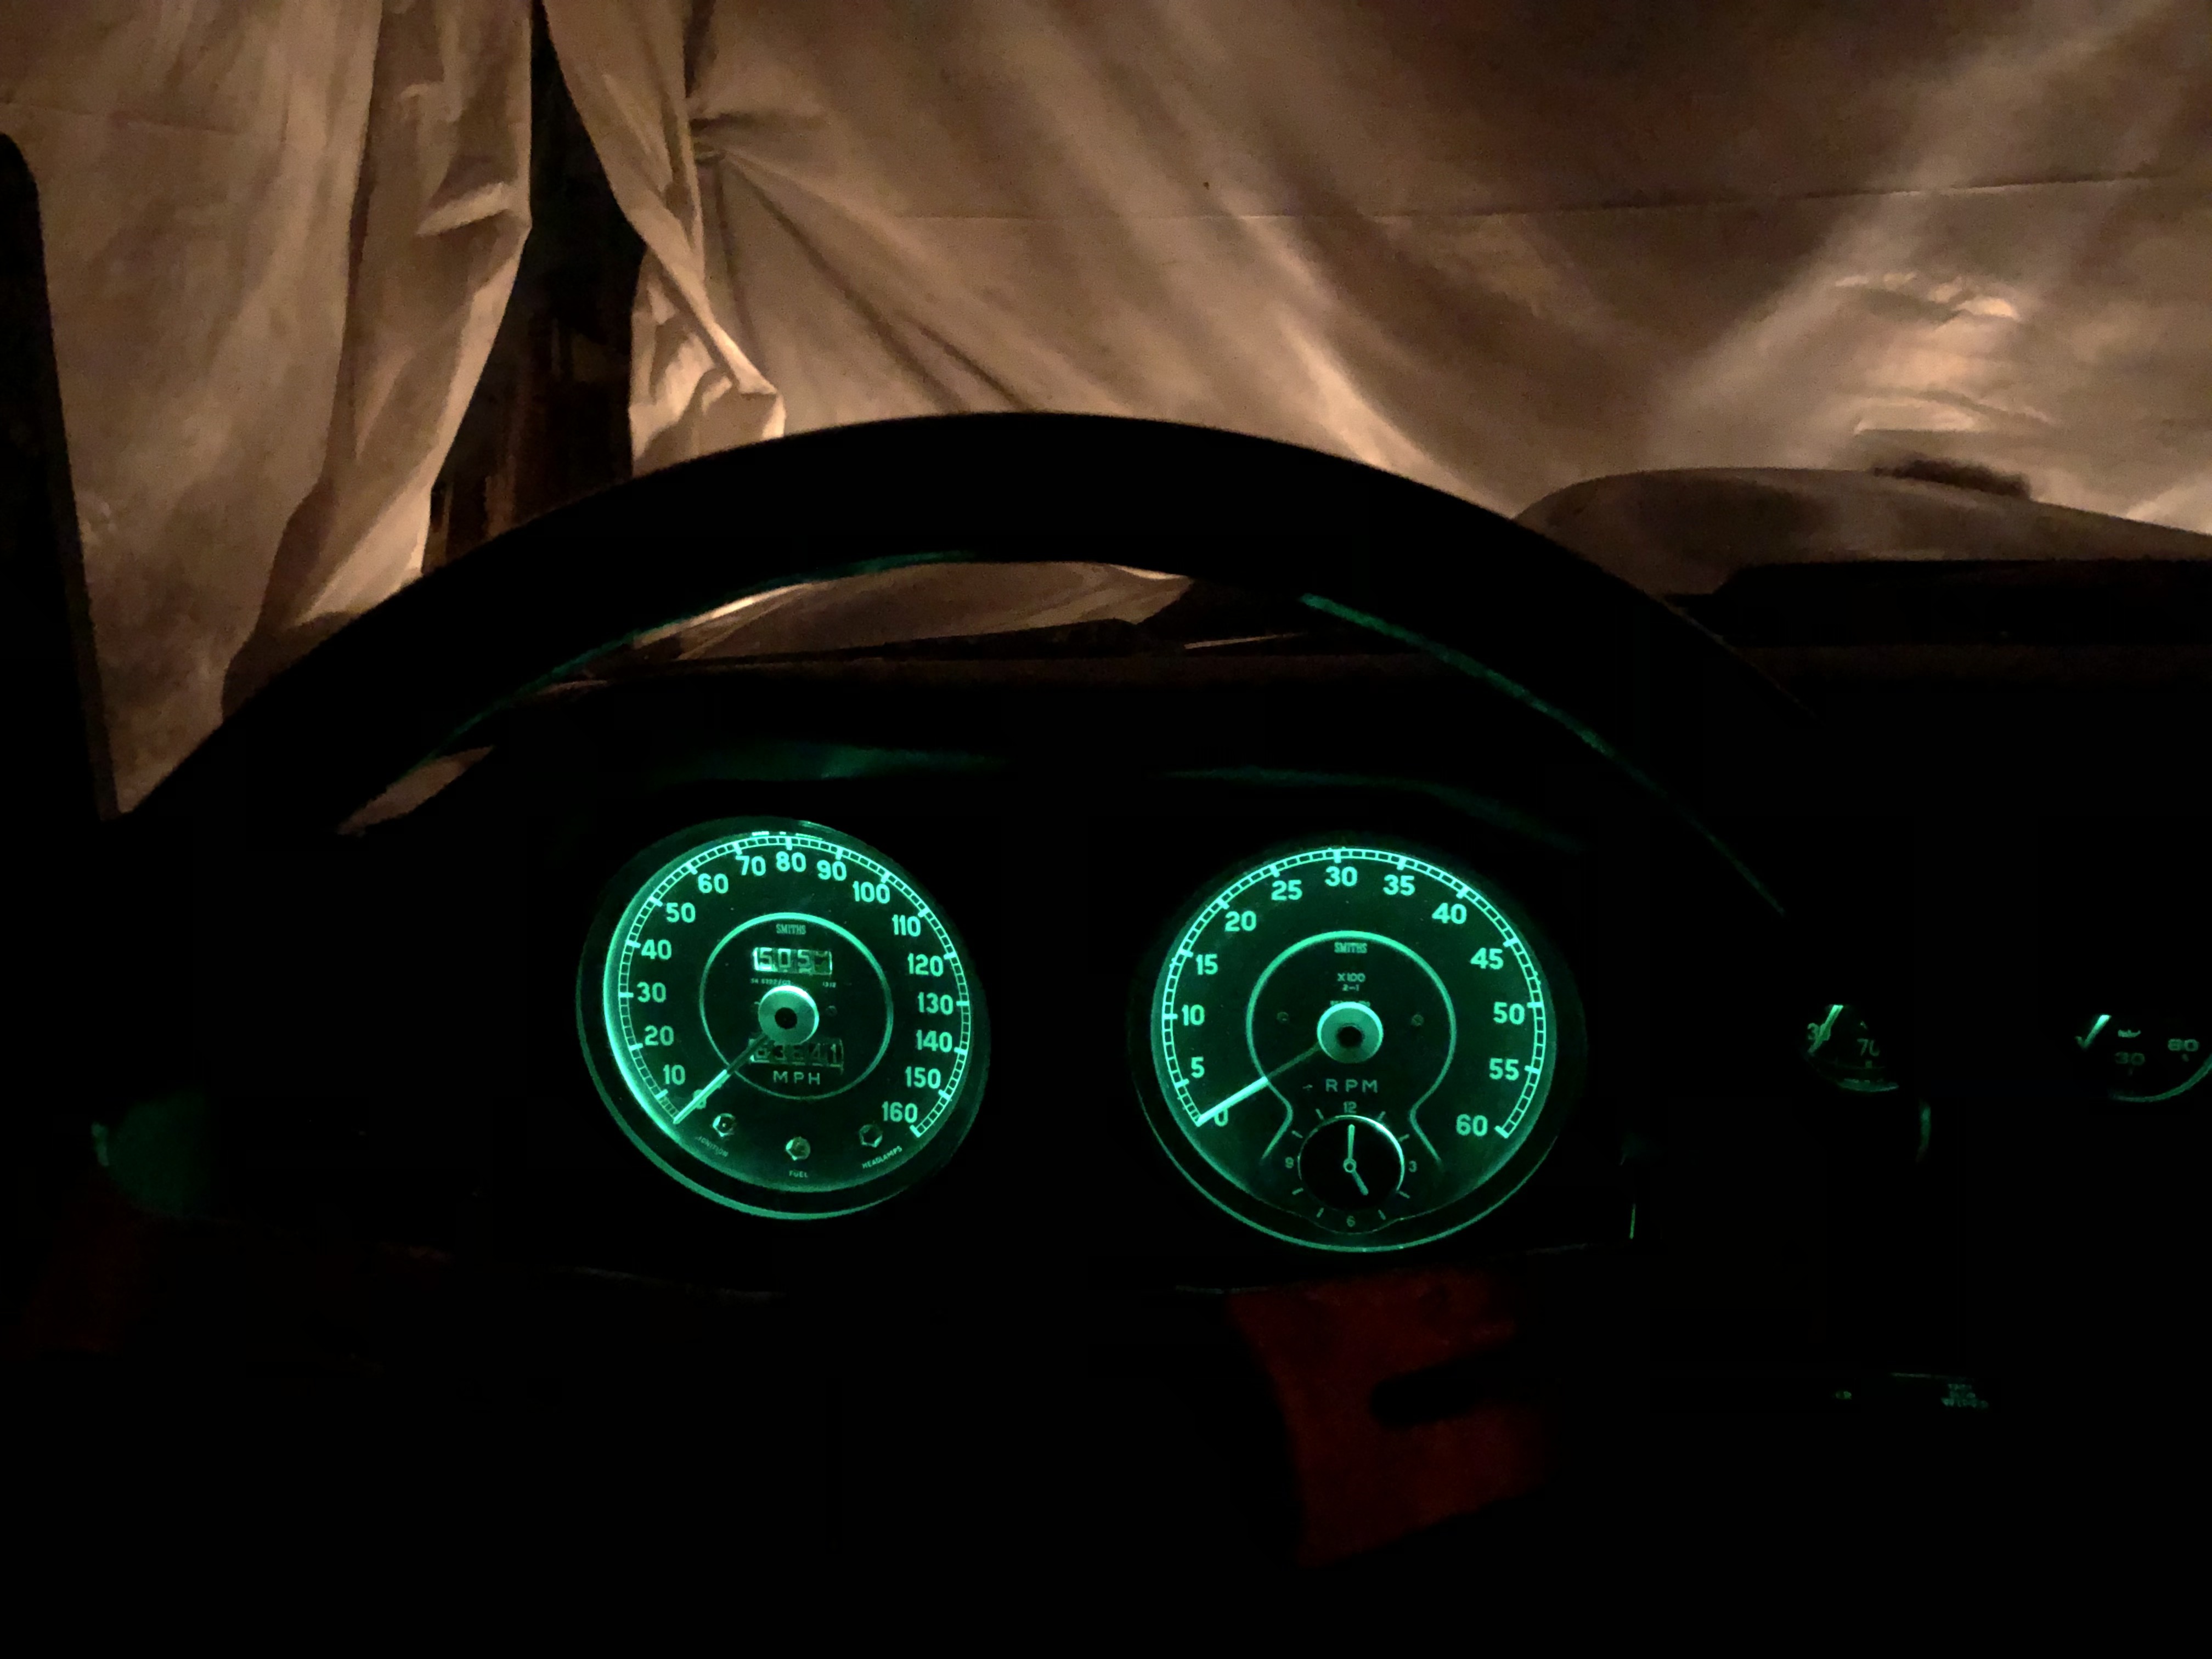
I got a photo of the panel lights last night. Tach and speedo have green strip LEDs in the case. Remote dimmer on those two only. Panel lights OK with exception of ammeter, which is a little dim…but the gauge is disconnected and will be swapped for a voltmeter, so I don’t care for the moment. Center panel gauges are lighted by green LED bulbs with no filters. Switch logos are better than they appear on the photo, but could be improved (lighting is via LED strip). Instrument lights come on with the “parking/side lights” which are lighting up the garage.

4 Likes
What a pleasure…….If yours is a 64? you have the blue painted backround for that hue instead of the later green?
What a difference…are you able to adjust with a dimmer.
GTJOEY
PS the trim was a hoot, I always use silicone a lot going on with the curves and all.
I didn’t like blue…so it’s green. No dimmer except to balance the big dials with the small ones. Once that’s done they always come on at the same intensity. Dimming LEDs is another level of complexity. (I might take the two big dials down a notch in brightness).
The camera I used seems to have shifted the color a bit…it’s definitely more green in reality.
I agree…it looks wonderful, put a stock set up next to it and you will be in shock.
GTJOEY1314
64etype, your dimmable speedo and tach are perfect. The light appears evenly distributed around the circumference so I’m assuming the LED strips are relatively deep in the casings. Your other instruments look pretty good too but I’m thinking the best way to match color and balance intensity across all gauges would be to use the same strip lights everywhere and connect them all to the same dimmer. It seems like that would address the problem caused by differing bulb hole locations in the center panel gauges. Did you avoid that option for a reason I’m not seeing? (P.S. I know you said that this was described in detail at forum.etypeuk.com but I’m having difficulty registering at that site.)
I boosted the dash id strip below the toggles with led bulbs, the same as the chock light.
I will have pictures soon but its a huge improvement.
Im still waiting on the ammeter.
Before I button up the center dash.
gtjoey1314
I spent many hours in the dark garage experimenting and found the best location is indeed at the rear of the case for the two large indicators. There’s also a light blocking shield around the odometer because too much light was bleeding through.
I avoided LED strips in the small gauges because it looked like a huge pain in the ass. I had an assortment of lens shapes from my experiments with the speedo, tach, signal light indicators and warning lights. By experimenting with a few lense shapes (concave, convex, etc), I was able to get satisfactory balance between them. I speak to this in the UK string attached below (post #57),bulb numbers are cited. Further, I believe that no matter which approach is taken for the small dials, there will inevitably be a balance issue between the small gauges and the big ones. That means one or the other has to have a dimmer . I had no idea if an overall dimer could be used with another dimmer in the circuit. By the way, back when this was happening, there was basically one LED model number for strip lights. There are now brighter segments instrip lighting, so this is something to take into consideration.
The UK site is up and running…here’s the old string I mentioned…there are others regarding LEDs on that site with great detail http://forum.etypeuk.com/viewtopic.php?f=9&t=2859&hilit=led
I appreciate the info. Picture 14 at http://forum.etypeuk.com/viewtopic.php?f=9&t=2859 shows LED strip lights above the center gauge cluster serving as a map light. It does a great job of illuminating gauges, gauge labels, toggles, and toggle labels. If that light was the same color as the tach and speedo backlighting, but separately dimmable, I bet it would all work together rather well, while highlighting the interior touches that make E-Types so special. Increasing the brightness of the dimmable center console lights could also serve as the map light, or the map light could be a separate row of white LEDs. This approach has a lot going for it, including not having to fiddle with lights inside the small gauges.

Sorry for a little delay was rebuilding and installing a db4 overdrive transmission
Astons are great but…your very restricted on parts
That’s why now I move on to the starter hoses and heater box
Before the carbs come
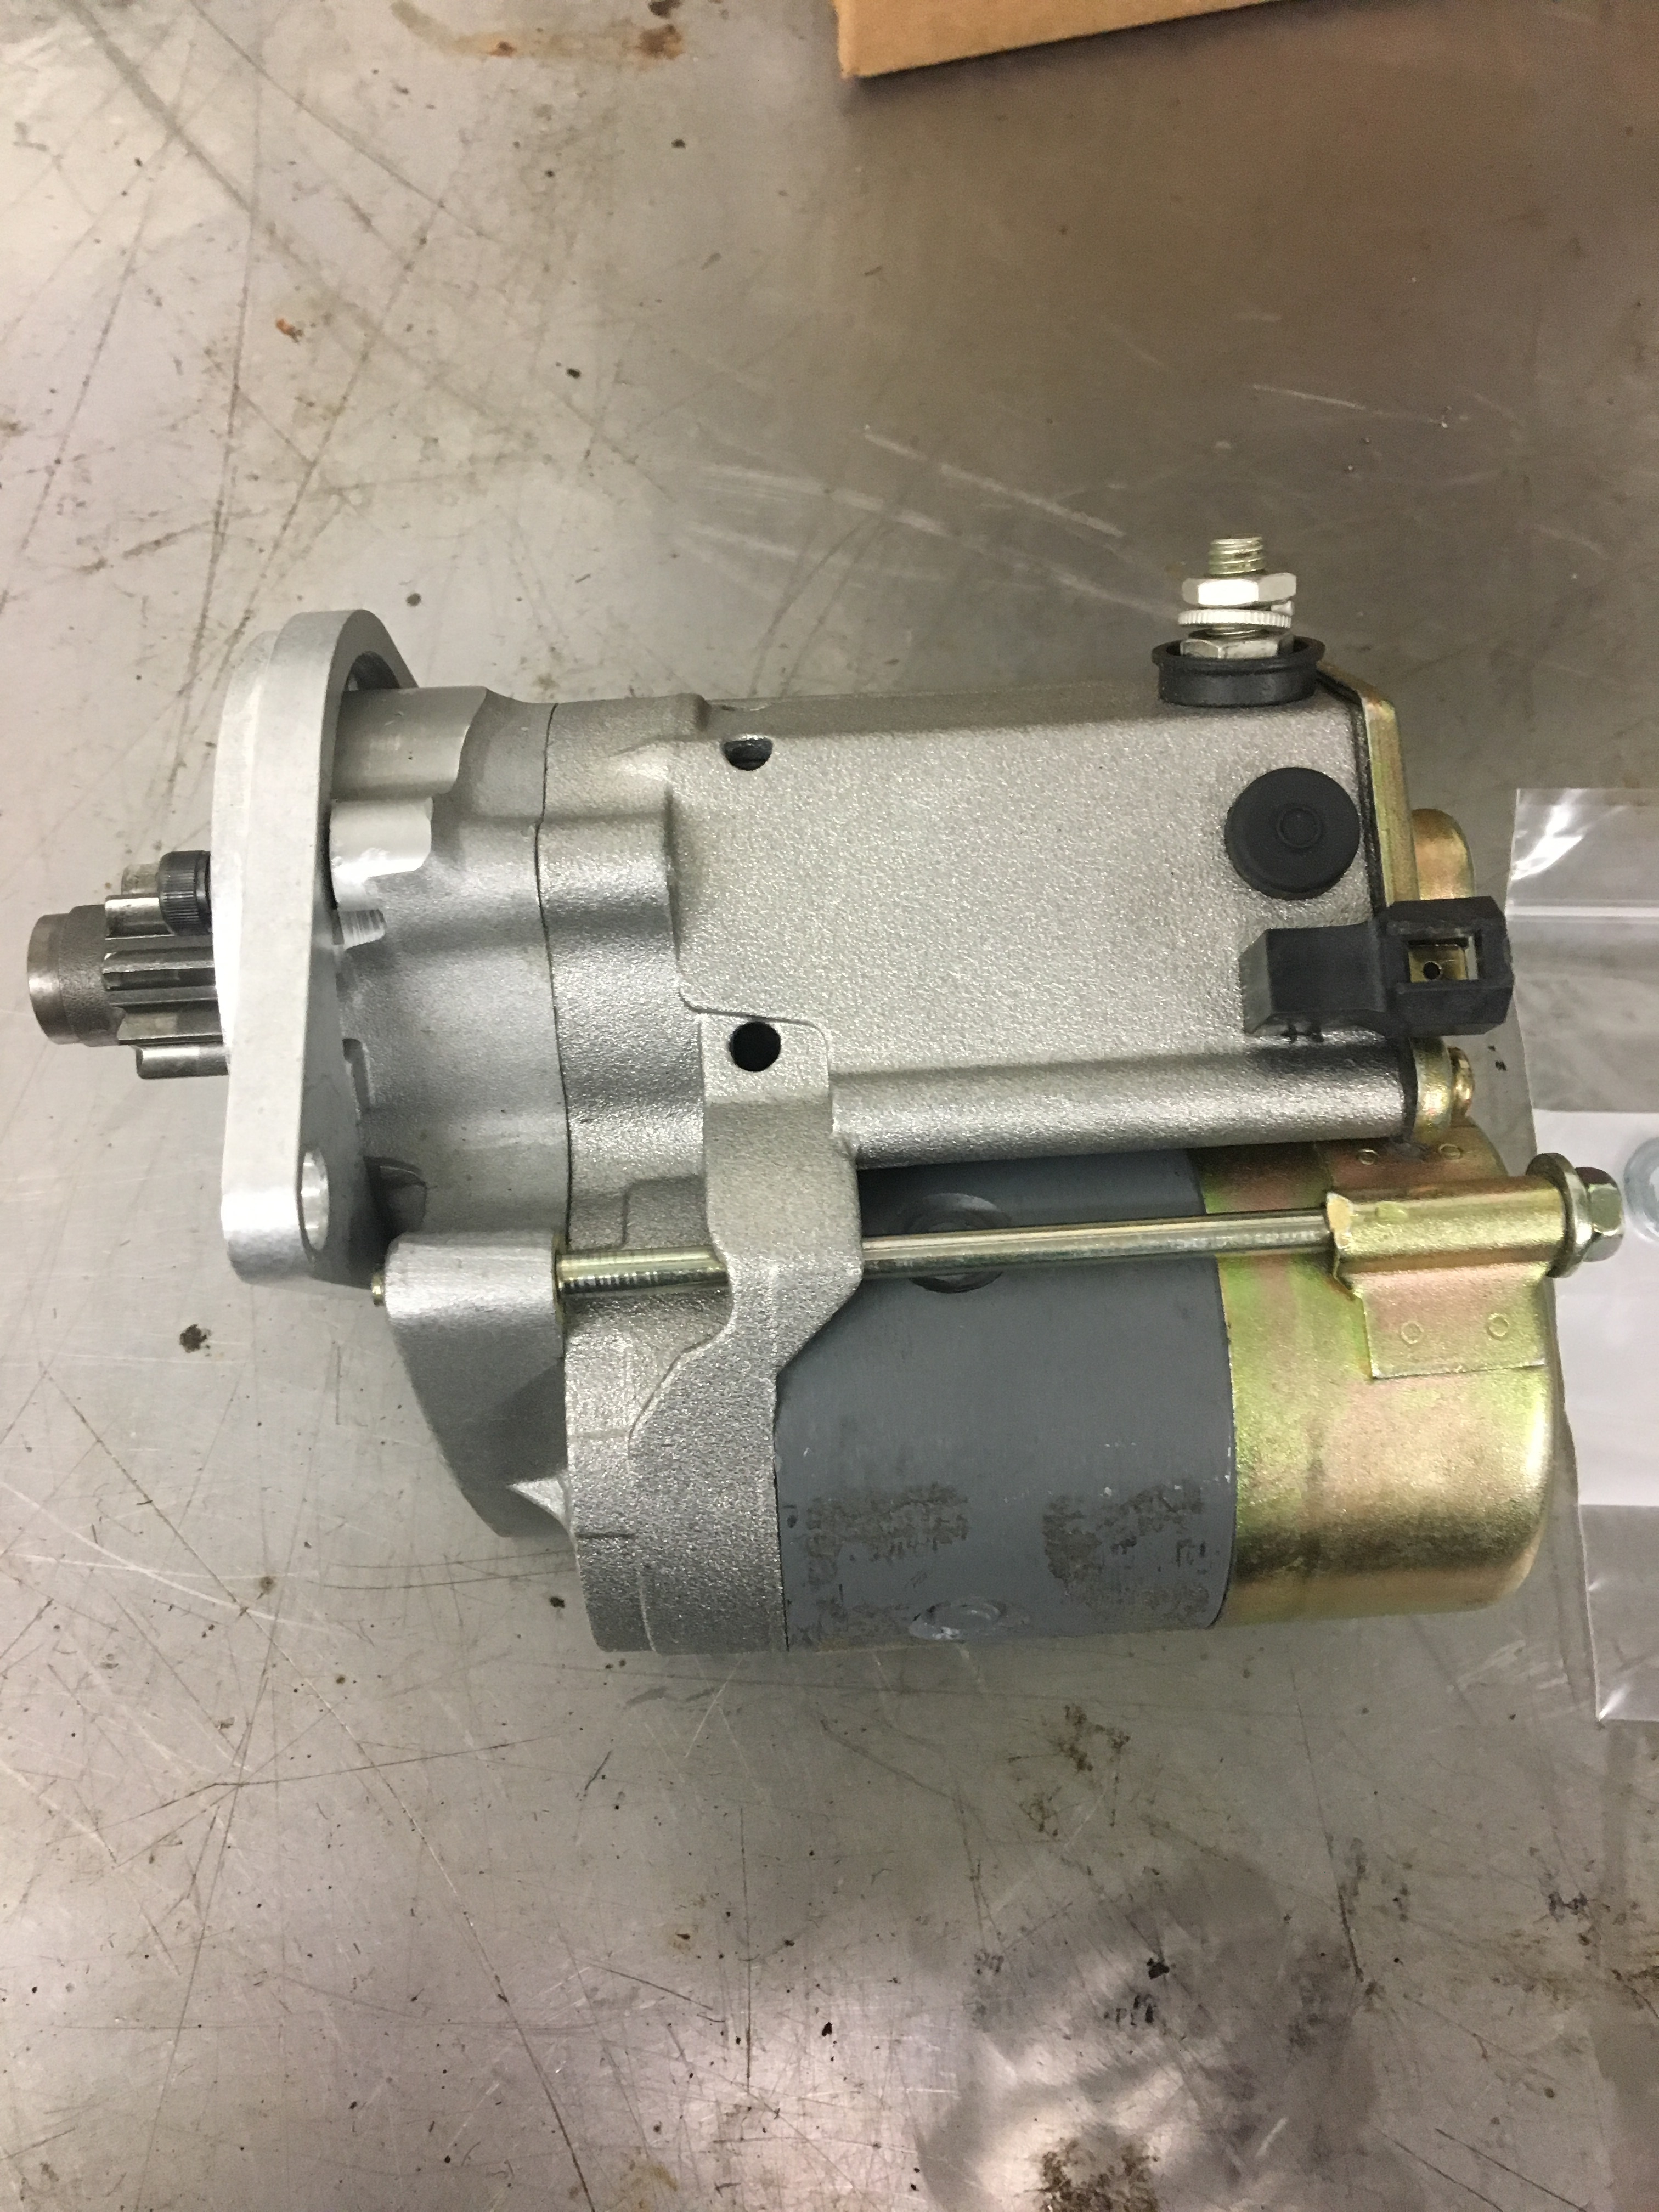
Guys I’m going with the h/t
They always forget to send bolts and washers plus I use a nylock nut
My old Lucas was rebuilt , it will be my spare
You can’t beat the cranking power and less energy to kick over
Will report back once I drain the antifreeze
Gtjoey1315
Moving on
The Db4 is coming off the lift
Going the whole 9 yards once…
I’ll get it on then remove the bonnet
Front end , rad, all suspension so it’s done
I’m going to try sng complete front end
Anyone else try it?
Also thermostats. I’ve been going 160
Anyone else?
Look at the zip tie holding the wire down on the temp sender…nice
Plug wires as well
It’s all gotta go


Out of curiosity, what parts does their front end kit include. Are the bushings of a “known” brand?
In my opinion, a 160 thermostat is too cold. Running your engine cooler may give you a little more “pad” when sitting in traffic, but if you’re running down the highway at something like 160-165, then you’re putting unnecessary wear on your engine. I believe you were planing a fan and radiator upgrade anyway, right? If so, then you probably don’t need the “pad” anyway, and then there’s no upside whatsoever to running colder than 180-190…the engine runs more efficiently, less wear, oil stays cleaner, etc.
1 Like
I would agree with Ben, a 160 engine is not hot enough to be efficient. I would / did go with 180. If you have issues with overheating, address those by fixing whatever is causing it, rather than a cold engine. Timing, mixture, and a fully functioning, clean,cooling system and you should be good. Then upgrade your fan/s if needed.