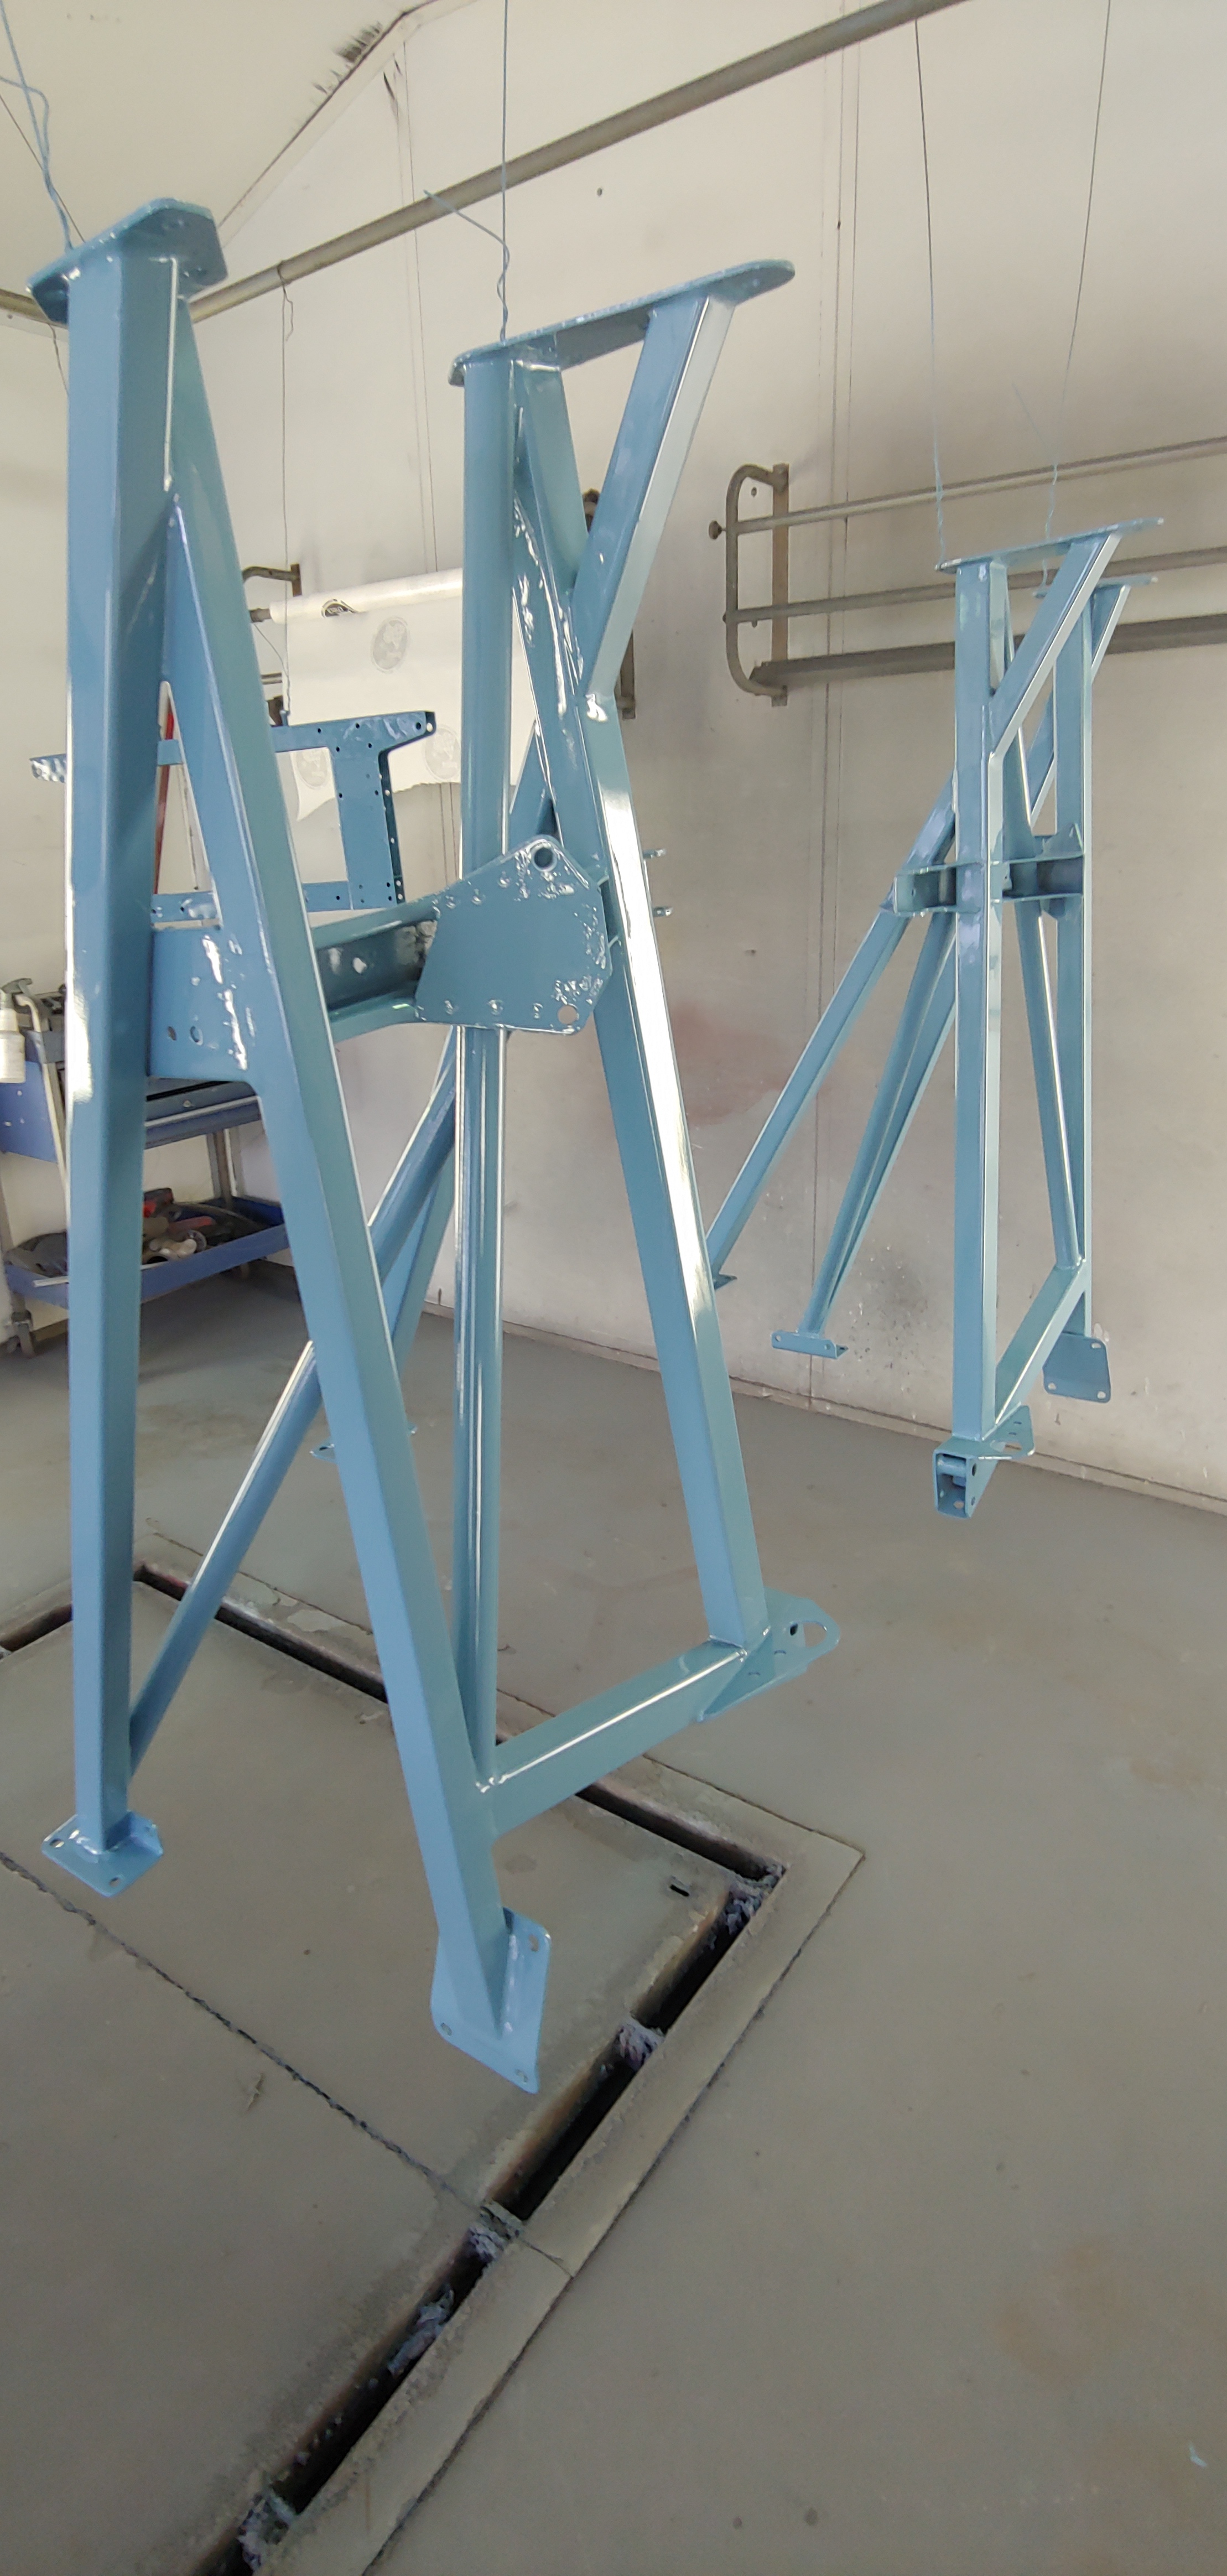
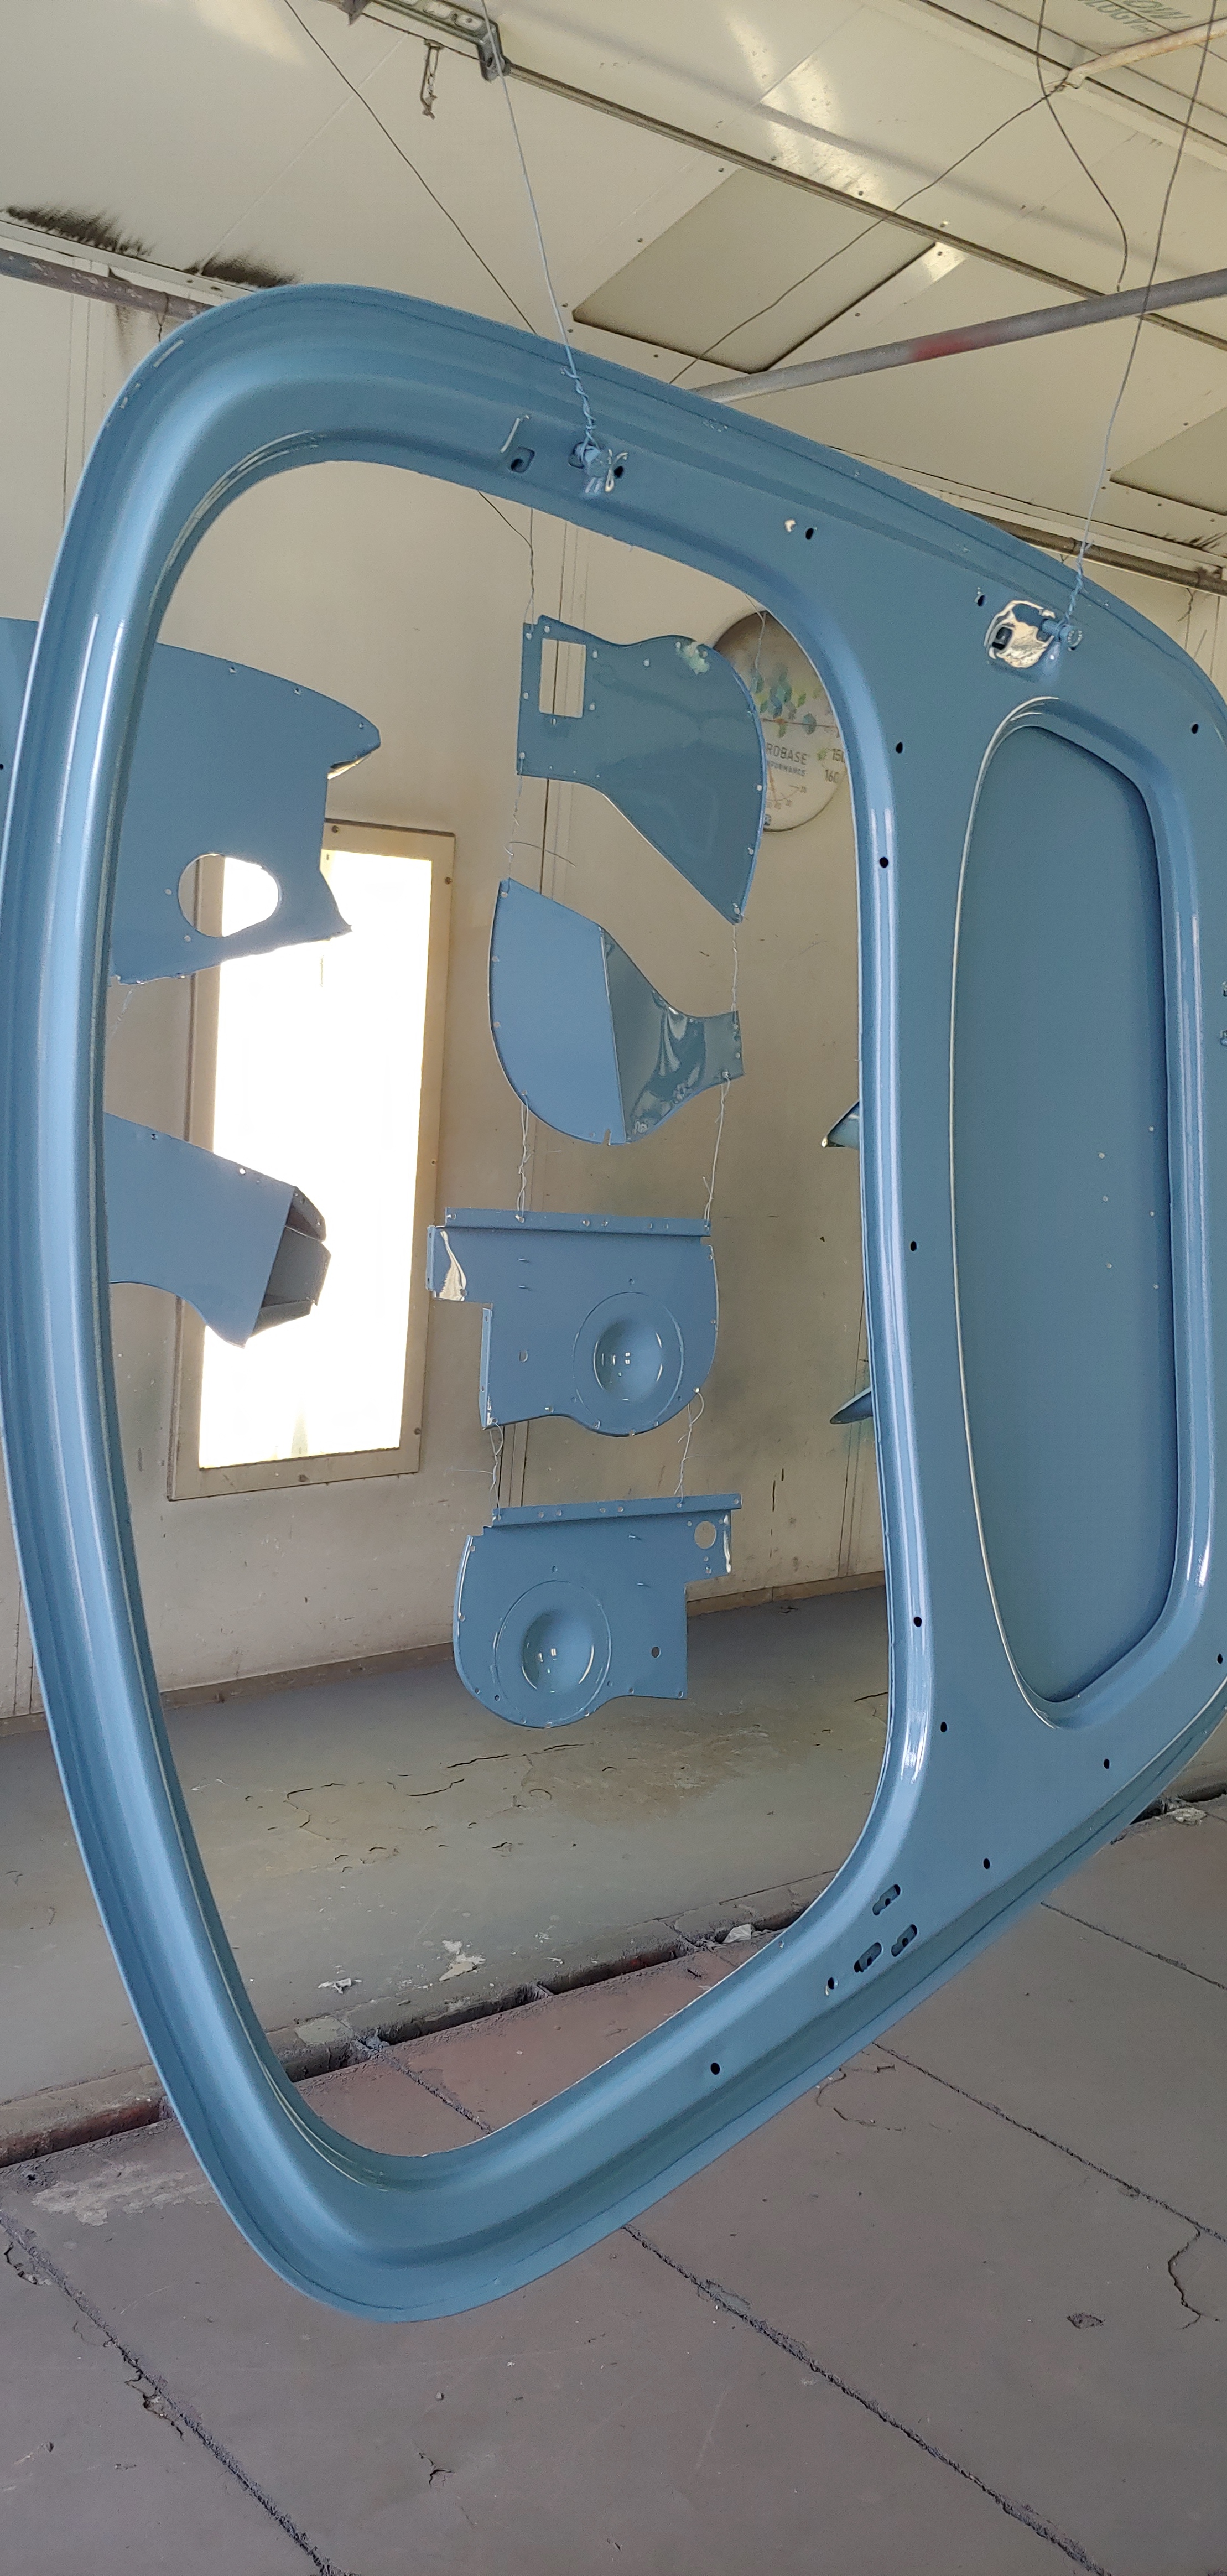
About a year ago I discovered a broken head stud on my 1969 xke 2+2, and had to remove the engine to get it drilled out. I decided to start a restoration on the car. Although there was no rust as it was a CA car. On stripping every nut/bolt and everything down to bare metal, I did discover a lot of accident damage and copious amounts of filler. It seems for many months I have not really made much visible progress but completed all the body work and finally today it felt like I started moving forward again with the first panels receiving paint. It’s a big milestone for me and although there is a long way to go, it feels good to get to this point.
Getting to that stage is a good feeling. I celebrated a minor milestone yesterday when I got the bonnet center section and wings to line up with the cowl. Woo hoo! No one appreciates the amount of prep time that goes into bodywork until they have lived it.
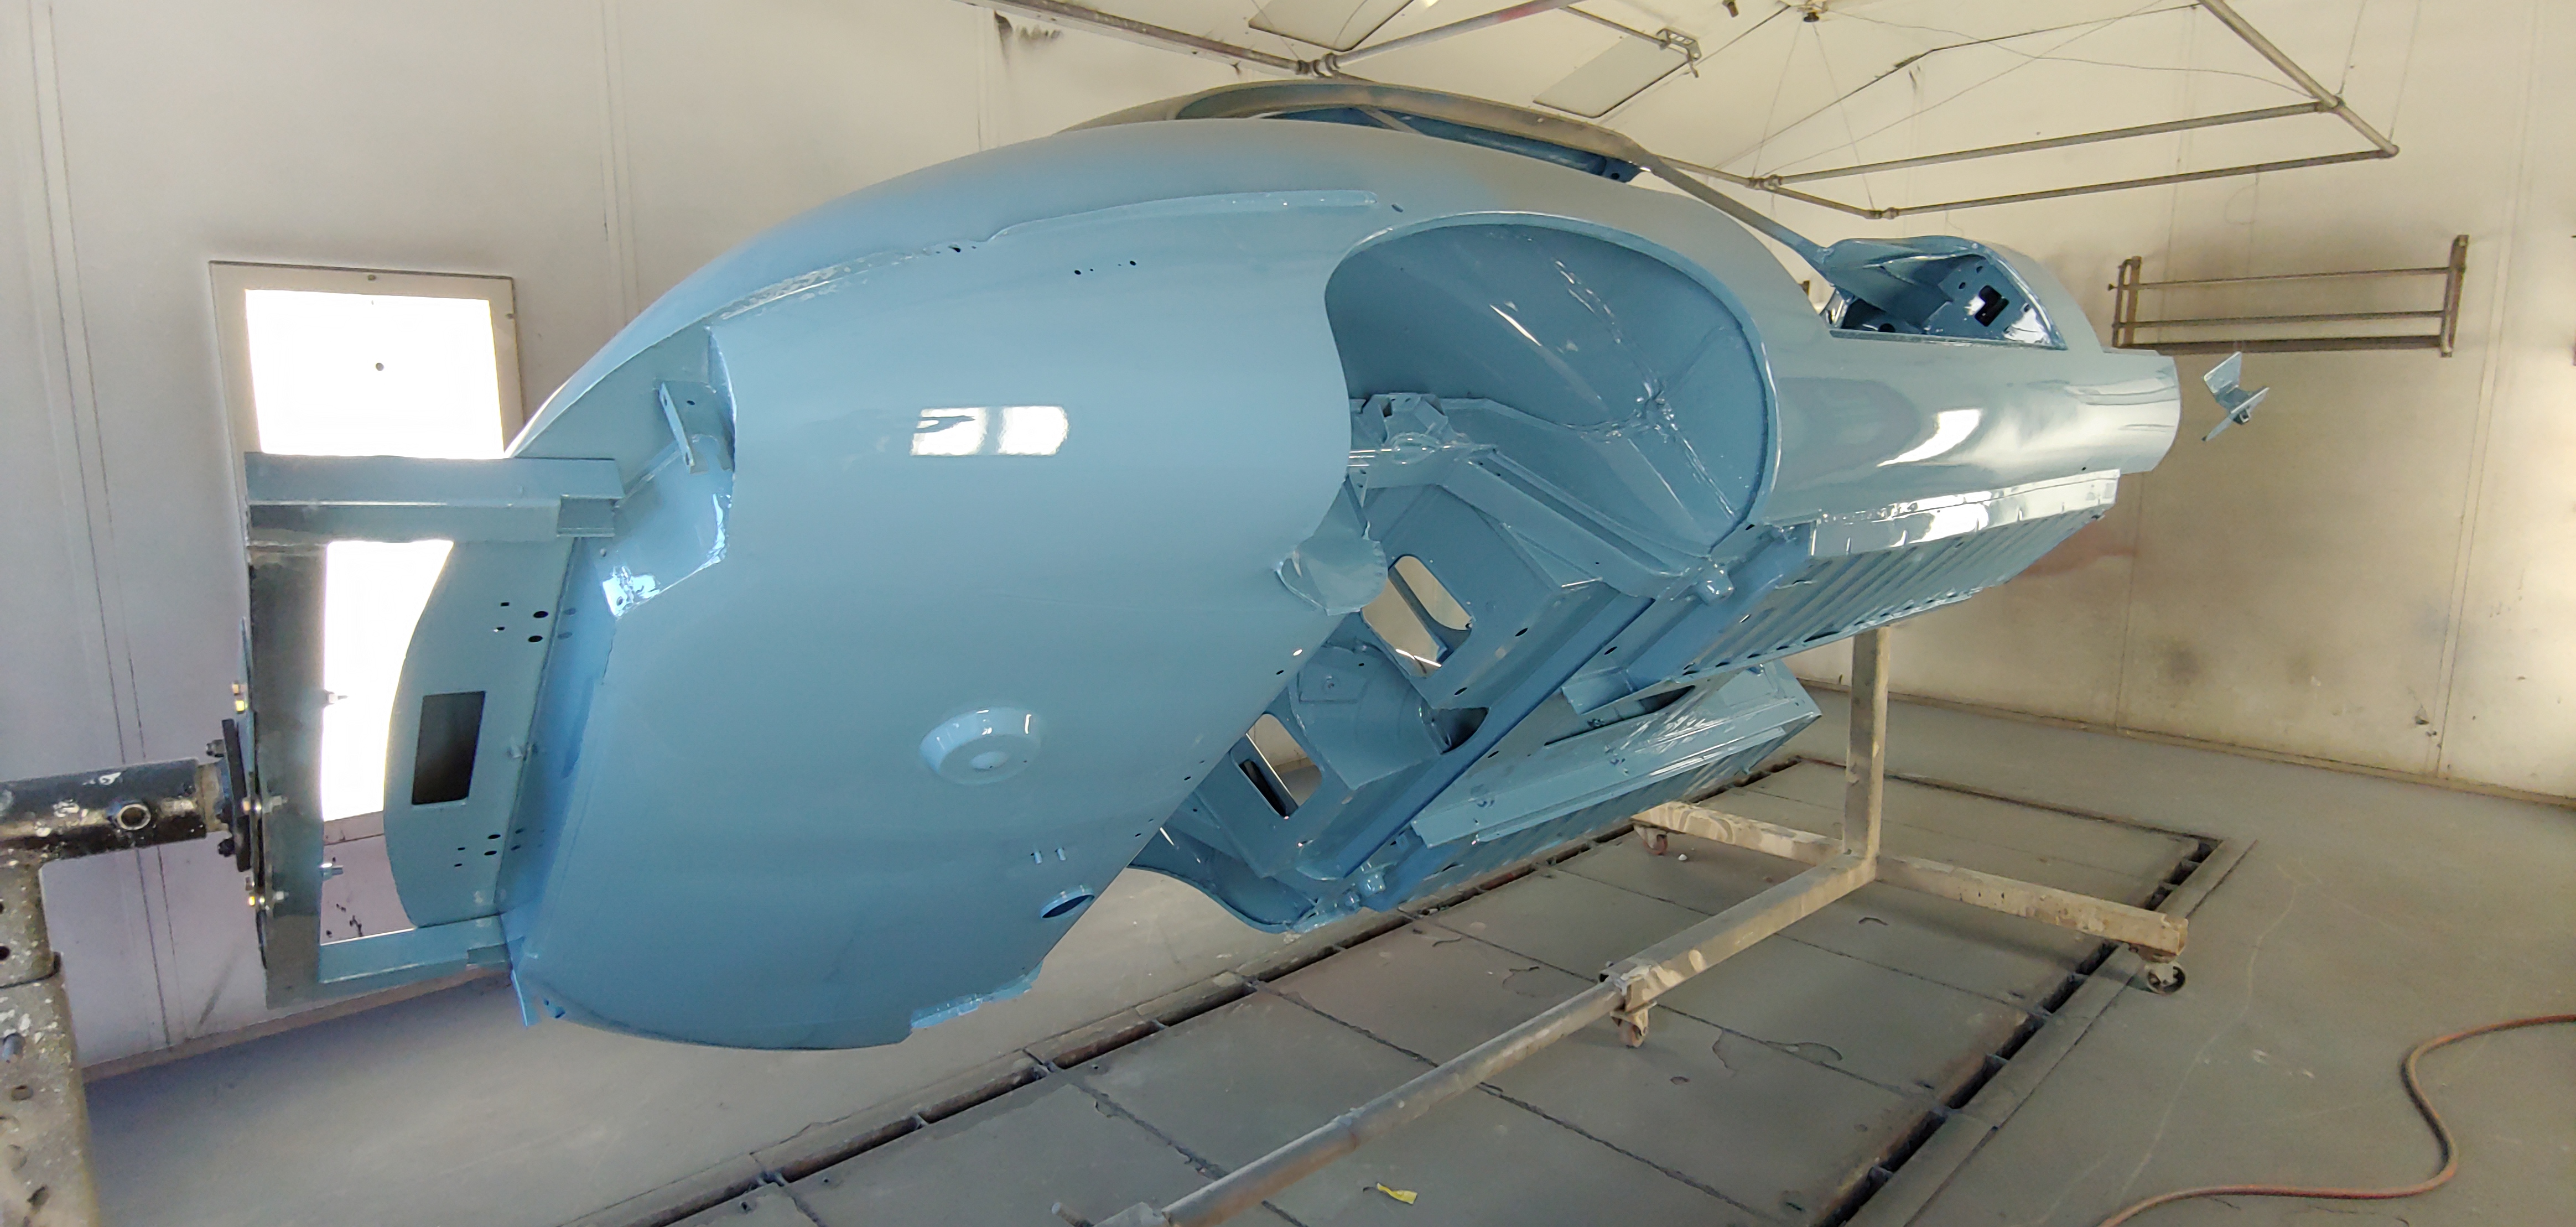
Managed to get the seam sealer done over the last couple of days. Main tub bodywork is nearly done but did not need much which made relatively quick. They are hopeful to get it into the paint booth tomorrow for tub interior and door/tailgate shut painting.
Assembled the bonnet today while the body interior, door/tailgate shuts and underside were being painted.
Next I need to assemble the body frames and fit the doors, tailgate and bonnet ready for final bodywork and paint.
Bonnet is now assembled and door/tailgate hung and aligned. Just chased the threads on the bulkhead so I can attach the engine frame at the weekend and start getting the bonnet hung and aligned. Hoping to get it back to the paint shop for final paint within the next couple of weeks.
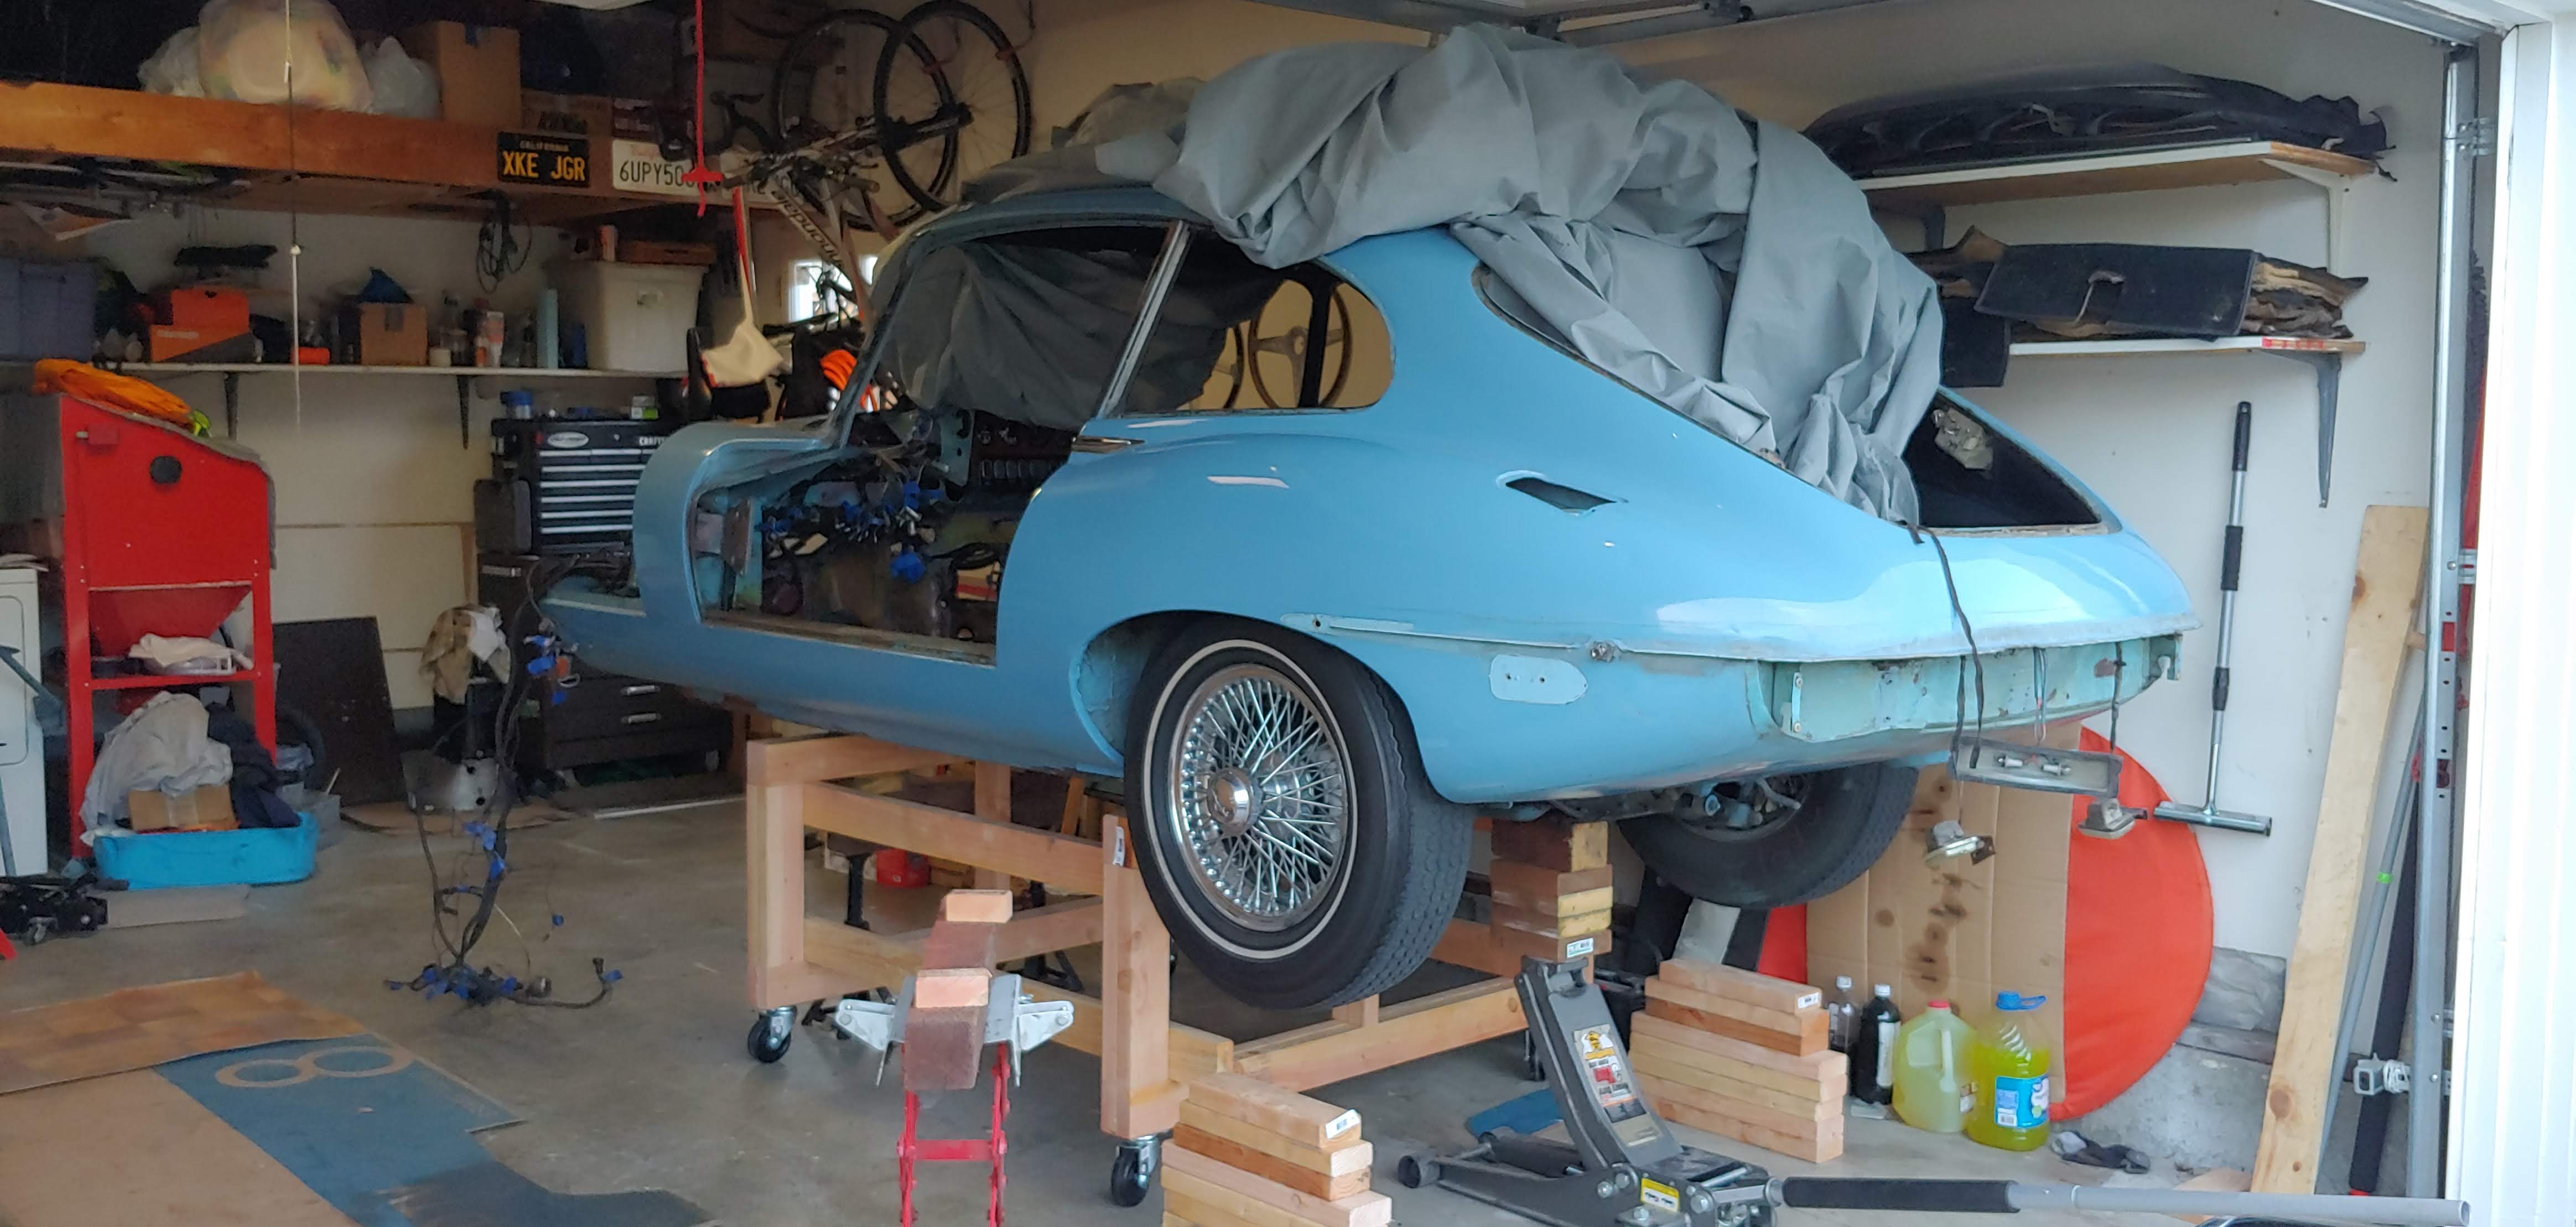
I have a paint code for it but not sure of the color name. When I bought it had been resprayed in a blue that was a few shades darker than the original light blue. After stripping and seeing the original light blue I preferred the darker shade. The body shop could have mixed the color to match but I decided to go with a off the shelf color that was nearly identical to make it easier for future repairs.
Below is a picture of the car when purchased and another photo during disassembly where you can see the original color where the rear side marker was removed.
Looks very nice. Maybe a shade or so darker than my brother’s '64 Karmann Ghia, which is a lovely car. My dad had a '77 Sedan Deville when I was growing up that was about that shade of blue, with a powder blue leather interior.
When attaching the painted engine frame to the car do most folks add washers between he bolt head and the engine frame to minimize damage to the paint when tightening ?
I checked the photos of the frames before removal and the only washers were on the footwell side of the bolt between the nylock nut and the bulkhead. Any input appreciated.
It looks like this may have been discussed here in the past - I had some vague recollection it had. I seems that the original bolts may have had a slightly raised circular section under the head, so that tightening the bolt would be less likely to damage the paint. Here is the thread:
The parts list only shows washers under the nuts. As I recall, 12 of the bolts have nuts behind the firewall, and 12 screw into nuts welded in place in the inaccessible areas (such as inside the sills). With the 12 bolts that used nuts, I think I found a way of wedging a wrench in place on the bolt head to prevent it turning, and then tightened the nut behind the bulkhead to prevent paint damage. No such solution for the 12 bolts that go into welded nuts though…
Hello Jay,
David is correct with the bolt configuration. If you’re not using the original bolts and relying on off the self replacement, then there is a chance that the paint will get damaged when tightening. If its a Nut and Bolt fixture, make sure you hold the bolt still and turn the nut where possible. When I have no alternative, other than to use current manufactured bolts, I set up and modify a swag of bolts to have the small raised circular section under the head of the bolt.
Often in a restoration of an E Type, particularly when the paint is being done by someone that is not a regular restorer of E Types, they do too good a job of painting the engine frames, picture frame and the area of the bulk head where the engine frames attach. By the time these components have the various coats of primer and then top coat, the accumulated film thickness of the paint in the areas where two surfaces interface, is considerable. In essence, you have a shim made of paint between these surfaces that will definitely change over time.
Should your parts compare with the above scenario, either carefully thin out the paint thickness in these areas before assembly, or failing that, re-tighten all these interface bolts on a regular basis for the first year or so; a longer period if the car doesn’t get driven much.
I believe it was Nick Saltarelli that posted that the less organic material you can have on the car the better and I concur with that; its one of those cases where less is more.
I have a stash of original bolts, mostly GKN. They do indeed have a slightly raised circular section under the head. In all sizes, not just the 5/16 x 1.
Curious, I consulted the ASME fastener standards. ASME B18.2.1 for Hex Cap Screws (Finished Hex Bolts) shows that this raised section is a requirement of the standard.
I used grade 8 washers on all my engine frame bolts. I think I chose a metric washer that was a little smaller on the outside diameter so they don’t scream washers, and they had a close fit on the ID. I felt it distributed the load better. I won’t win any points for originality…