Great photo. When you 180 degree turn the bracket please post another photo. Since your car has the bracket please PM car details (chassis #, etc.) so I can narrow down when the bracket may have been introduced!
Great Info.
Happy Trails,
Dick
Great photo. When you 180 degree turn the bracket please post another photo. Since your car has the bracket please PM car details (chassis #, etc.) so I can narrow down when the bracket may have been introduced!
Great Info.
Happy Trails,
Dick
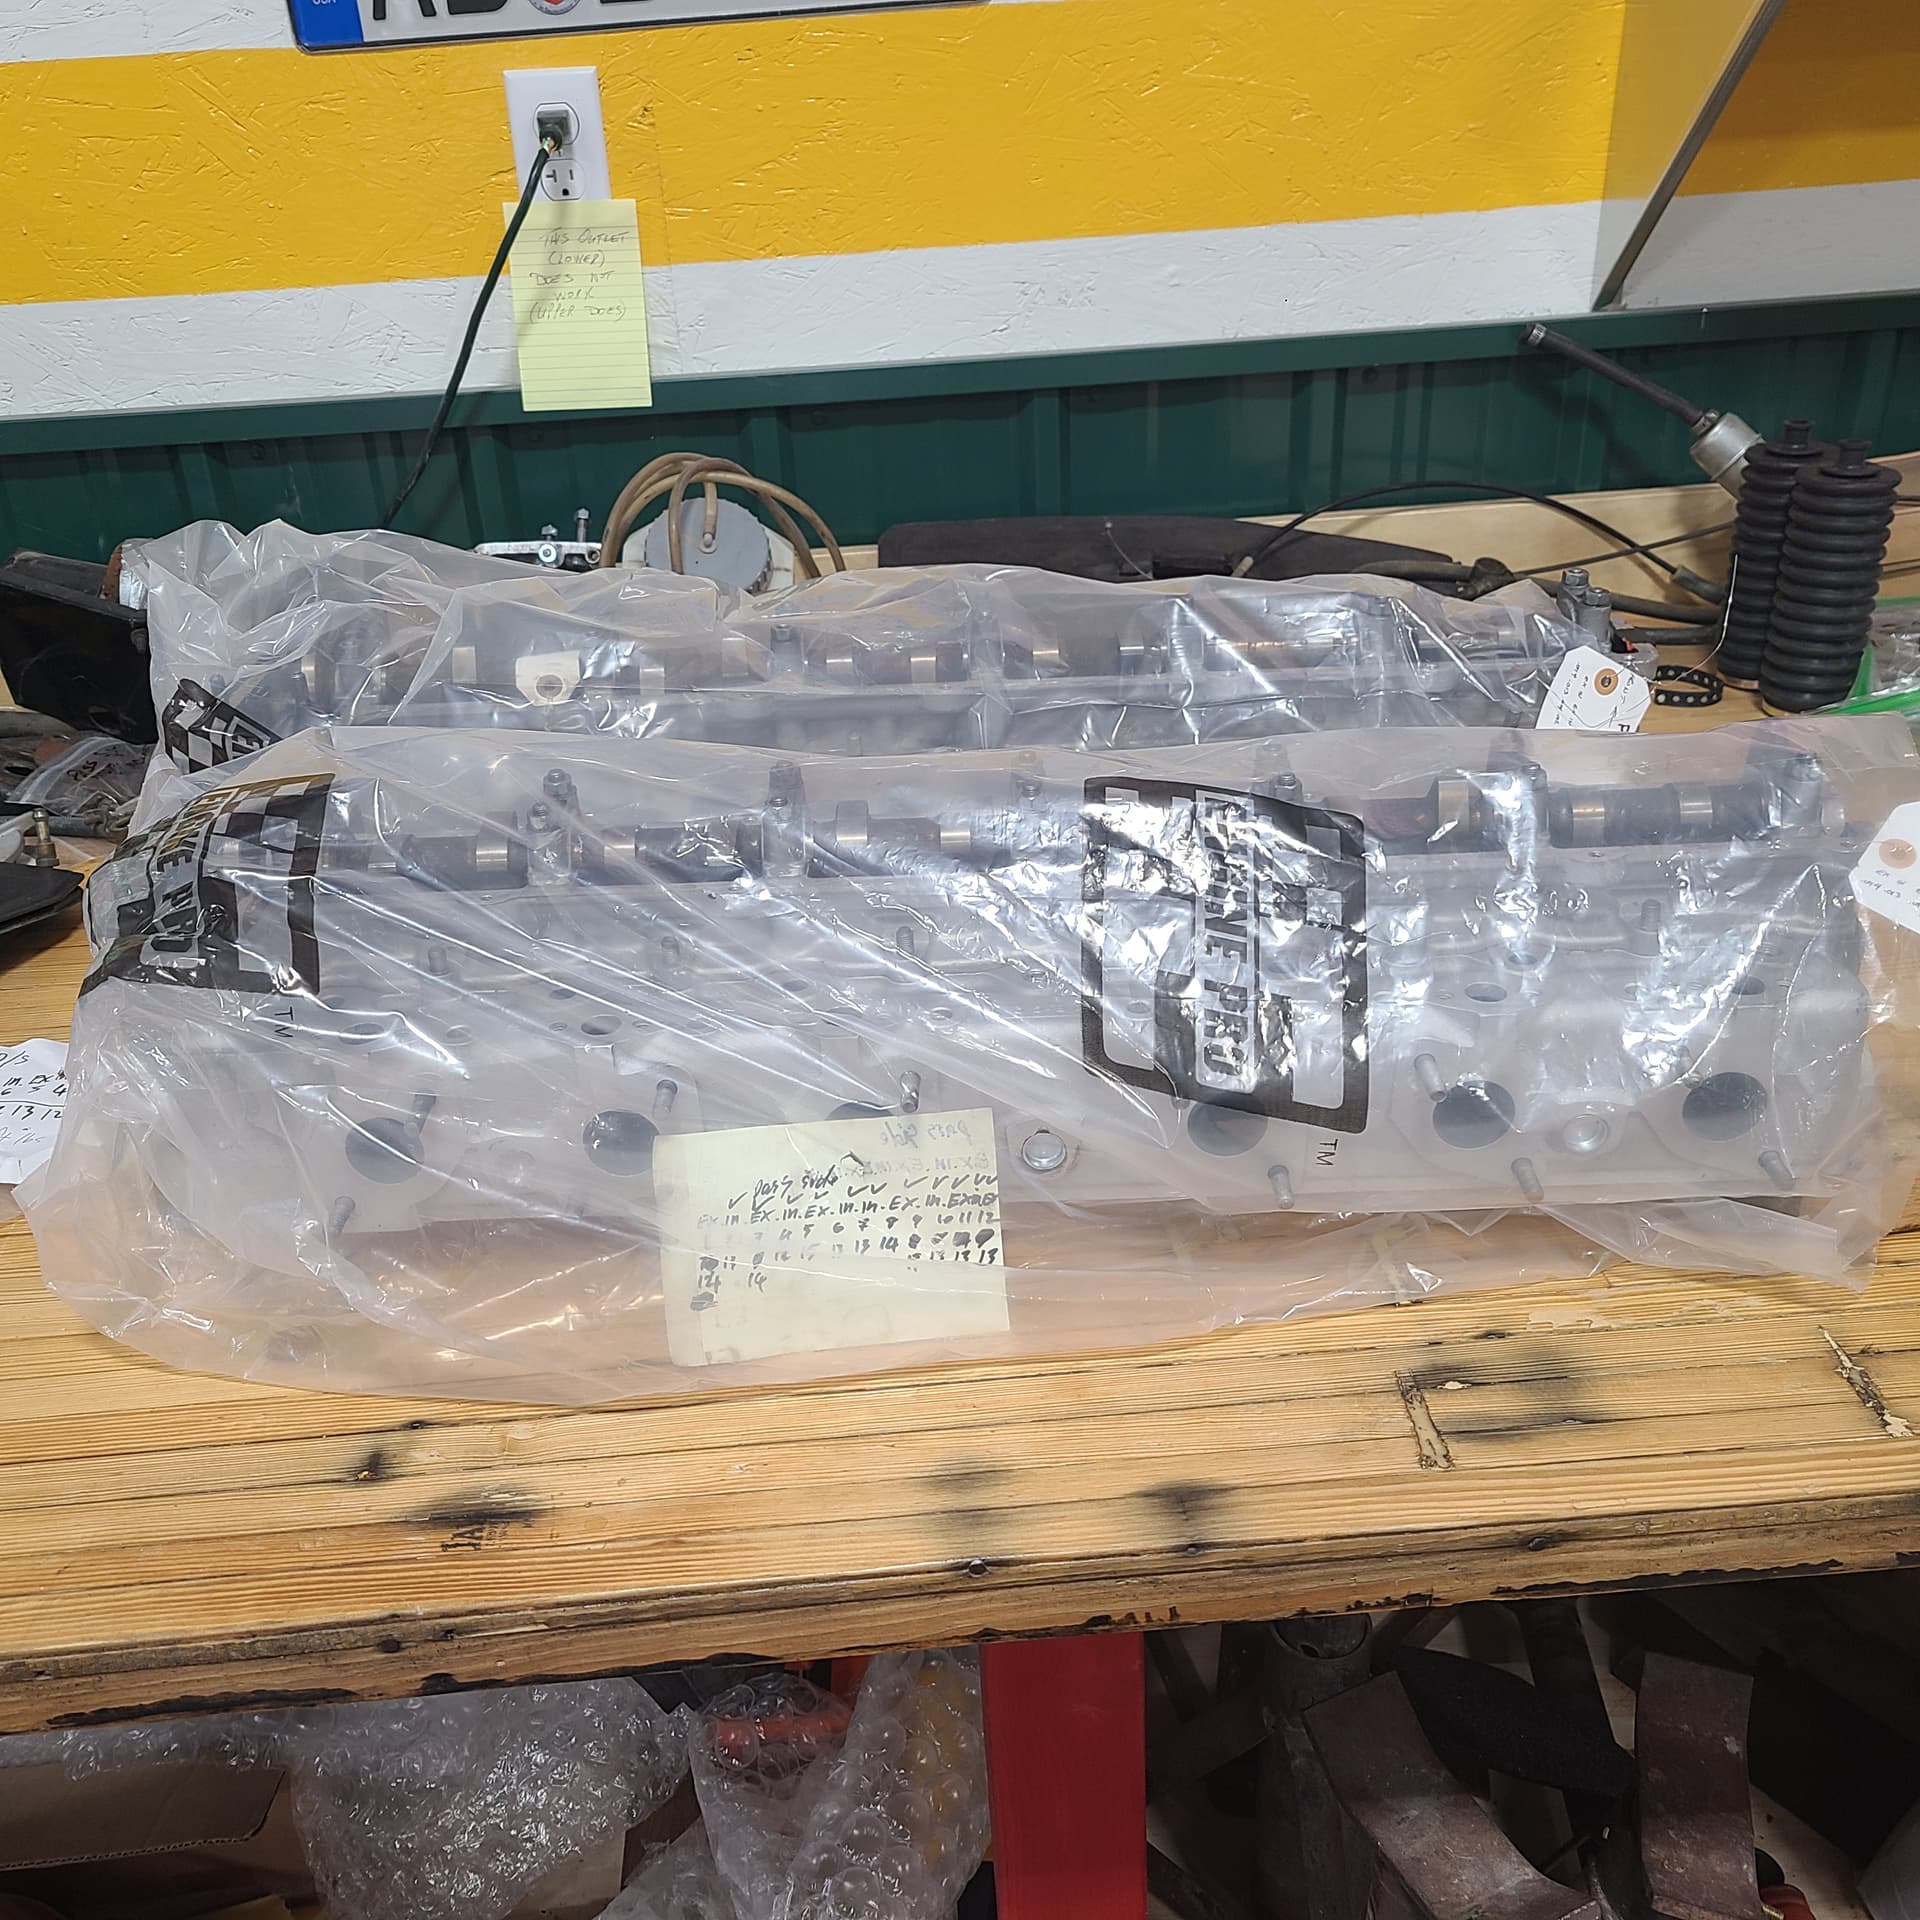
Yesterday (Wed 04AUG22) I received the last puzzle piece to finish the rebuild of my heads - a tappet shim of 0.085.
Took 10 minutes to insert it and check the lash. Target lash between 0.012 and 0.014 for both intake and exhaust
@Wiggles Paul – this is gettin’ real.
The crankshaft was ready for the last step - polishing . . .
BUT
first a trip to Denver (on Monday last) to give Mile High Crank the Pressure Plate, Flywheel, Harmonic Balancer, 24 old pistons and rods, bearings and 12 new pistons. Hoping to get the crank and bits back in a week or two.
These updates seem to be coming in bunches
I ordered a pair of Upper Wishbones (complete with new and installed ball joint) from Bill Angel in Australia. I also got his new spindles and replacement lower shock absorber mounting bolts:
I also decided to use a professional machine shop to dismantle my Lower Wishbone – proved to be a wise decision.
BACKSTORY - I had the devil’s own time extracting 2-3 of the cylinder liners and pistons from he block. They were well and truly fixed in place. I recalled that challenge when considering taking apart my lower wishbones myself (using a 30-ton press for the first time) or going pro.
Went pro.
I took them to a different machine shop where it took 3 hours to disassemble my lower wishbones; they estimated an hour. One of the lower shock absorber mounting bolts needed to be cut flush with the arm and drilled before being being pressed out (needed 10 tons of pressure to get it out). Mind you - this bolt is not pressed in place, it simply slips through the arms to support the shock
But – now I take them to the nickel platers and wait 90 days for their back log to be worked through.
I soaked the pieces in Berryman’s Parts Cleaner and wire-wheeled the worst of he crud off of them. I
With my heads set up and ready to be installed on the block - I have about three dozen tappet shims left over.
I could return the used @$10/each
I could keep them on hand - but the odds of using them is pretty slim.
I’ll hang onto them for a while – but if anyone needs some shims, let me know. Here is what I have
How often, on average, do the valves need to be re-shimmed on a V12? If it were up to me, I’d keep them for that time.
Craig,
Do you know if these shims would work on the 4.2? If so I’ll take them off your hands.
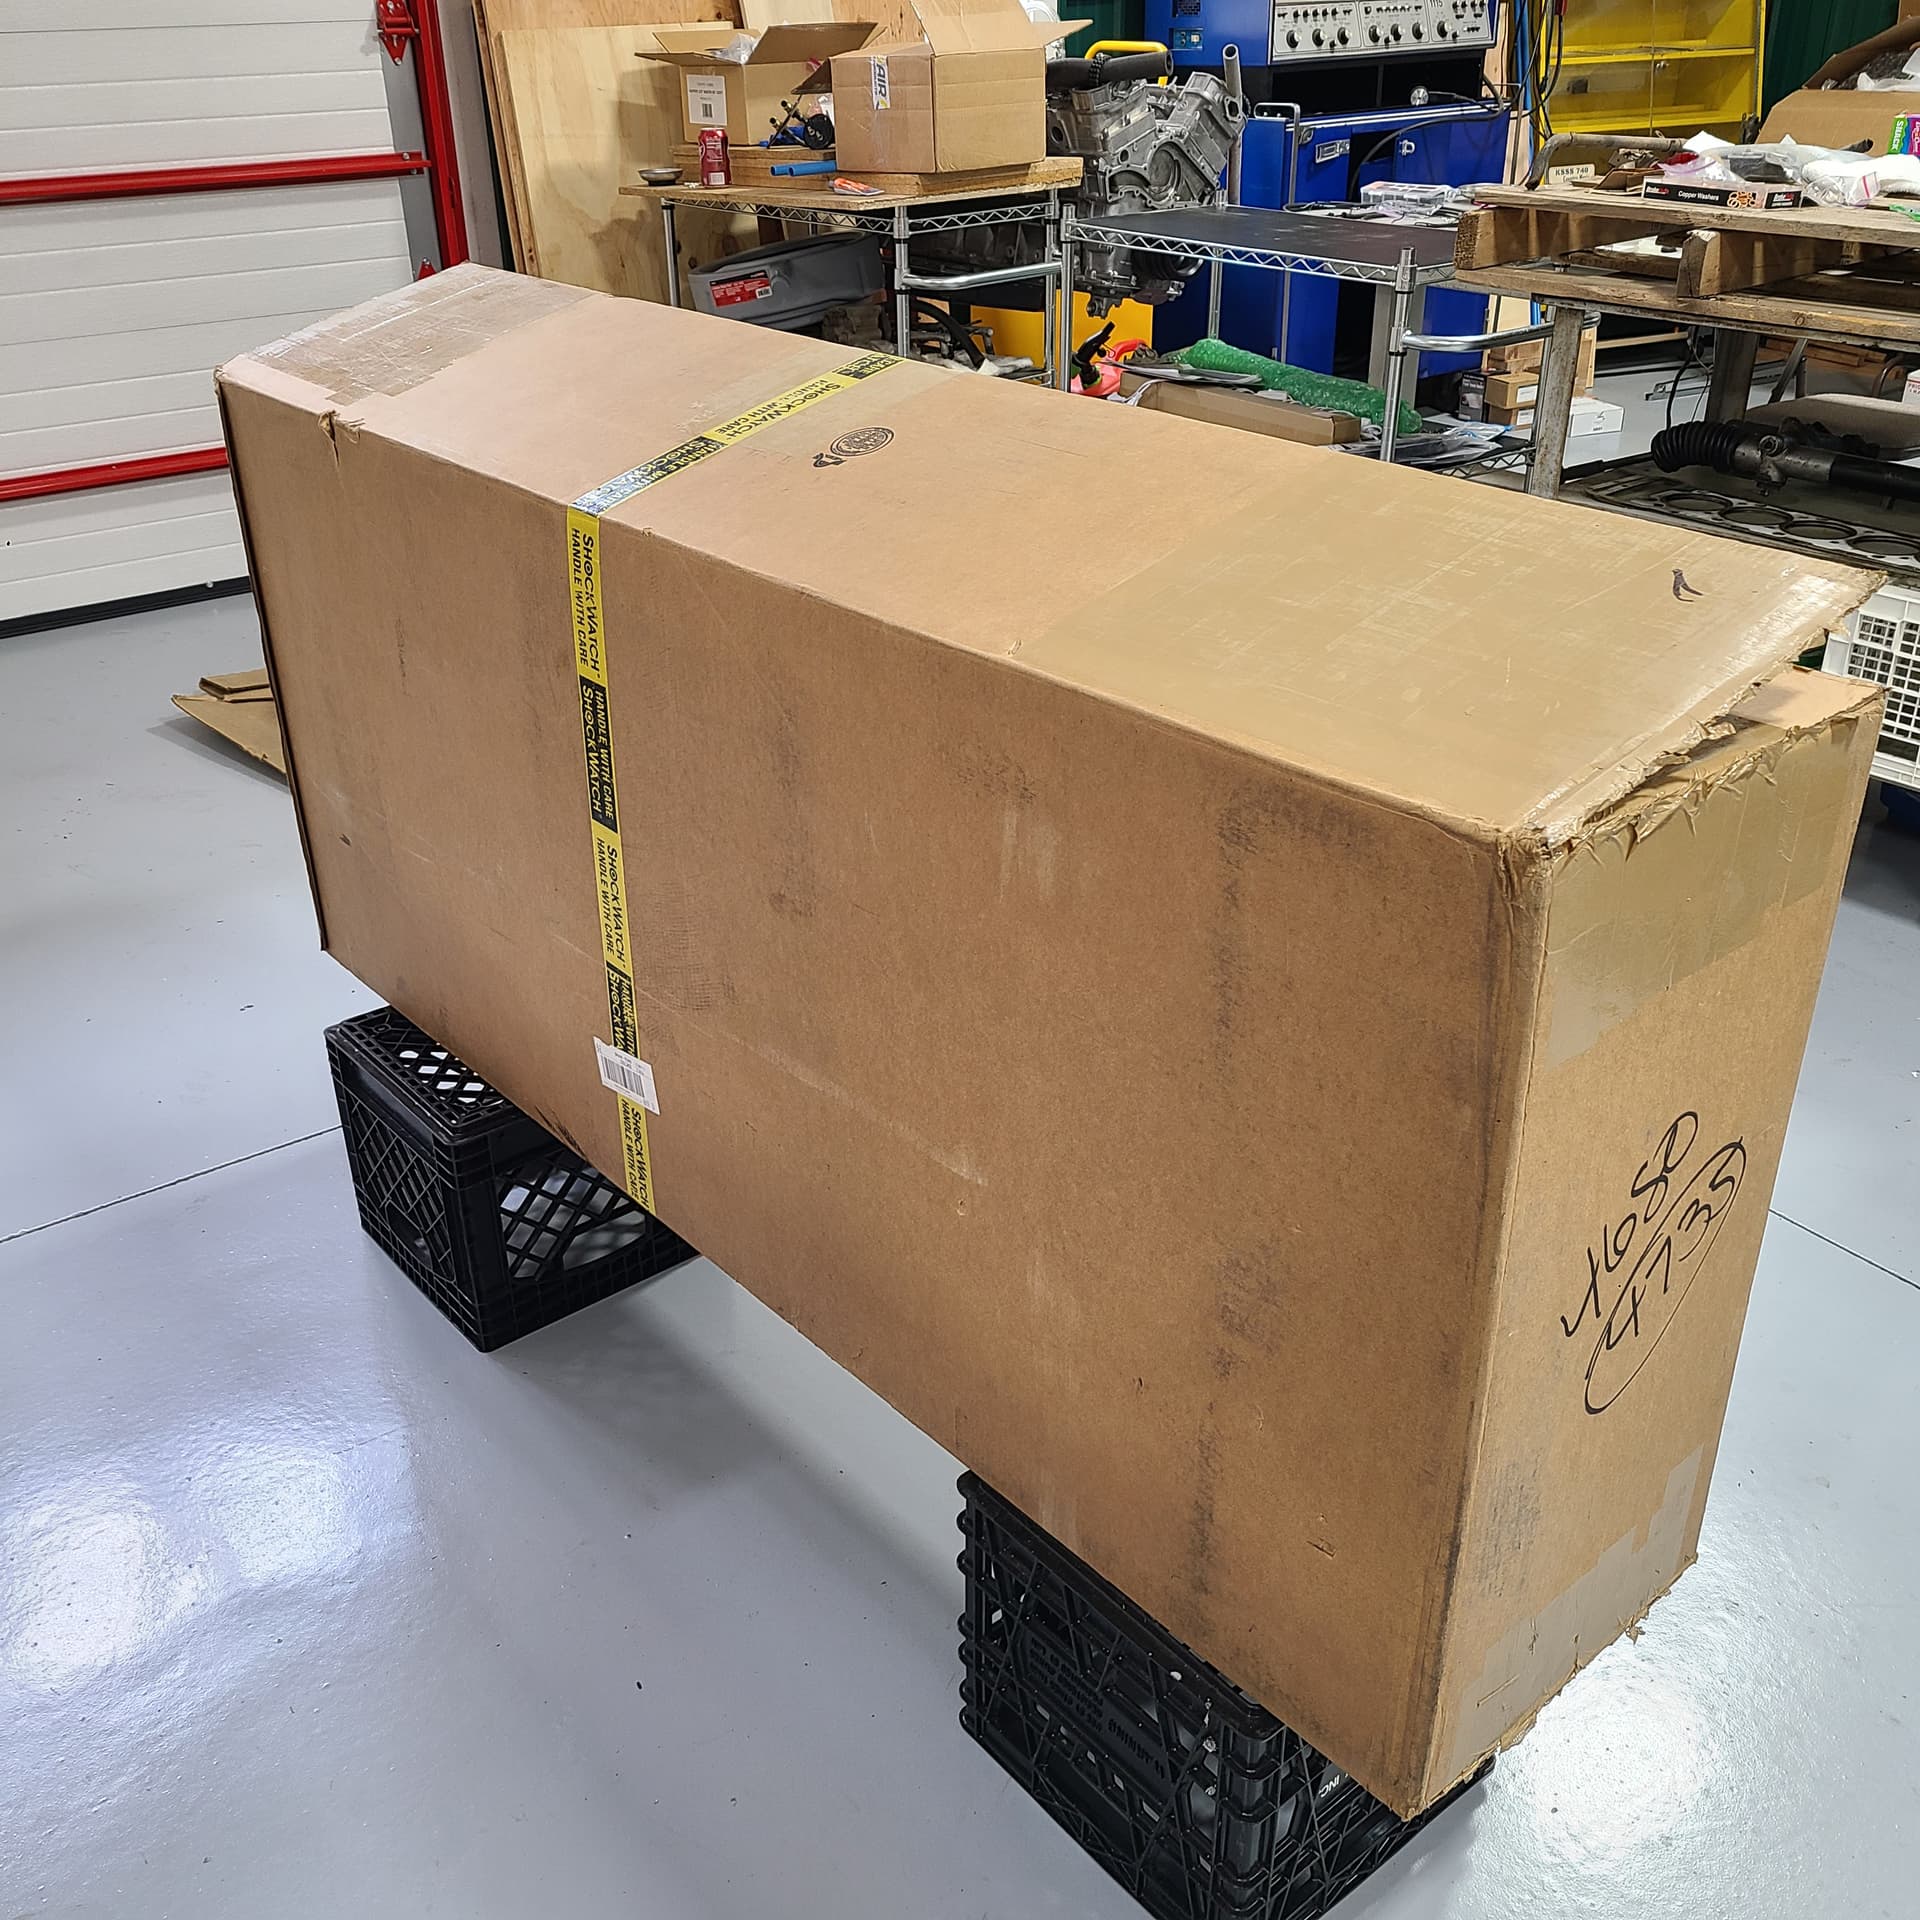
Ordered in September 2021, my windscreen finally arrived today – 11 months later.
Nothing on the shelves these days – each is special ordered (at least that’s true for the V12 windscreens).
Special Ordered out of SNG Barratt, UK.
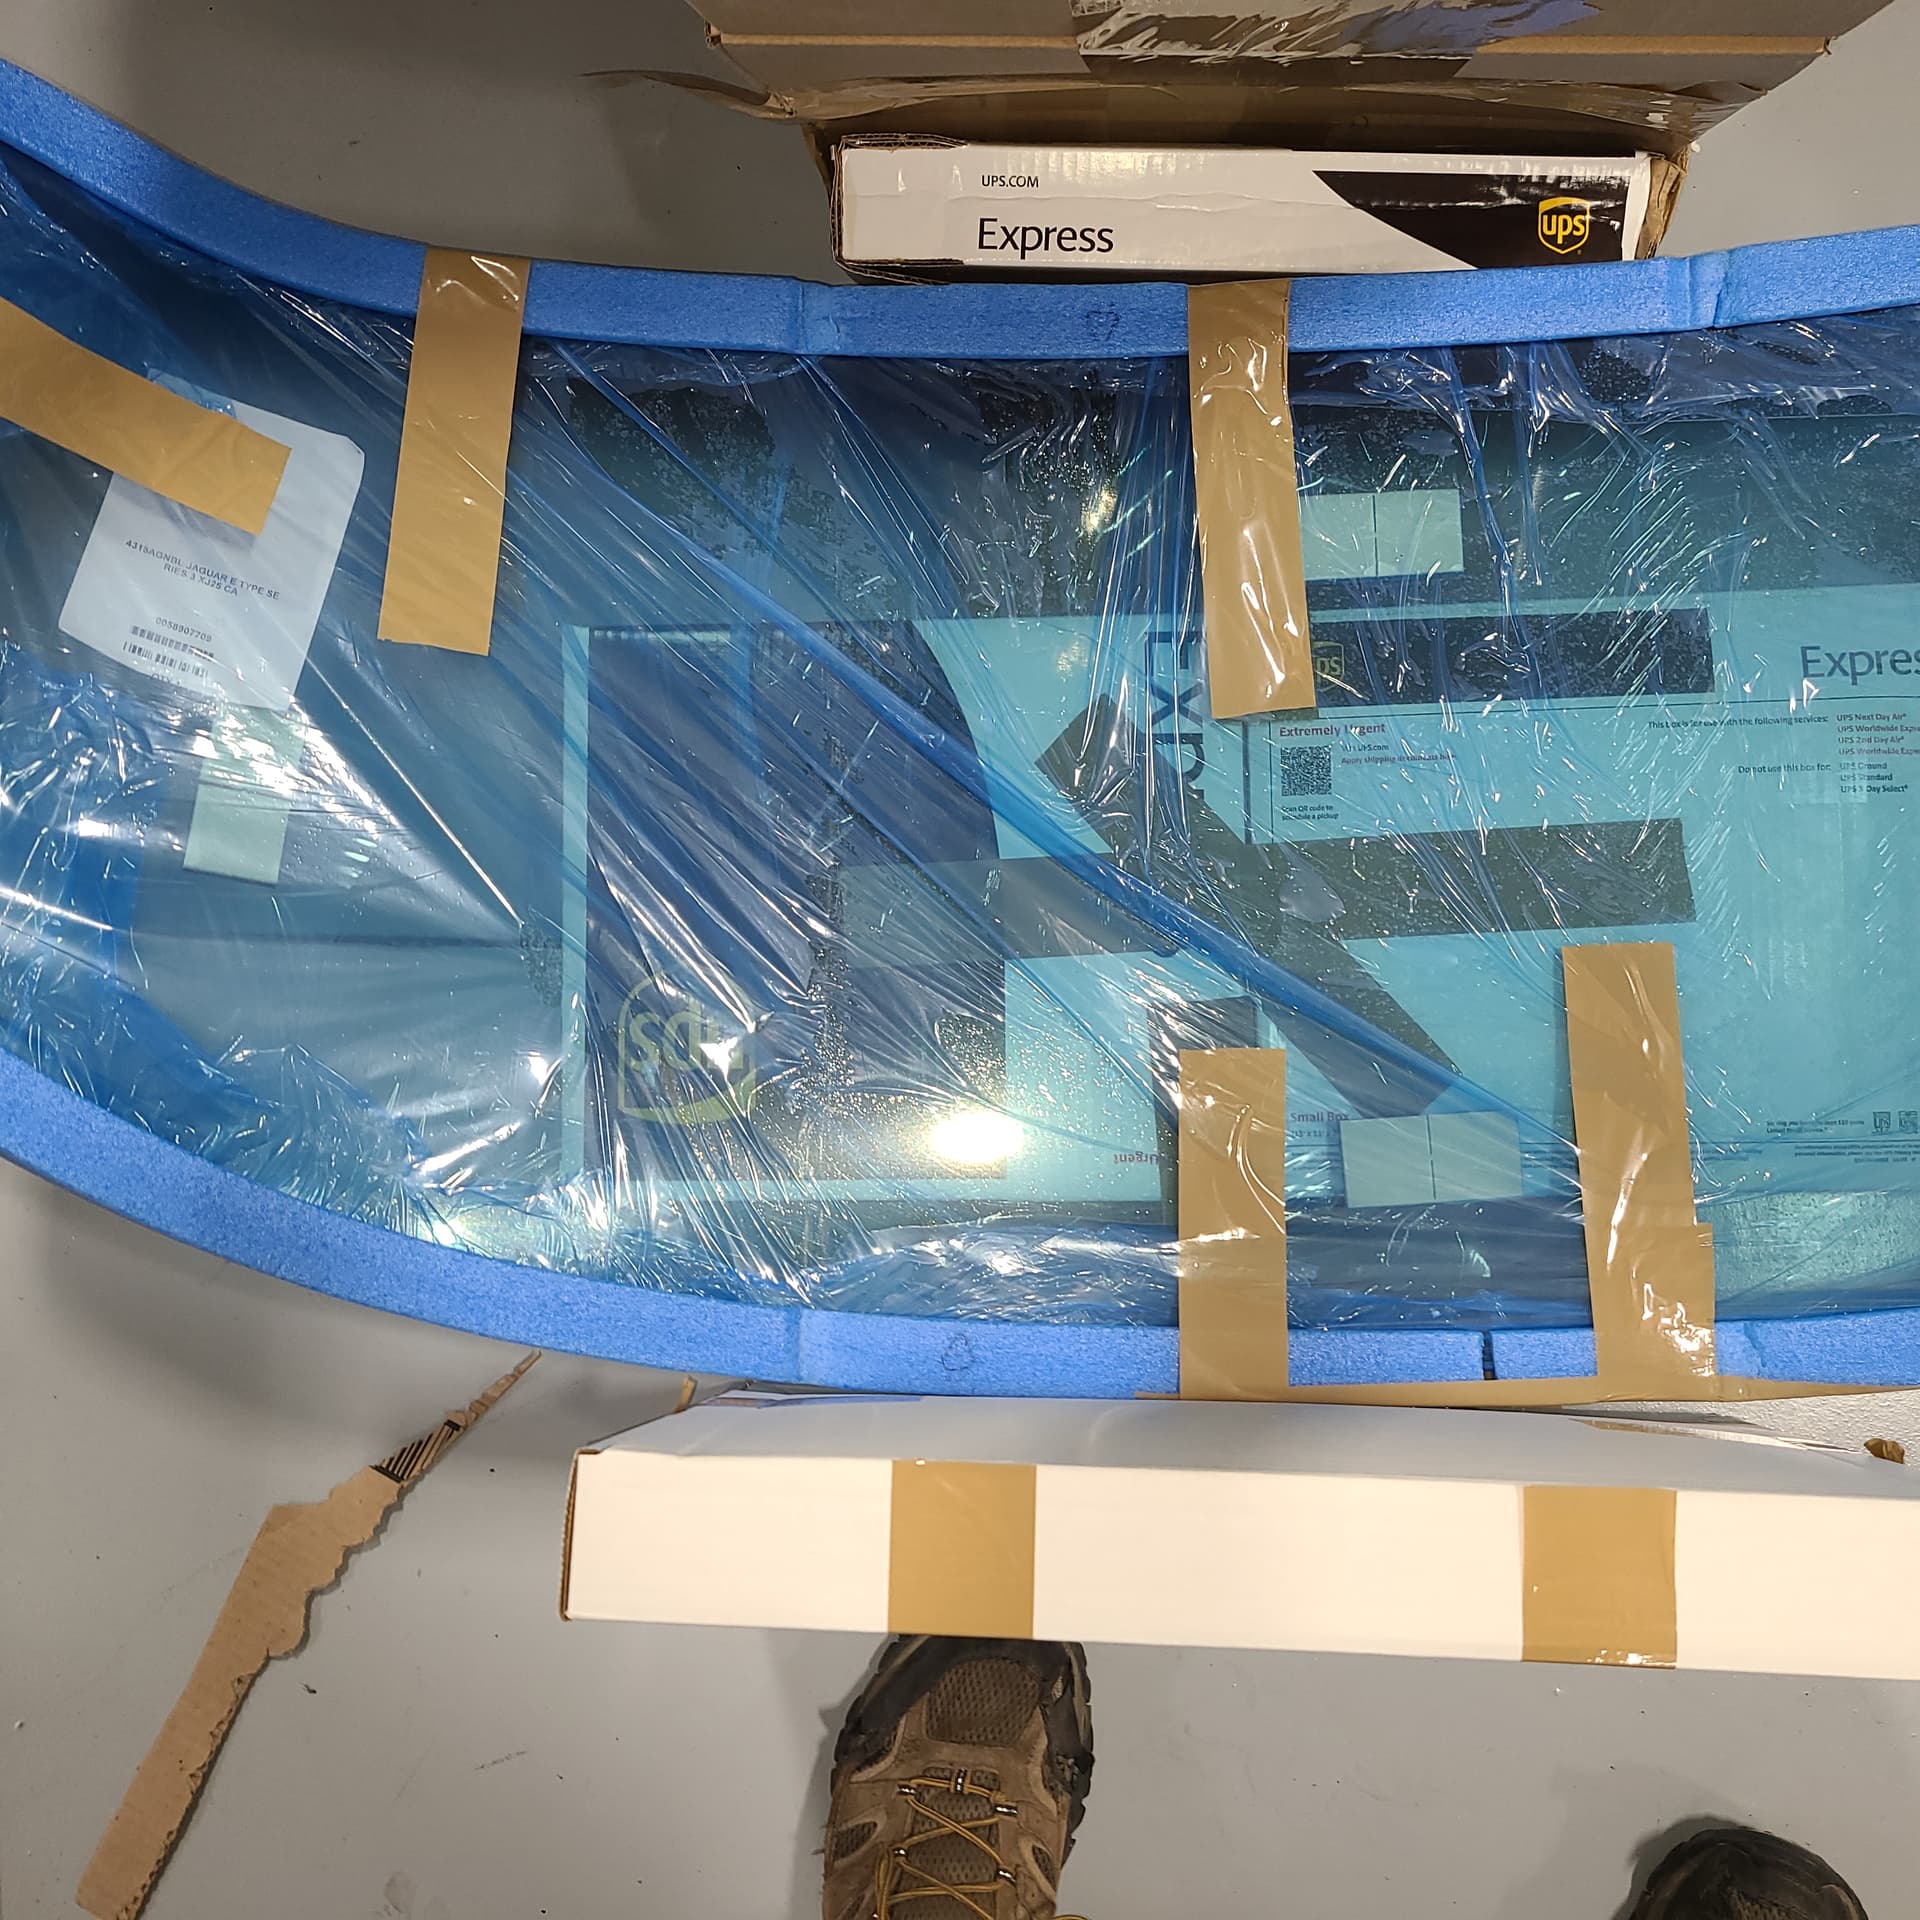
If you are worried about the windscreen getting damaged - take a look at this series of photos of the packaging that SNG Barratt does. They check the glass when they receive it from the boat and re-package it in the US for ground movement.
No damage. I retaped the protective packing boxes to the windscreen.
It took me 10 minutes to re-pack my new windscreen in its perfect cocoon so I could stash it in the corner of my shop to minimize accidental bumps. I figure it’ll be several months before I need to get access to it again – I reckon installing the windscreen is near the end of the rebuild sequence to enable easy(ier) access to the dash top, gauges, wiper mechanism, etc.
When I ordered the 2+2 windscreen, maybe 20 years ago it came in a plastic bag in a large box. The area between the bag and box was filled with expanding foam. the bag was to keep the foam from sticking to the windscreen itself. It was still a bear to get the windscreen out of the packing.
Les – I would check the part number to be sure, but I am 90% confident the tappet shims for the 3.8 6L, 4.2 6L and 5.3 V12 are all the same. Mr William Lyons would ensure that sort of carry-over to minimize inventory and machining (in fact - some of these spare shims came off the XJS V12 that is collecting dust in my ship).
The shims I have are marked C2242(X) where X = the indicator for the thickness of the shim.
C2242A = 0.085
C2242B = 0.086
etc – – oh by the way C2242X does = 0.108
C2242Z = 0.110
were standard. Barratt offers shims as thin as 0.075 (or was it 0.073?) and as thick as 0.183 (?)
Oddly, Barratt’s site lists the part number as C2243X – which I believe to be correct. AND - each small glassine envelop is marked with the part no – C2243(X)
In any event, I am going to hold onto what I have until I fire the engine, and put a few heat cycles / miles on the engine before any offering(s). I may end up needing a few shins myself, yet.
NOW – If someone needs a handful now(ish) to get back on the road, that’s a Jag of a different color.
After I assure myself my valve lash is accurately set, I’ll revisit clearing my inventory
(@Les_Halls - sorry if I misled you with my initial offering. If you need shims to get your Jag back on the road – PM me.)
John - you didn’t say if you ordered from Barratt, but when I gave Jeremy my final feedback vis-a-vis the condition of my glass, he said they had perfected their packaging techniques / skills over several iterations. He was appreciative of my feedback and said he’d provide it to the guys in shipping.
John – I’ll leave the detailed answer to the @Wiggles of the world.
From memory - checking valve lash is to be performed every 10,000 miles (or is it 15,000 ?).
As to wear necessitating reshimming - I’m gonna guess 50,000 miles but that number really is driven (pun intended) by usage (spirited driving/auto-crosses vs Sunday cruises), frequency of oil / oil filter changes, and other maintenance efforts that could affect the valve lash.
I suspect the “next” reshimming compared to the change of stewardship of this Jag will be a close race
Ok, thanks Craig, wise decision on your part.
I’ve long forgotten who I ordered it from. It might have even been drop shipped from the manufacturer.
Craig,
Wise decision to keep all your old shims. Source a suitable plastic multi-compartment box, coat each shim with a little WB grease and wrap in plastic wrap before storing them. After you install the heads make a quick re-check of valve lash… you might be surprised (and glad to have shims on-hand).
The shop that reconditioned the heads, they didn’t “tip” any of the valve stems did they? If shims won’t do the trick then a new valve seat is the answer, not shortening the valve stem!
On another part, suspension items. You’re having them plated? Nickel, CAD or what?
Ask about Hydrogen Embrittlement and oven normalizing. Some plating process’ introduce Hydrogen into the metal making the metal brittle afterwards. Oven normalizing removes the Hydrogen and the worry of a suspension part snapping if, say, you hit a pot hole!
Well packed windscreen to match the price tag? LOL
Thanks for posting your progress.
Happy Trails,
Dick
And keep in mind that the oven normalizing process has to be performed immediately after plating. If you leave the part on the shelf for a month, it’s going to be too late.
Mike
Is this something the nickel plater ought to do aspast of doing business’
OR]
does this fall to me, the customer, do to in my shop?
(If so – how long do I heat the parts at what temperature?)
Hello Craig,
There will be no scope for you to do it, as General guidelines call for baking the part for four hours at a temperature of 375º F within one hour of plating. However, steels typically require a lower temperature in the range of 200-300º F. Accordingly, even if you had the setup to be able to carry out the work, having to start the process within one hours is the kicker.
Any decent plating business would be aware of this requirement, but it wouldn’t hurt to remind them that the suspension parts will have to be Post Platting heat treated to counter Hydrogen Embrittlement.
Regards,
Bill
The plater knows all about this, and should handle it. High strength steel is the most susceptible, so it would be worthwhile to discuss with them.
Thanx Bill and Mike
A discussion I’ll be having with the plater.
I feel better armed for that talk, now.
Craig